Project RB
So when I installed the IC on the S14 It was kinda half assed since I had only gotten the core and no hardware.
I had only had the top mounting point used,
So i set off to build/find some brackets to use without having to drill into the lower core support (to avoid rusting)
So i found these brackets at Lowes
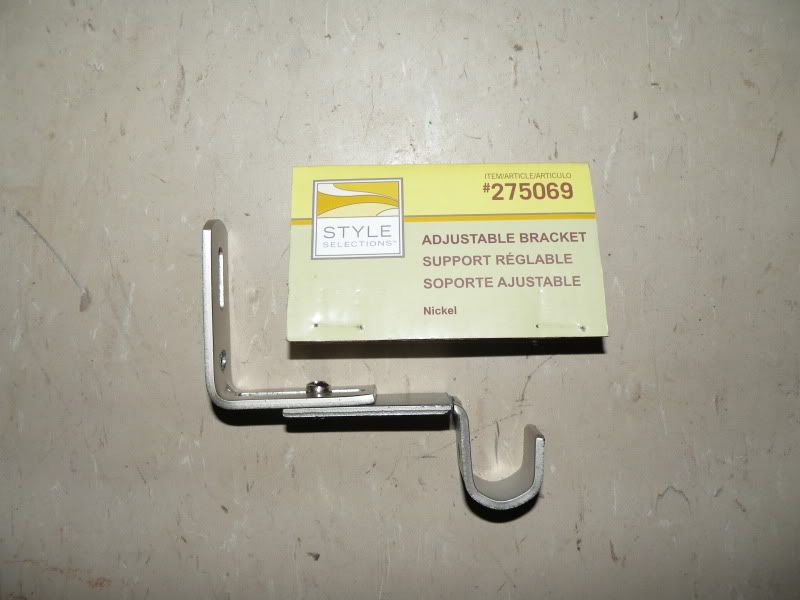
Cut Off the hook
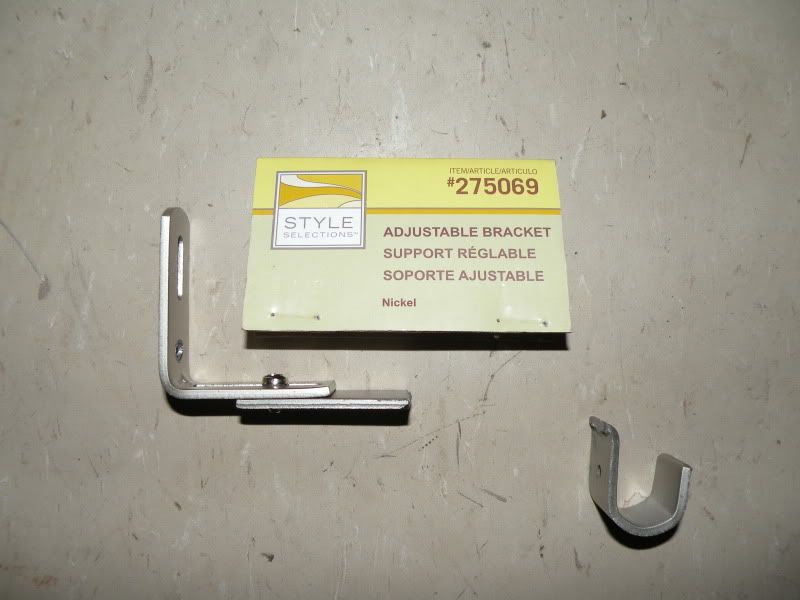
Angle one left and one right
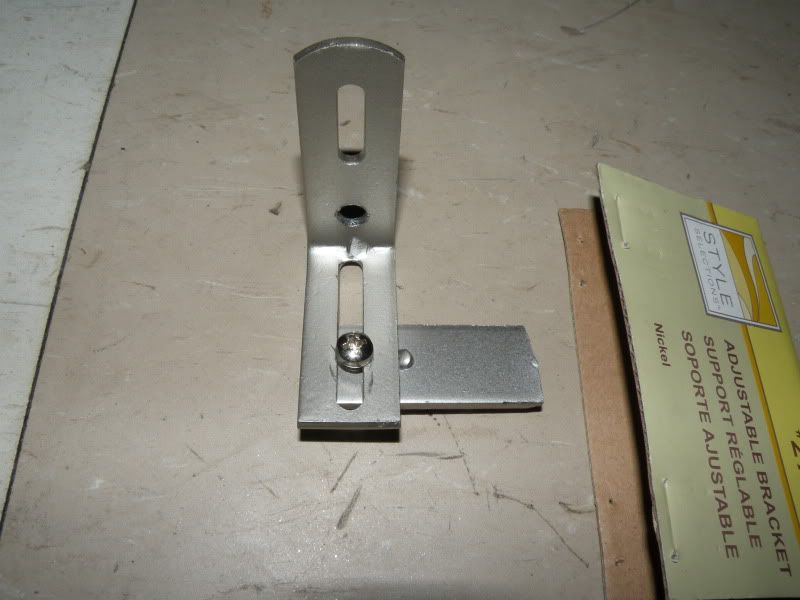
Cut off the top part and drill out the little hole enough for a 10mm bolt
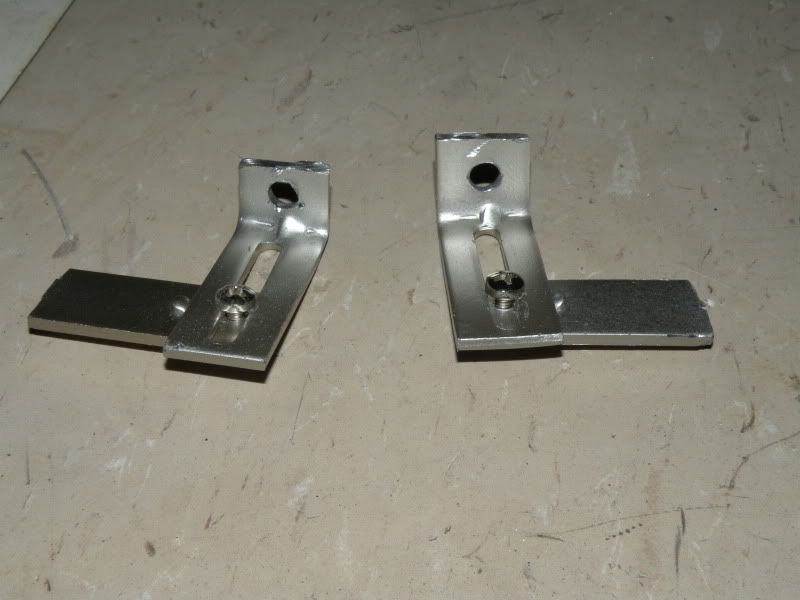
Bolt them up to the lower core support where to headlight brackets mount to.
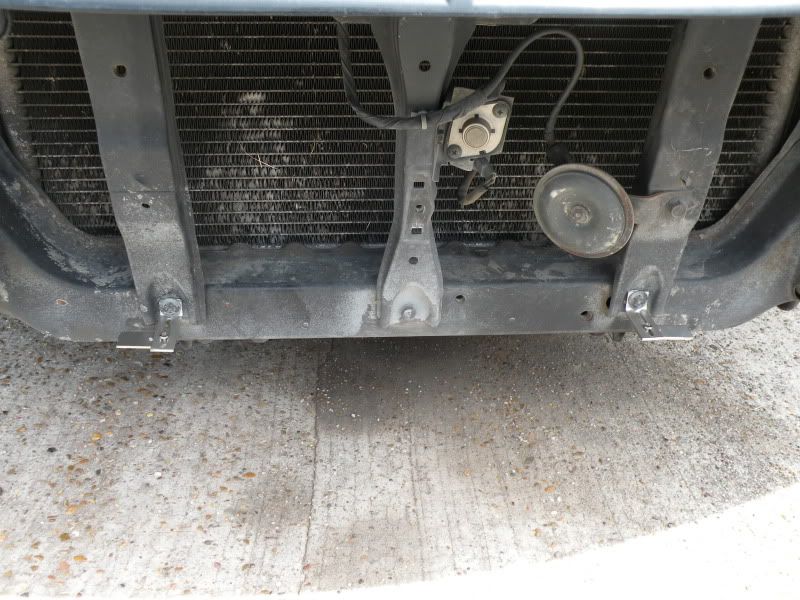
Then mark and drill out the holes to bolt the IC to.
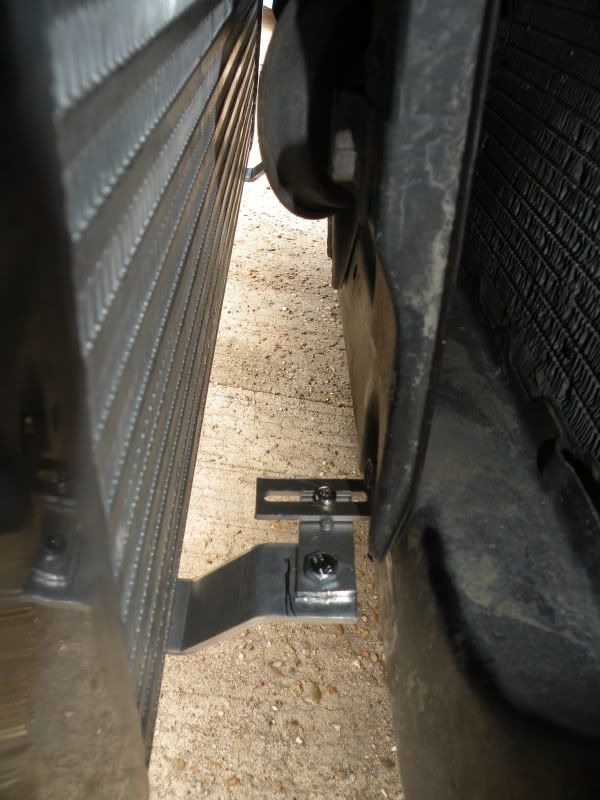
I will probably drill out and replace that Phillip head screw with a bigger bolt
I had only had the top mounting point used,
So i set off to build/find some brackets to use without having to drill into the lower core support (to avoid rusting)
So i found these brackets at Lowes

Cut Off the hook

Angle one left and one right

Cut off the top part and drill out the little hole enough for a 10mm bolt

Bolt them up to the lower core support where to headlight brackets mount to.

Then mark and drill out the holes to bolt the IC to.

I will probably drill out and replace that Phillip head screw with a bigger bolt
__________________


little update,
Got in my Power steering cooler system
Ordered it from Summit P/N 4110
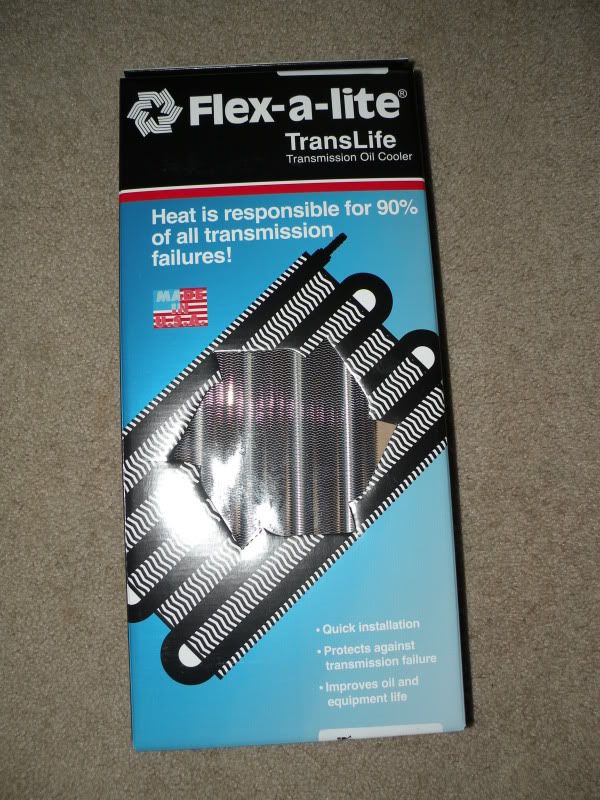
Came with hoses, zip ties, clamps...
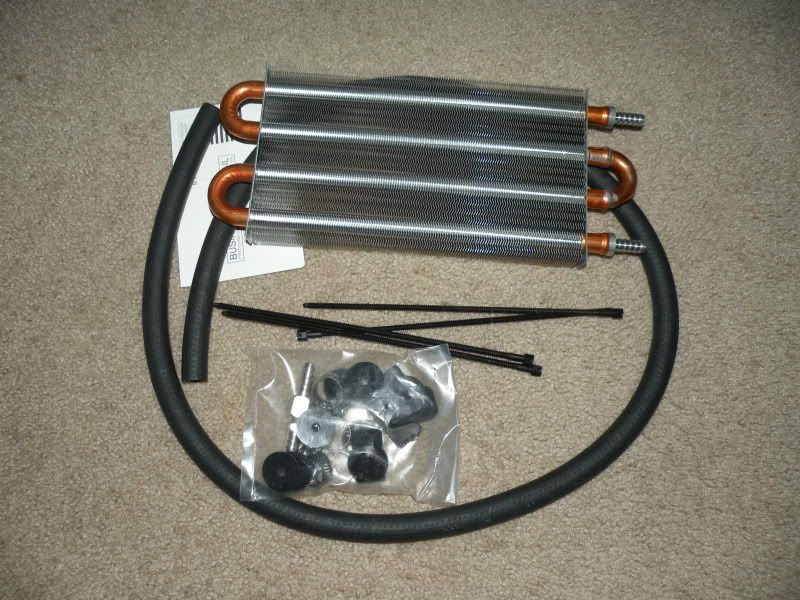
Since the S14's use a barbed fitting comming out of the R&P I dont have to make a custom line ^_^
I can just slip a hose right over the fitting
Here is the OEM Part Number 49325-03E00-
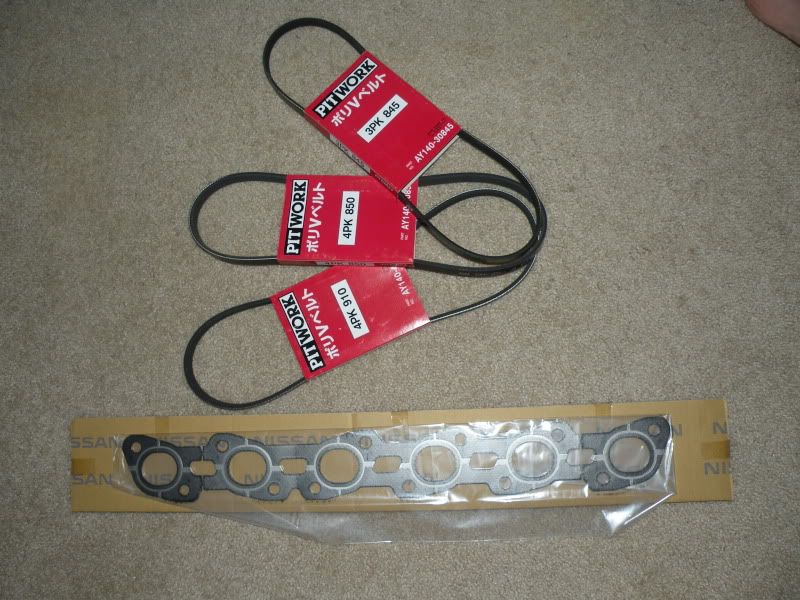
Got in my New belts and new exhaust mani gasket from Nissanparts.cc
that crappy ass XS-Power Manifold tore up my old gasket when i removed it.
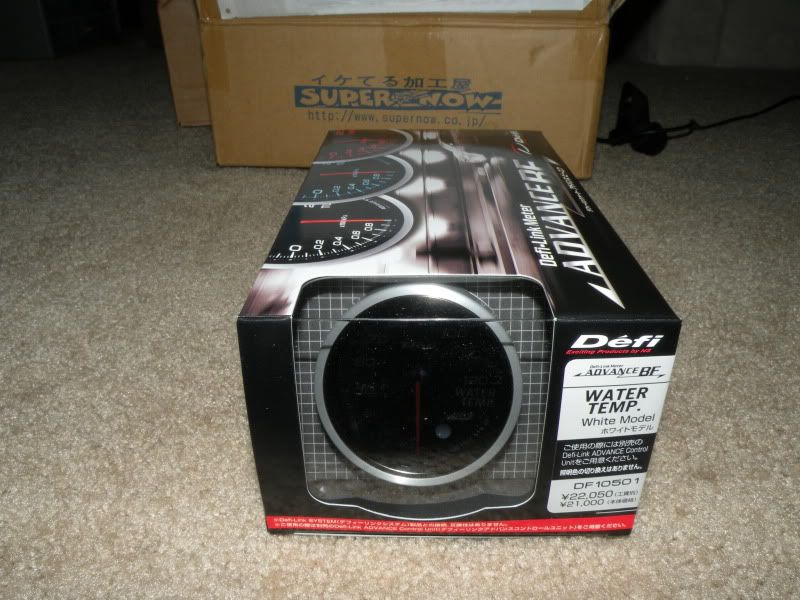
Straight from Japan Land the new Defi line up "Defi Advance BF" Water Temp Gauge (White Face)
Before I start I know i could get some Mishimoto single fans and mount them but i want the FAL's since they cover more surface area and the RB's need the cooling systems kept in check.
So I got in my new condenser today, I figured Id replace it since I'll be reclaiming the freon and pulling it to install the the FAL's
Plus seeing that 12 years of elemental damage isnt helping the cooling capacity
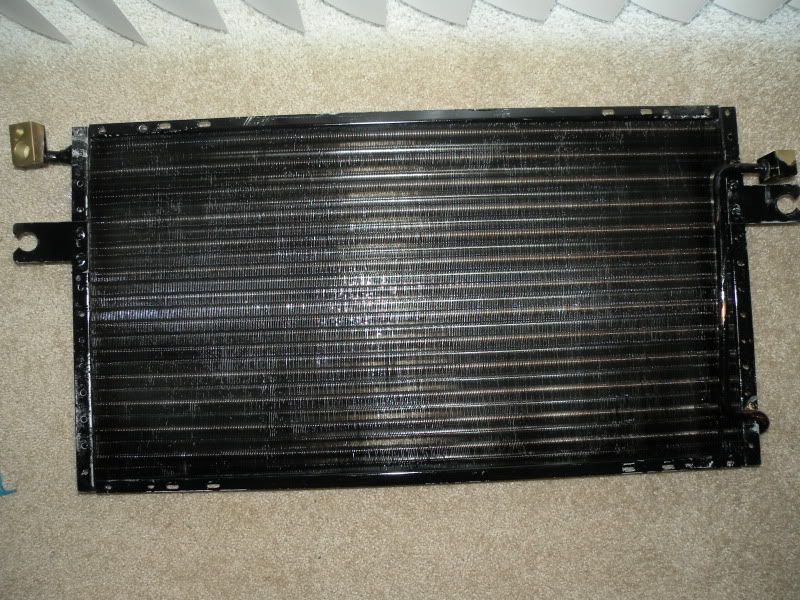
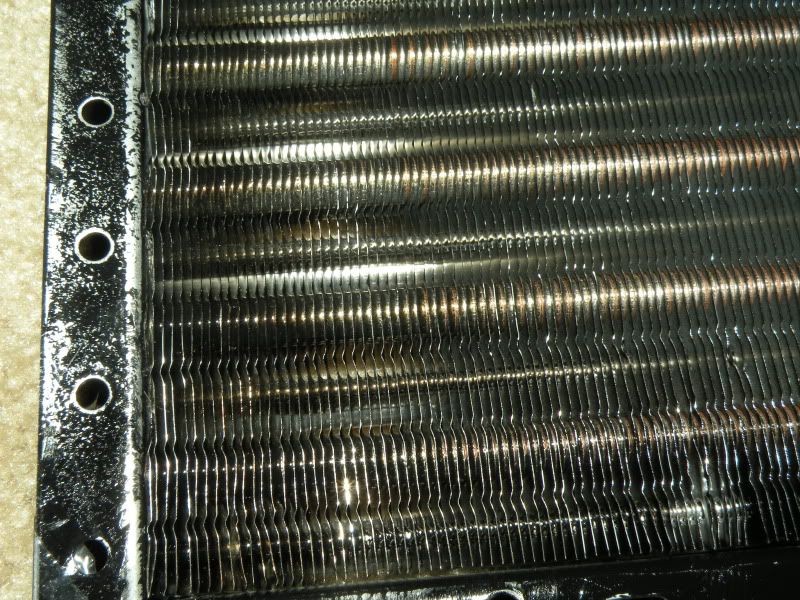
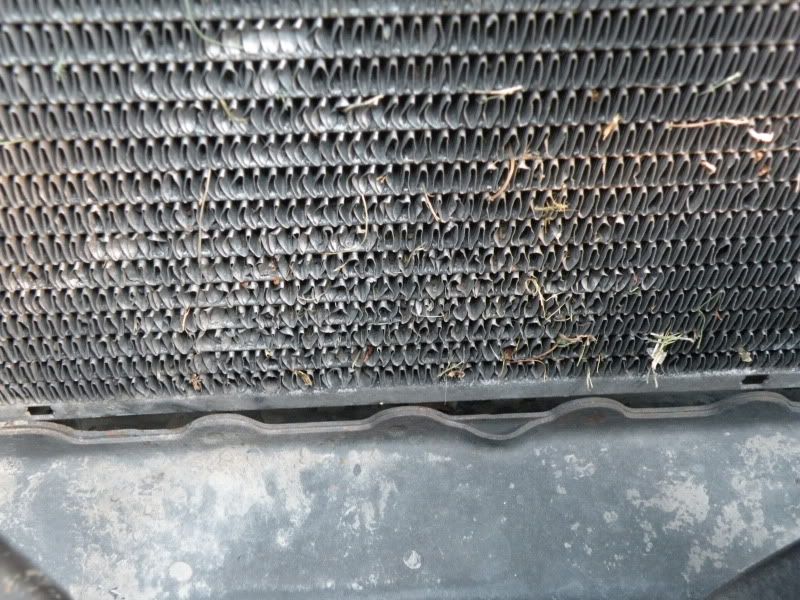
Current condenser, doesnt look bad but the fins are worn pretty thin in the bottom plus the design is 12 years old
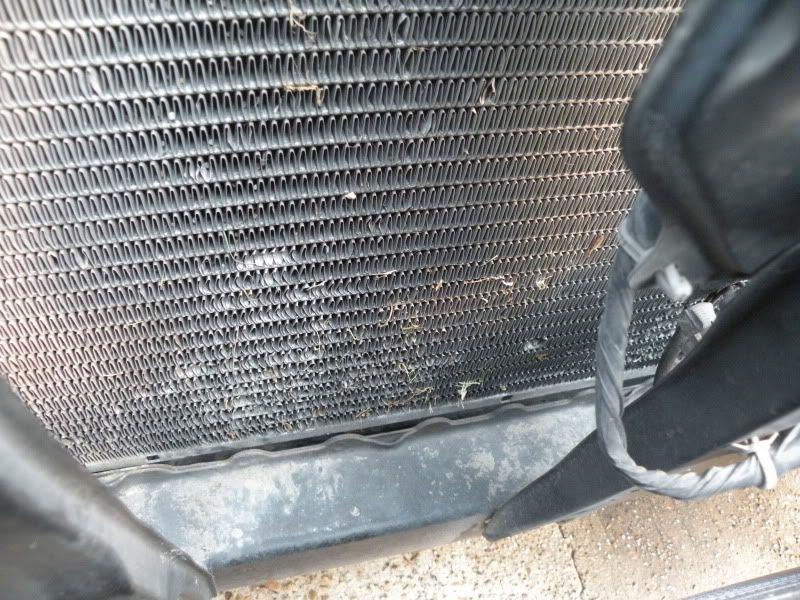
New design more fins= more cooling
So here is gonna be the tricky part, making the FAL's, condenser, and Koyo Rad fit up front without cutting the core support or anything drastic. Im not gonna lie when it comes to me fabricating its not pretty, but damn it, it will work haha.
so from the bottom of the lower core support lip to the Koyo I have about 6.5cm (2.5 in)
the New condenser is a little bit thicker Pretty much what im gonna do is mount the FAL's to the condenser and reloacate the condenser closer to the Koyo (these are Pusher fans)
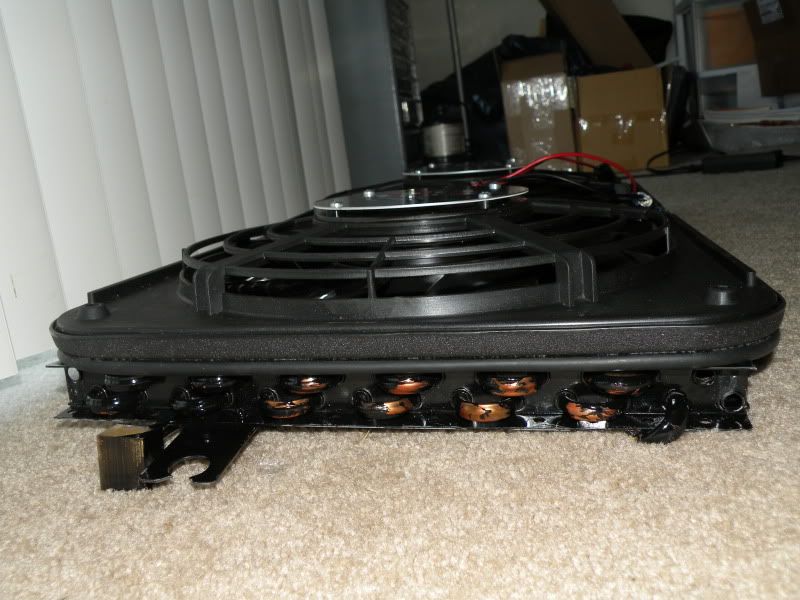
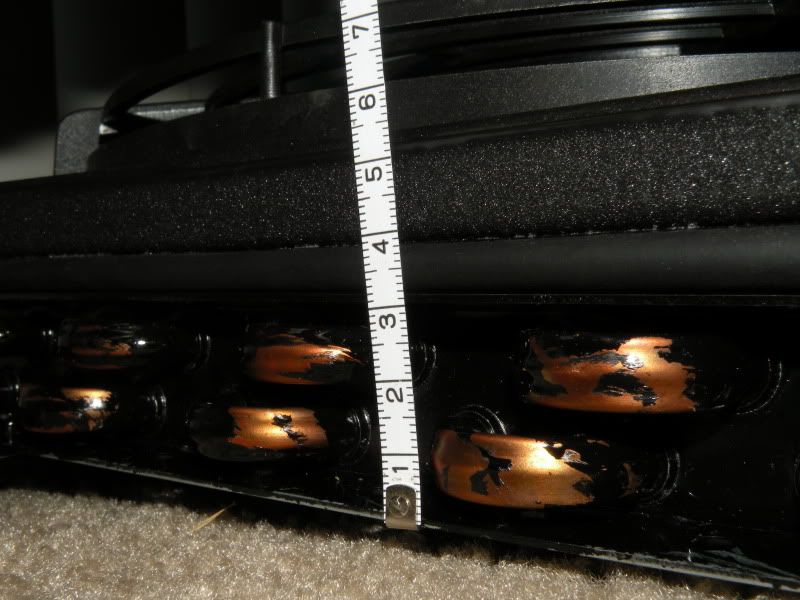
here is a side measurement (unsprung) looks like I have plenty of room but the bottom the FAL covers have a .5 mil lip
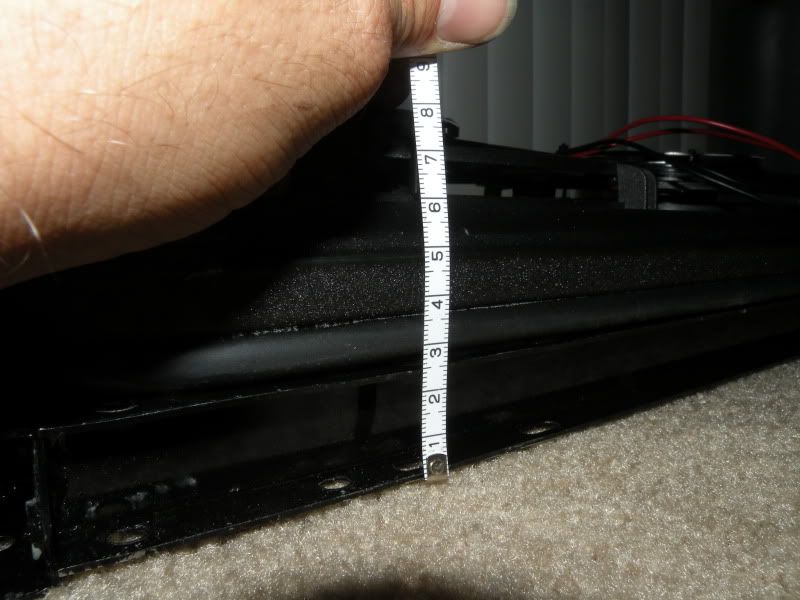
there is a .5cm lip that is where the Lower core support lip will hit, Which makes it sit at about 6.0cm, I guess i could shave it down if needed
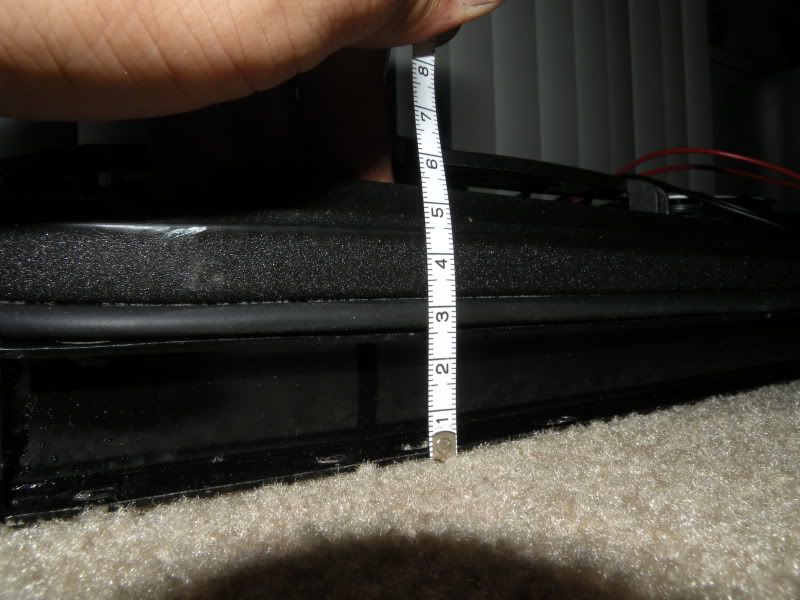
But when mounted and pressure applied I can get it back down to 5.5 CM which will give me just enough maybe
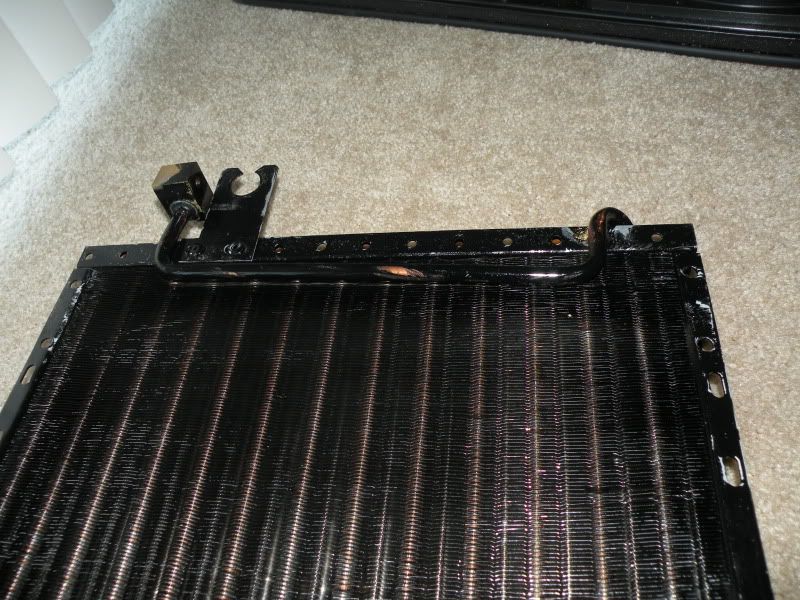
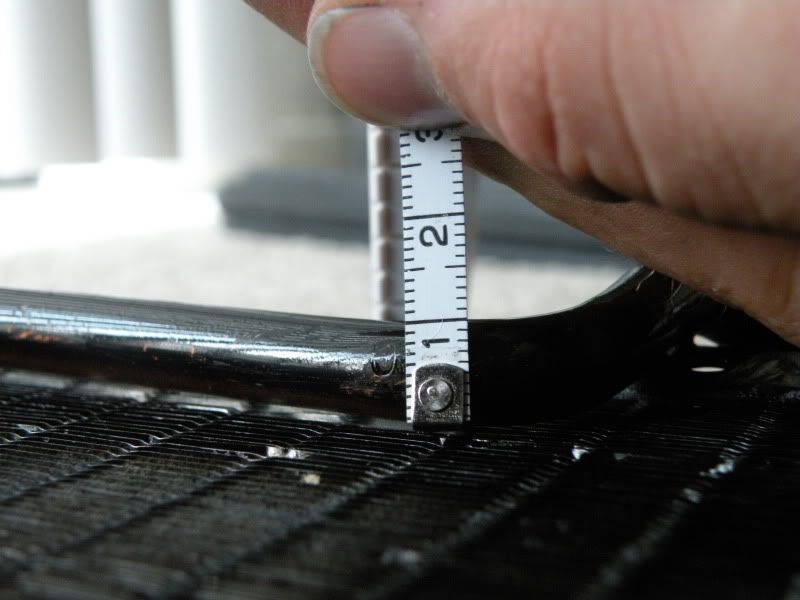
I know you need a little bit of space inbetween the condenser and Radiator but I think running a pusher I wont have to worry about it. But there will be about a 1cm space due to this outlet tube.
hopefully I can start the swap next month if Jeff Jordan can do my wiring Harness (my harness is pretty fucked up)
Got in my Power steering cooler system
Ordered it from Summit P/N 4110

Came with hoses, zip ties, clamps...

Since the S14's use a barbed fitting comming out of the R&P I dont have to make a custom line ^_^
I can just slip a hose right over the fitting
Here is the OEM Part Number 49325-03E00-
Got in my New belts and new exhaust mani gasket from Nissanparts.cc
that crappy ass XS-Power Manifold tore up my old gasket when i removed it.

Straight from Japan Land the new Defi line up "Defi Advance BF" Water Temp Gauge (White Face)

Before I start I know i could get some Mishimoto single fans and mount them but i want the FAL's since they cover more surface area and the RB's need the cooling systems kept in check.
So I got in my new condenser today, I figured Id replace it since I'll be reclaiming the freon and pulling it to install the the FAL's
Plus seeing that 12 years of elemental damage isnt helping the cooling capacity

Current condenser, doesnt look bad but the fins are worn pretty thin in the bottom plus the design is 12 years old

New design more fins= more cooling

So here is gonna be the tricky part, making the FAL's, condenser, and Koyo Rad fit up front without cutting the core support or anything drastic. Im not gonna lie when it comes to me fabricating its not pretty, but damn it, it will work haha.
so from the bottom of the lower core support lip to the Koyo I have about 6.5cm (2.5 in)

the New condenser is a little bit thicker Pretty much what im gonna do is mount the FAL's to the condenser and reloacate the condenser closer to the Koyo (these are Pusher fans)


here is a side measurement (unsprung) looks like I have plenty of room but the bottom the FAL covers have a .5 mil lip

there is a .5cm lip that is where the Lower core support lip will hit, Which makes it sit at about 6.0cm, I guess i could shave it down if needed

But when mounted and pressure applied I can get it back down to 5.5 CM which will give me just enough maybe

I know you need a little bit of space inbetween the condenser and Radiator but I think running a pusher I wont have to worry about it. But there will be about a 1cm space due to this outlet tube.

hopefully I can start the swap next month if Jeff Jordan can do my wiring Harness (my harness is pretty fucked up)
__________________


Like it.
__________________
(OO\____/OO) Skyline GTR for sale. Link WITH OVER 40 PHOTOS below.
http://www.modifiedcartrader.com/L/2...an-Skyline-GTR
(OO\____/OO) Skyline GTR for sale. Link WITH OVER 40 PHOTOS below.
http://www.modifiedcartrader.com/L/2...an-Skyline-GTR
had quite a few updates
An Unrelated RB Update
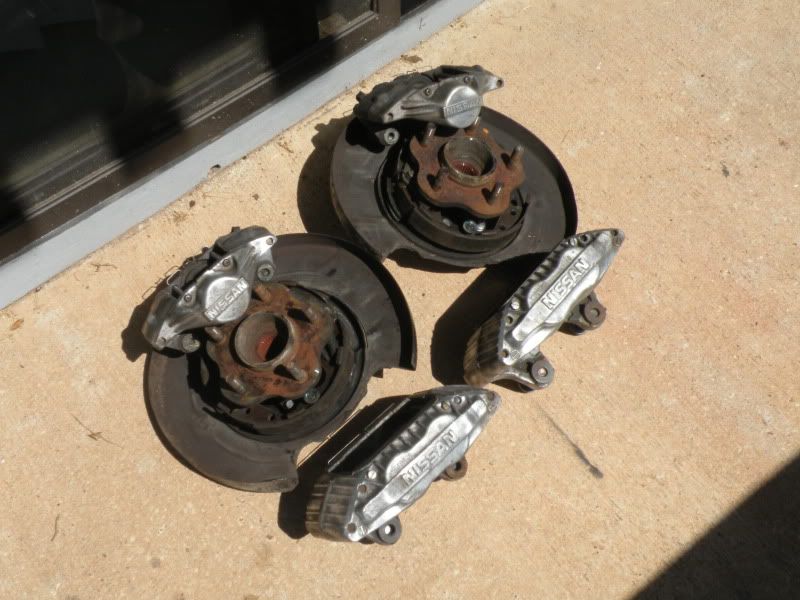
Got a whole Z32 Brake Setup for $43 from a Junk yard in AL!!
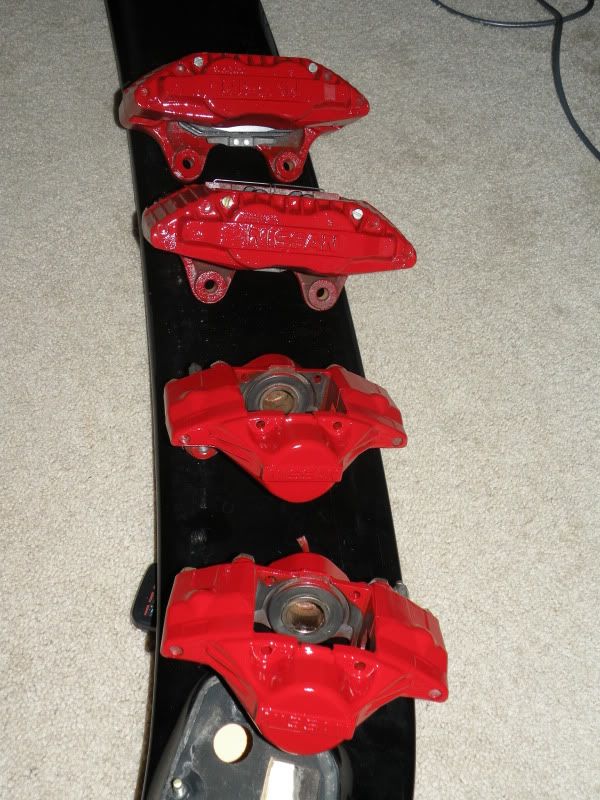
Cleaned them up and painted them Red
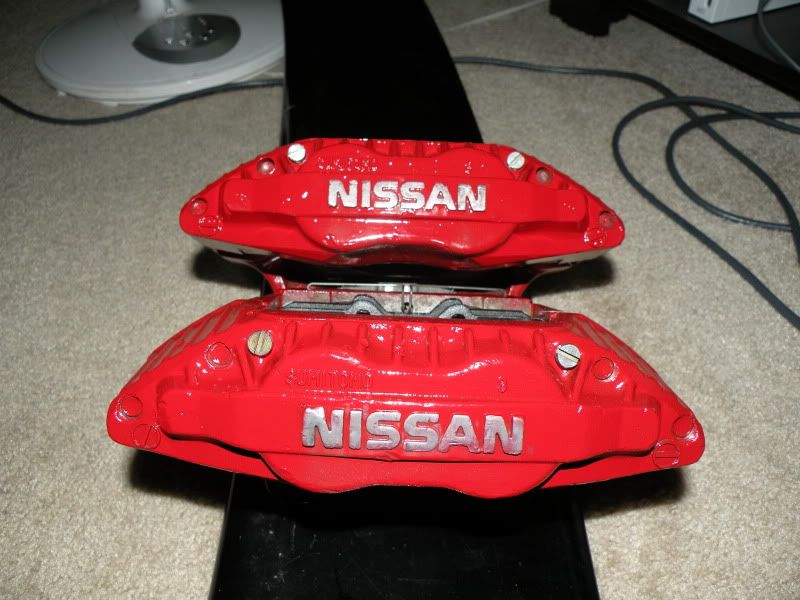
Cleaned the Lettering
I went ahead and ATTEMPTED to wire my own Harness up, Since im tired of waiting on a damn harness. I really dont want to do this, since I hate wiring so well see how it works out.
working on the M63 plug.
Picked up a M63 plug from a Zenki (hopefully the pinout is the same as a Kouki) the straight wires are supposedly the only wires needed for the M63 Plug
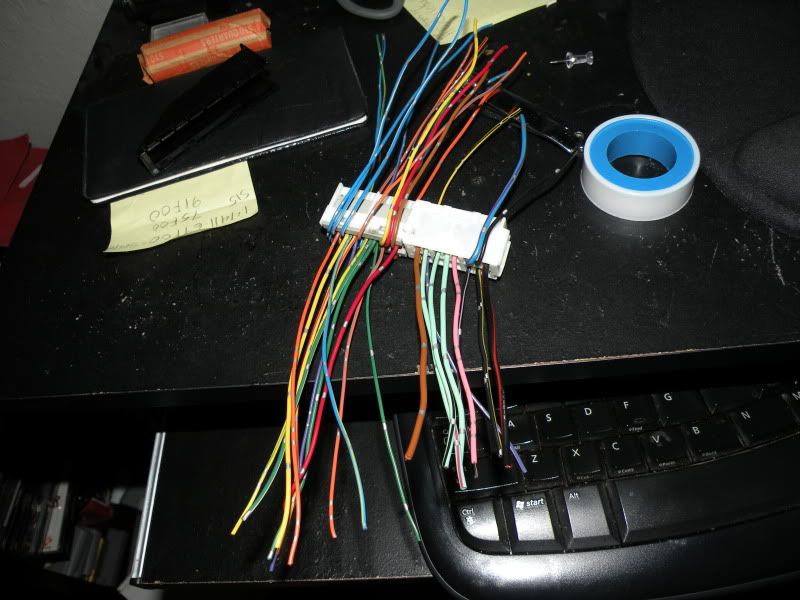
Heres the BS i gotta work with THANKS JDMONLINE.COM You Lying Bastards
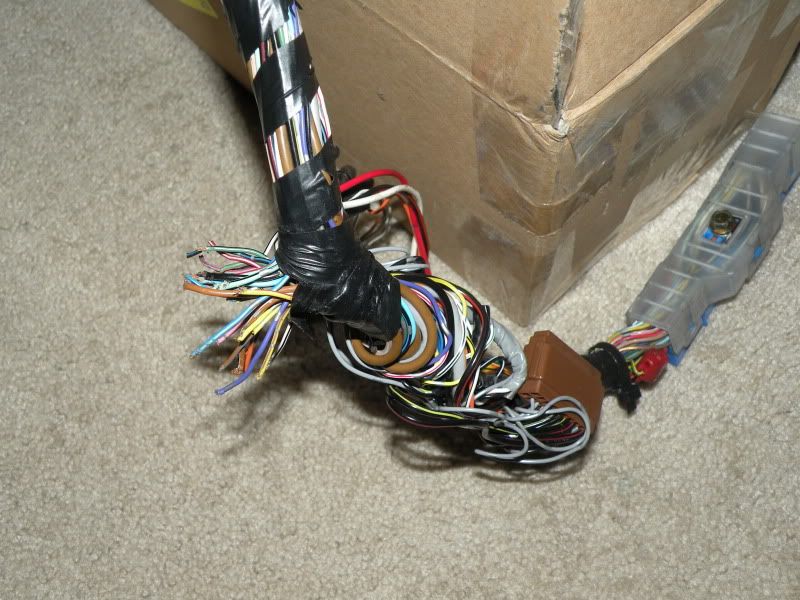
Ugggghhhh I hate wiring, soo fucking tedious, Especially when all I have to go off of is wire colors instead of colors and pin location.
My M63 plug is a little short so I had to use some extra wires and make them longer
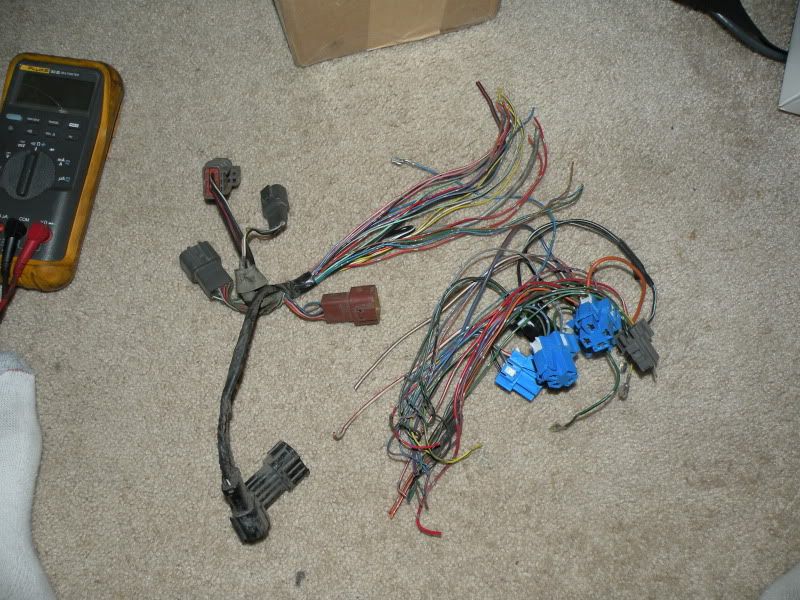
What i gotta work with.... I need a ESD Table
FYI, I did not use Butt Connectors, Its soldered The red is just the heat shrink
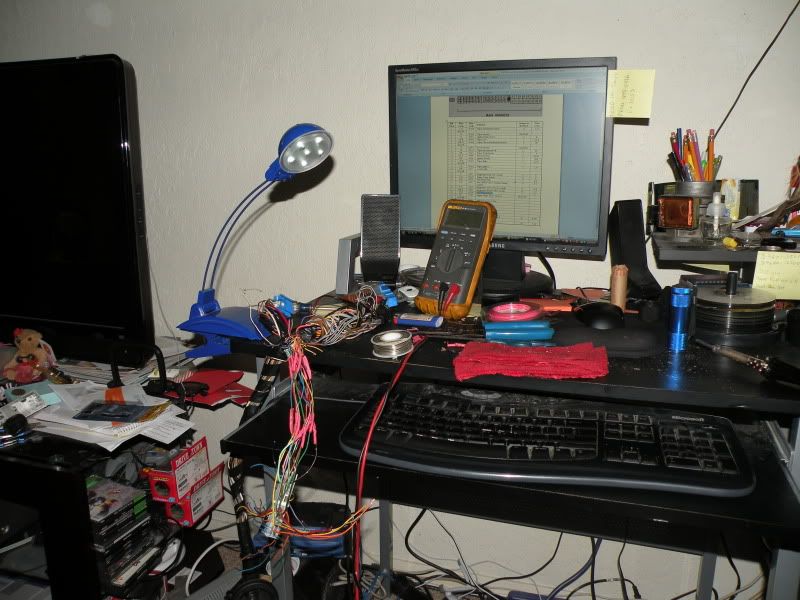
Pretty much done with it,
I got 5 extra wires though, Im not sure what they are, I'll have to do some tracing tomorrow
I think im missing a ground too according to my chart
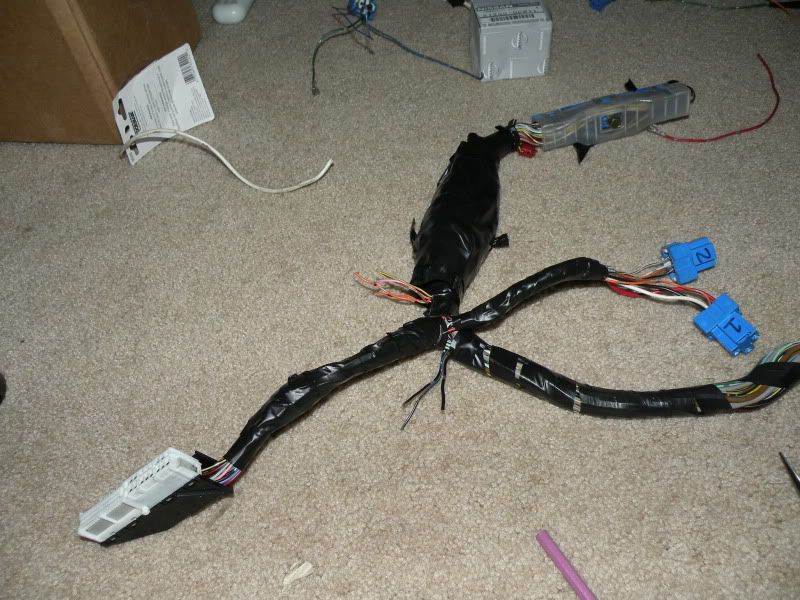
next will be the MAFS section.....sighhhh Fuck you JDMONLINE.COM.......
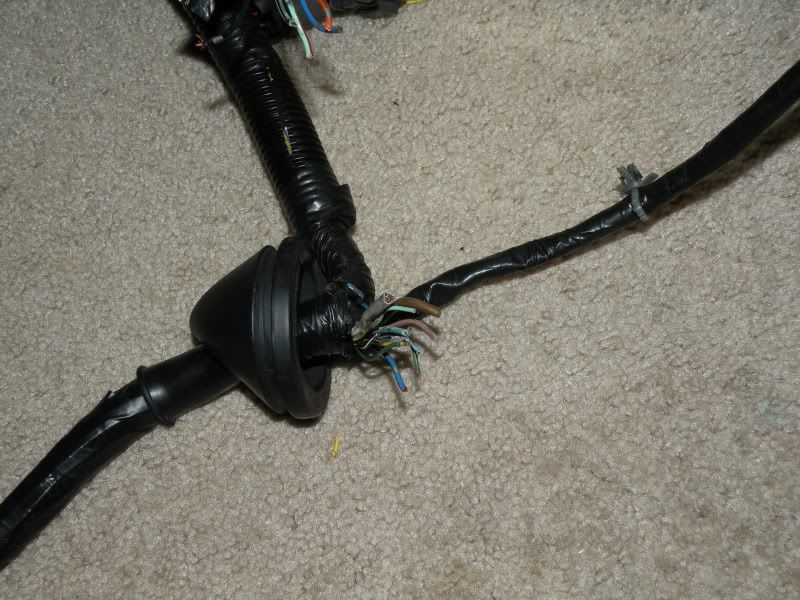
went ahead and did the lower harness
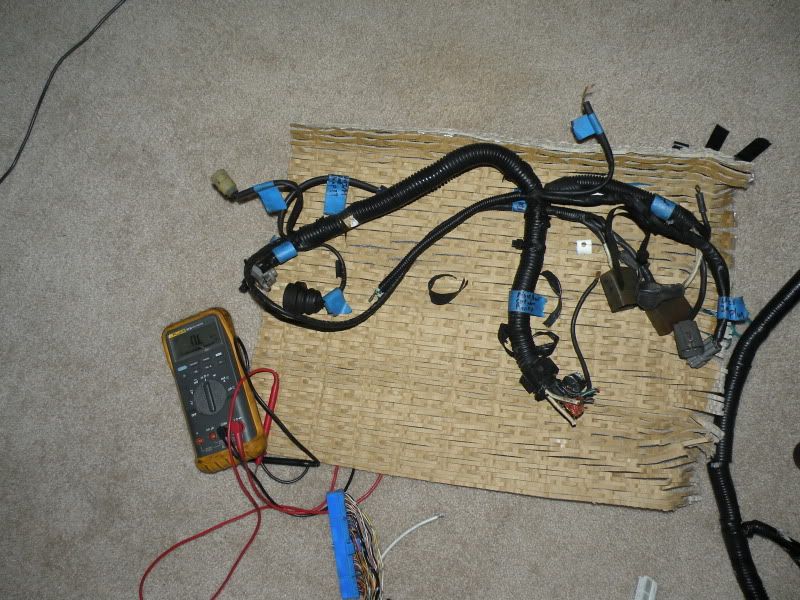
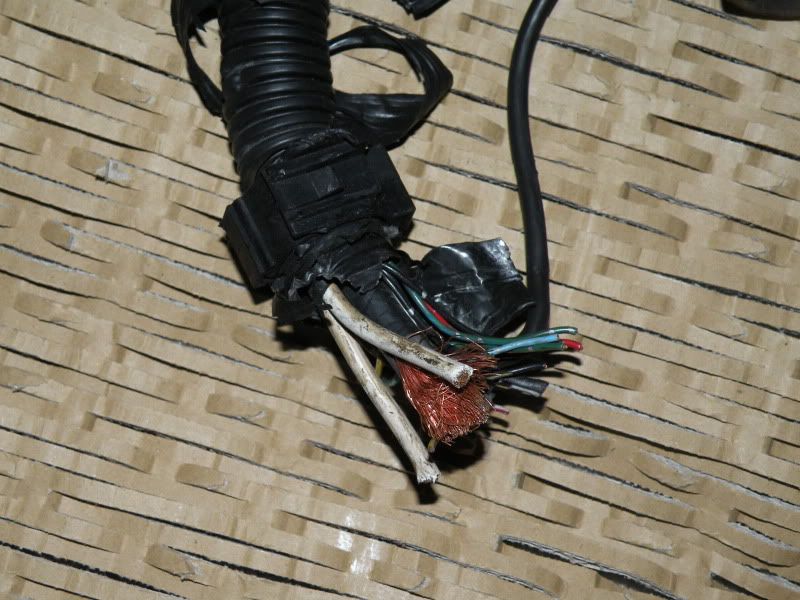
once again JDMONLINE.COM are a bunch of lying bastards
De-Loomed
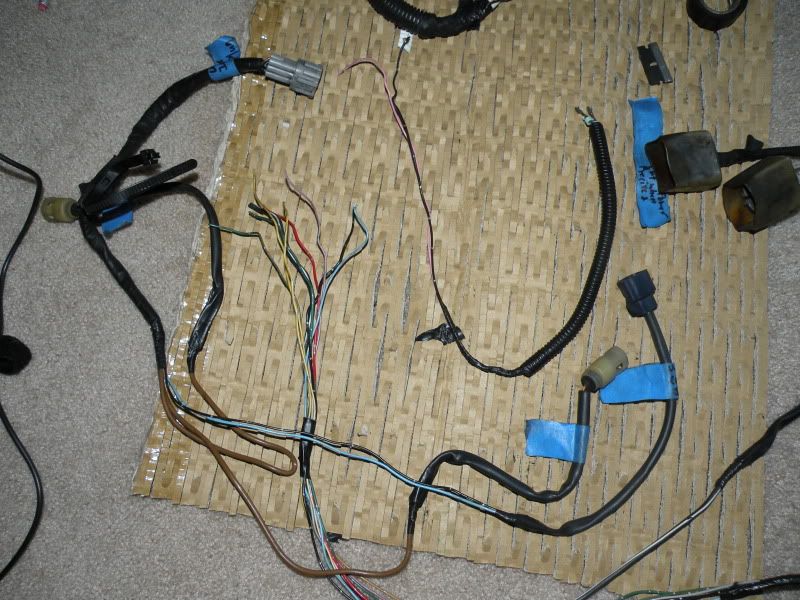
So apparently I can use the Lower KA harness
And the Knock Sensor section is the only section that I need from the RB lower harness minus the Oil Pressure plug, and possibly the Tranny plugs and a swap of the Starter Solenoid plug
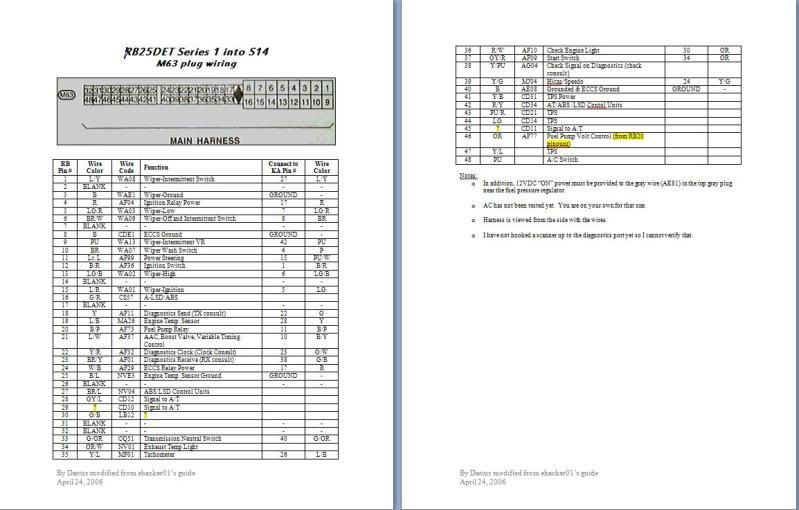
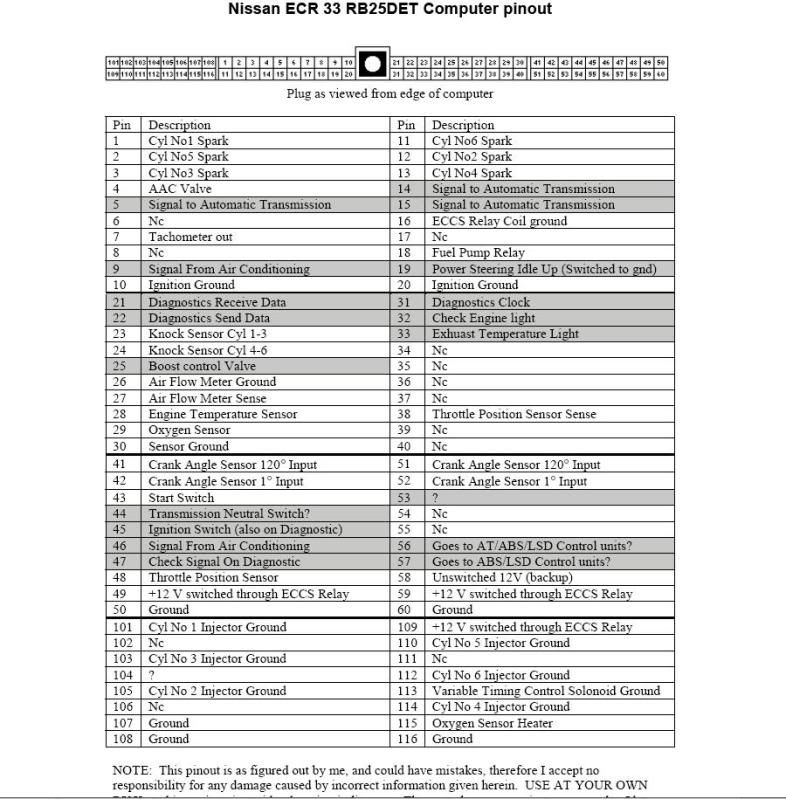
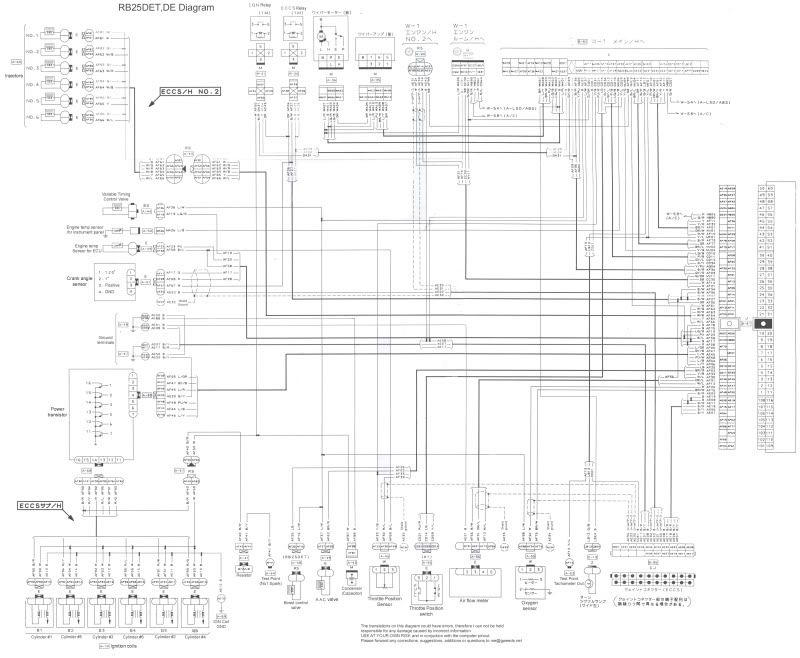
If anyone wants to know here are my References that im using
So I had to work a few weekends ago so I figured I'd make the best of it.
I didnt like the solder job (shitty solder iorn) and the heat shrink (too big)
So i redid it. I guess one perk of my job.
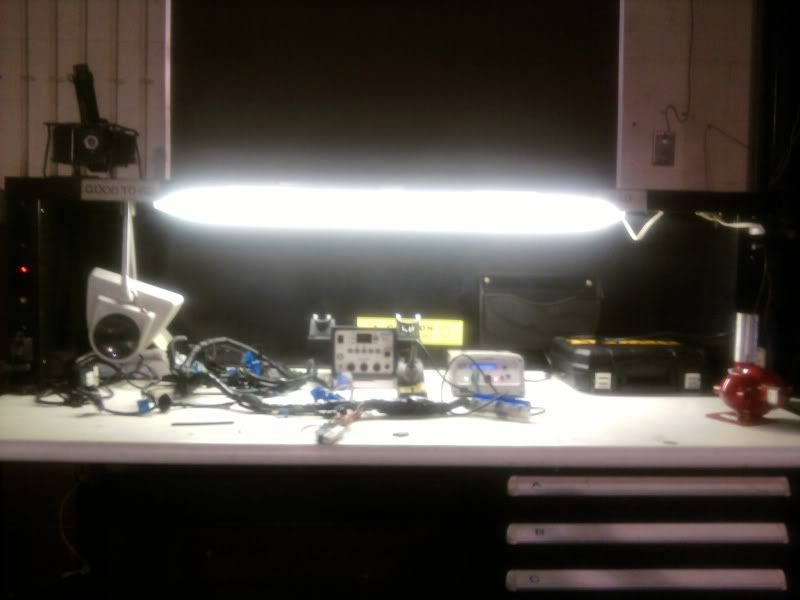
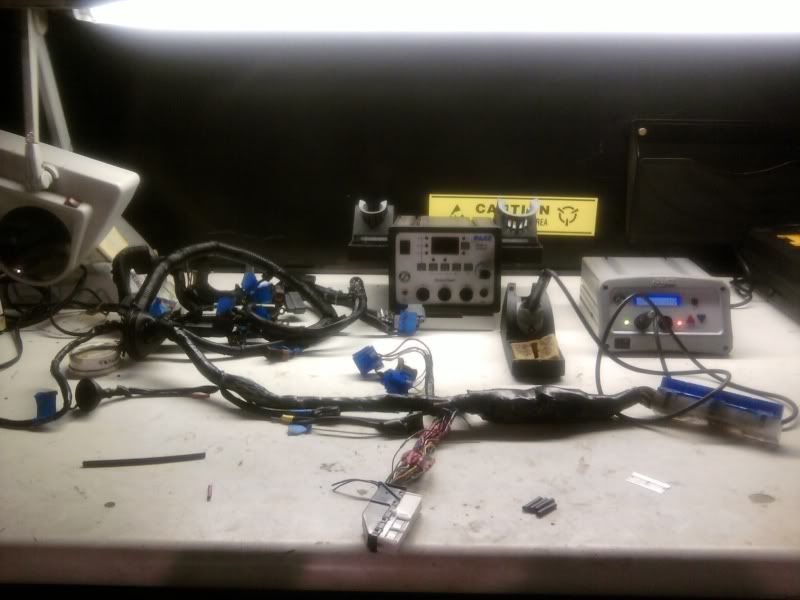
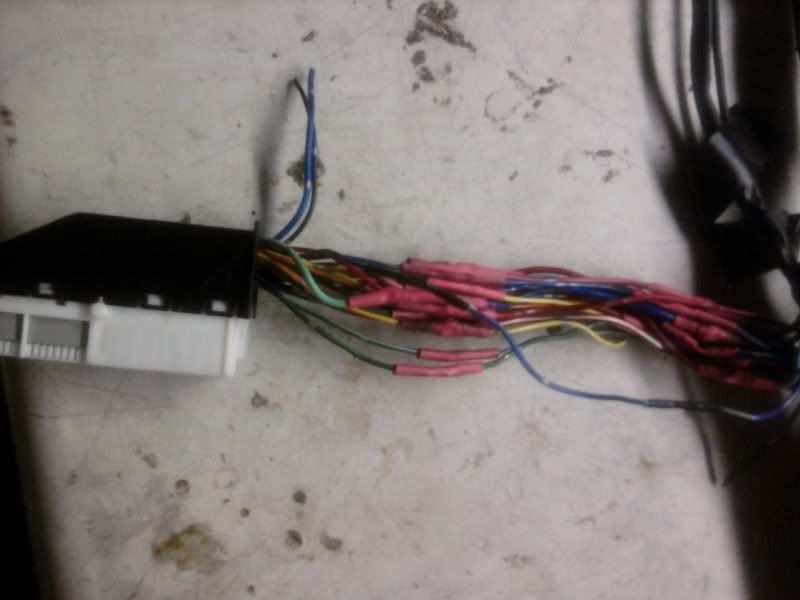
Finished again.
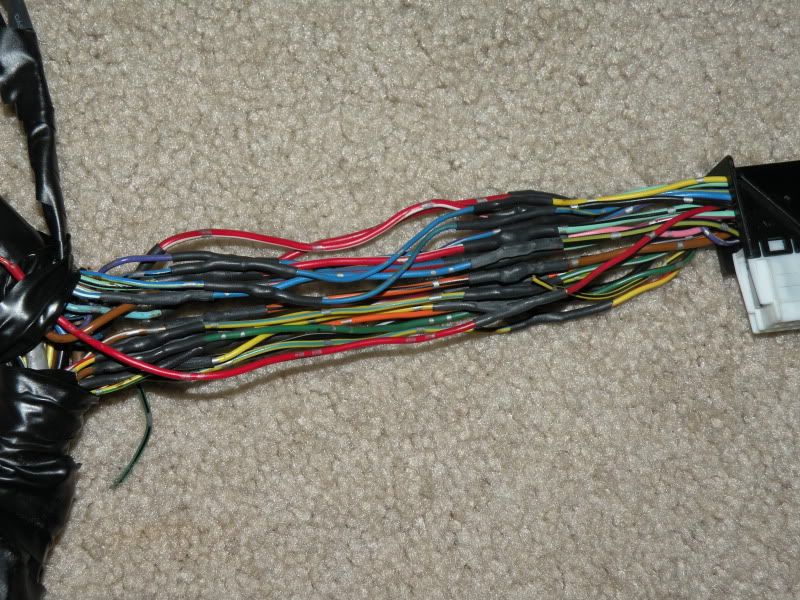
Hit up the Junk yard for some plugs and wires.
Got the Z32 Shielded Wire, A Kouki Wiper plug from a (EDIT) Infinity I30 and a MAFS for the RB Series I plug from the I30 as well
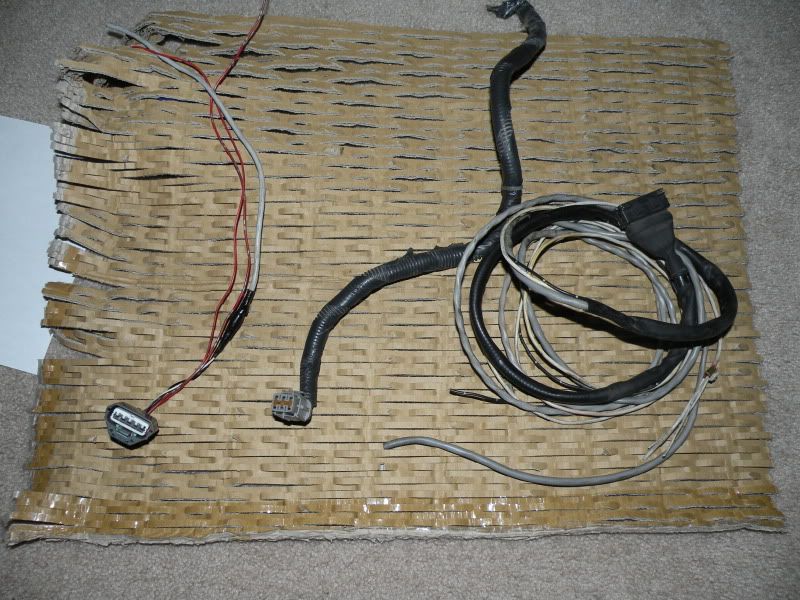
Im quite surprised I found a plug that will fit on the RB Series I MAFS but the problem is the pin out id differnet from the RB MAFS pin out so you gotta repin it. (Not hard at all)
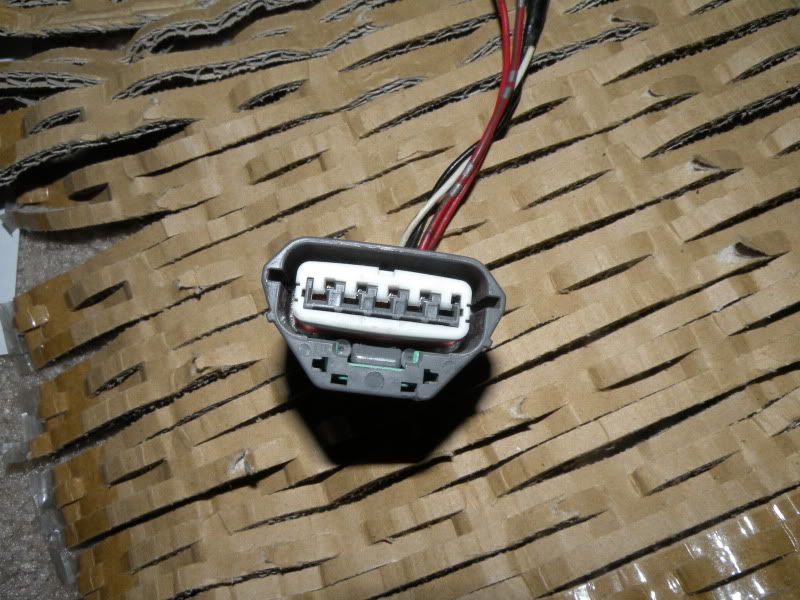
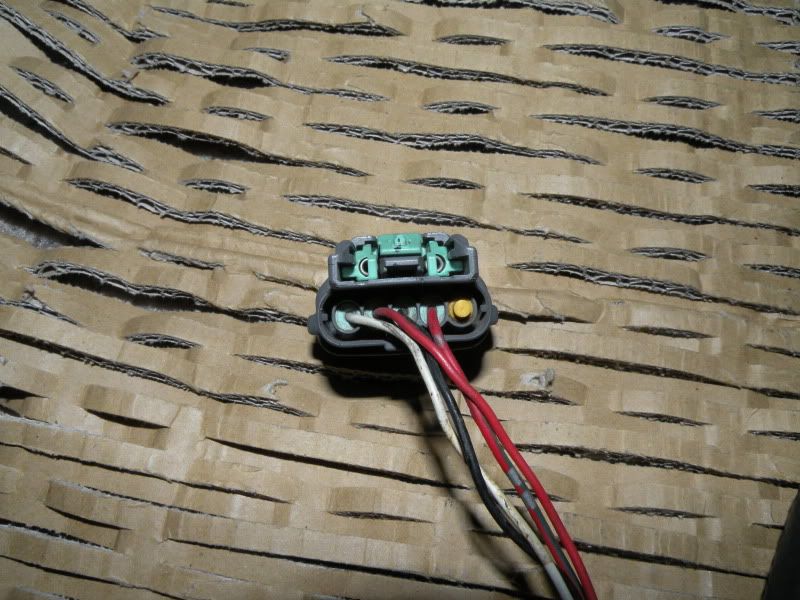
Has this weird/cool connector on it
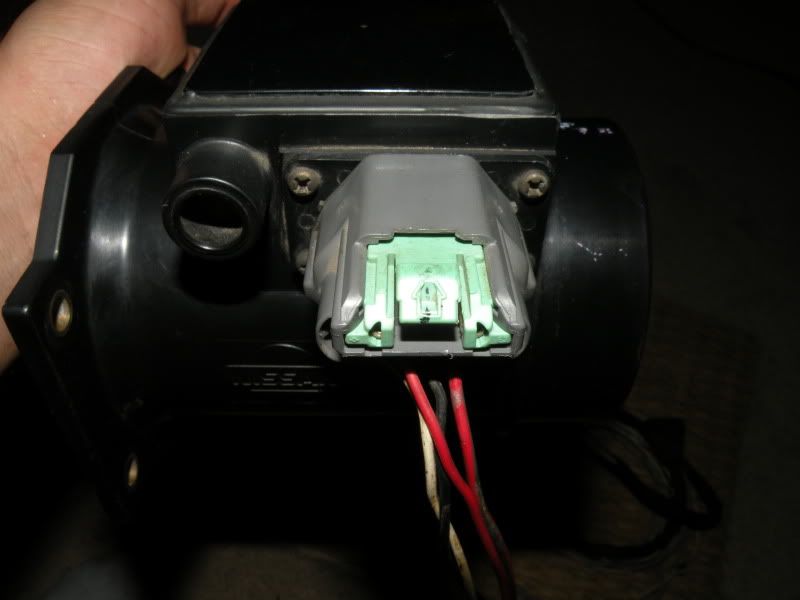
Man this wiring is gonna drive me crazy. I gotta make little notes to remind me what wires are what what where they go.
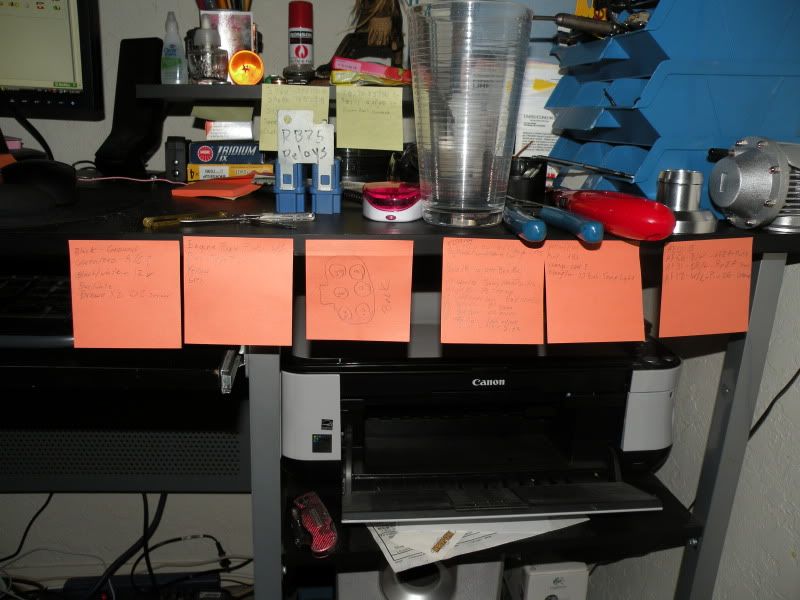
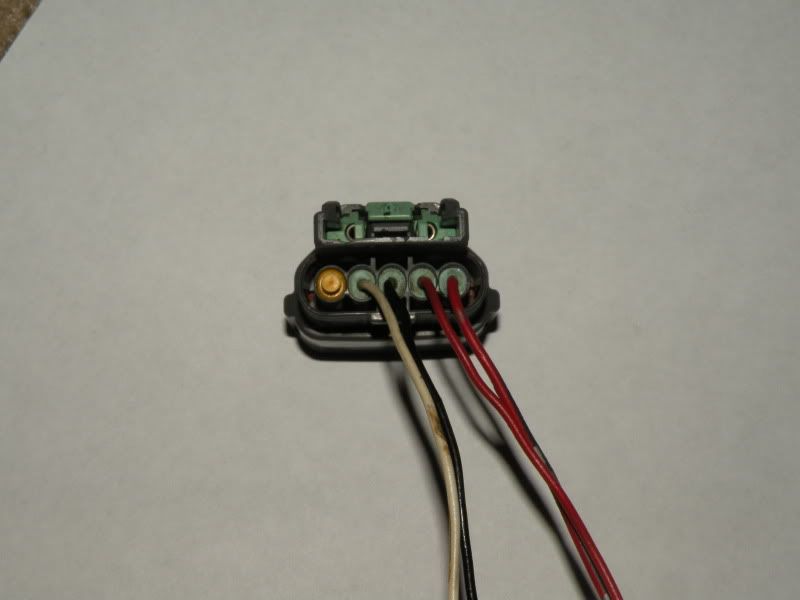
Well the Schematics are showing that the Series 1 is a 4 wire Plug but the MAFS has 5 pins, I guess 1 is not used?
but had to repin the connectors for the RB MAFS and the Kouki wiper motor (very easy took like 2 mins)
deloomed and installed the Z32 MAFS wires, Cant seem to find the MAFS 12V wire, but I think I found it, Its a small Bl/W wire, I guess cuz its small its throwing me off
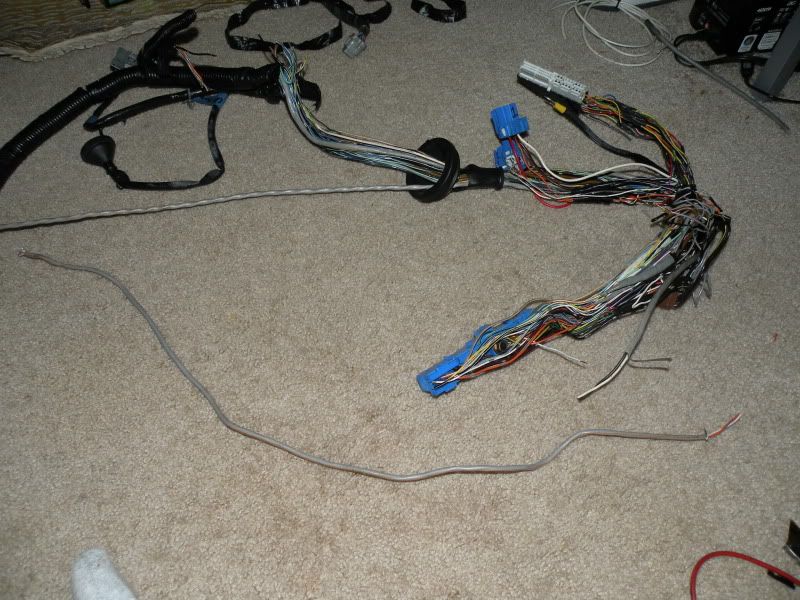
New MAFS Wire
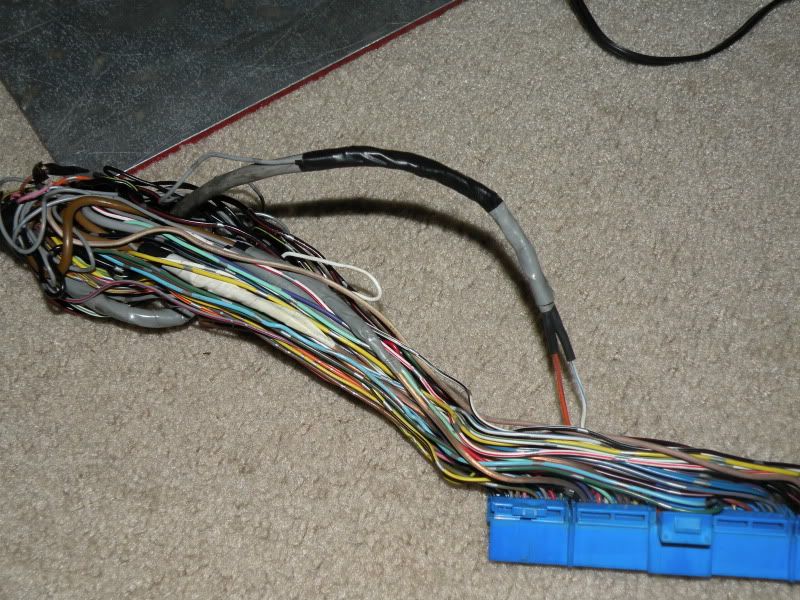
almost done, Just need the O2 Sensor and RB MAFS plug wired in and should be done..... :/
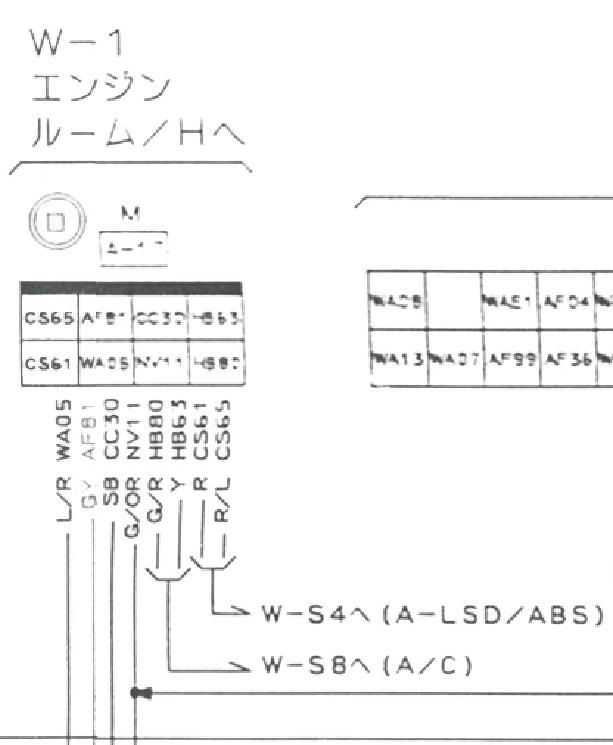
But there is also some square plug thats suppose to come from the MAFS section not sure what the hell it is, Wiring schematic says" Engine Room/H" Dont know what the hell that means
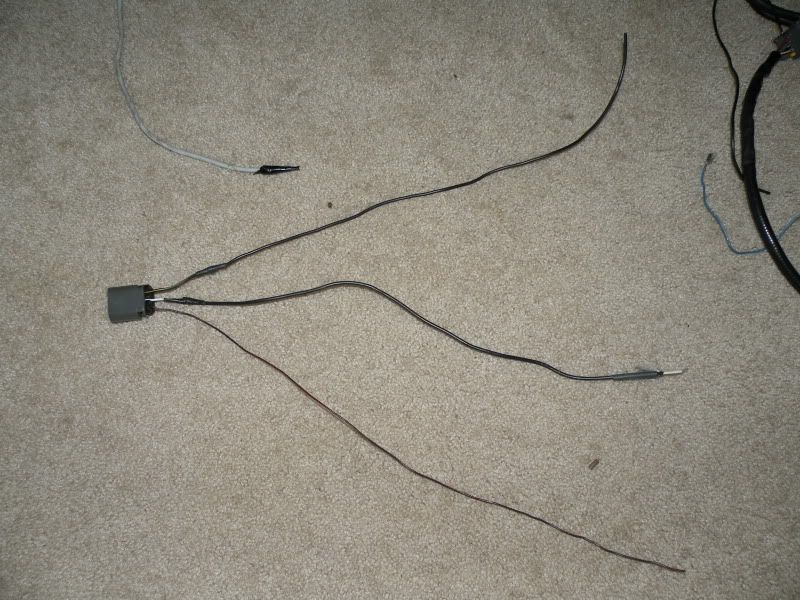
Alright so I went to the junk yard and picked up a Z32 O2 sensor plug
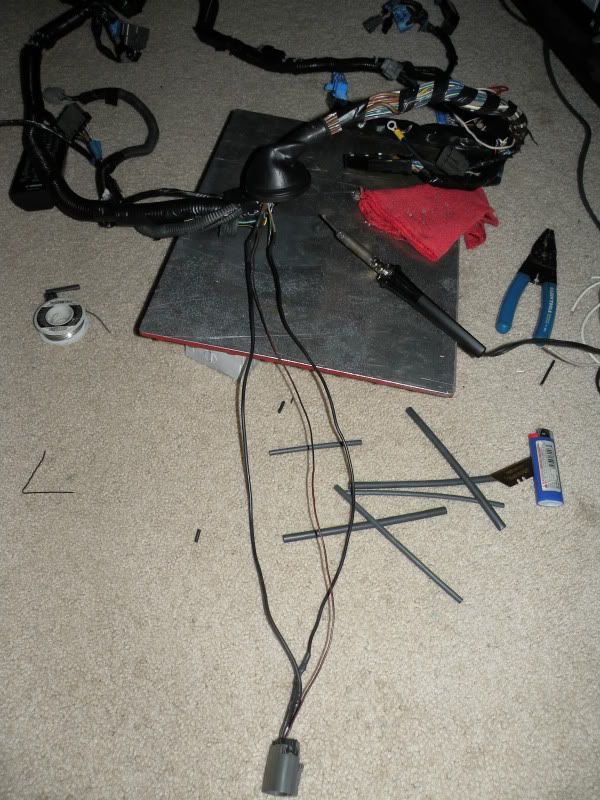
my awesome soldering station lolz :/
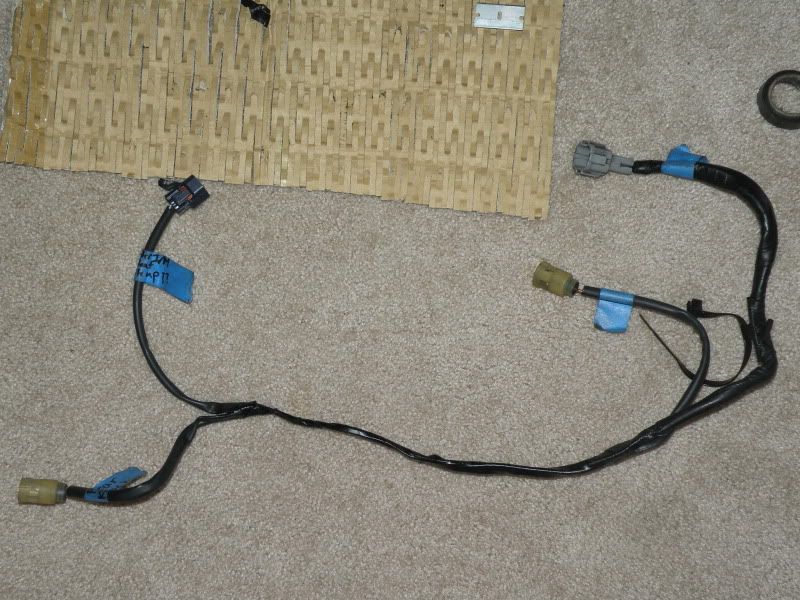
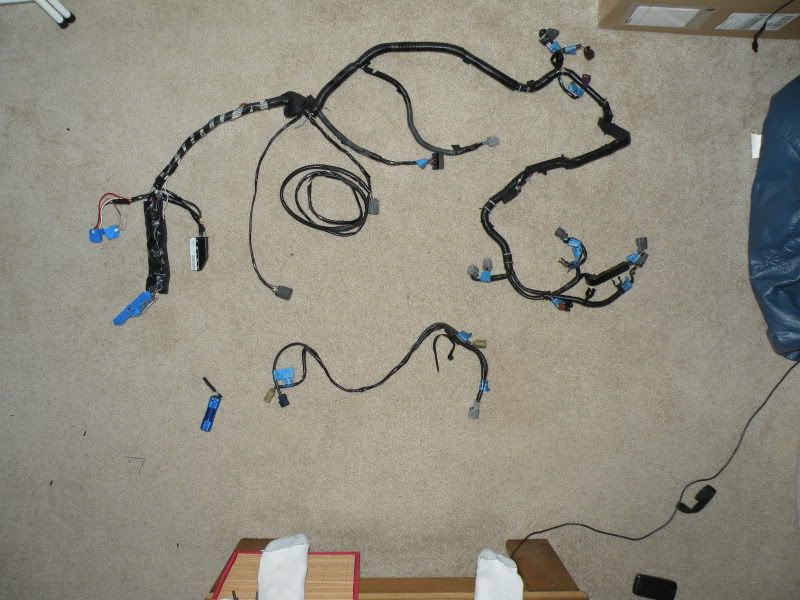
So now I THINK the RB harness is done....
An Unrelated RB Update
Got a whole Z32 Brake Setup for $43 from a Junk yard in AL!!

Cleaned them up and painted them Red

Cleaned the Lettering

I went ahead and ATTEMPTED to wire my own Harness up, Since im tired of waiting on a damn harness. I really dont want to do this, since I hate wiring so well see how it works out.
working on the M63 plug.
Picked up a M63 plug from a Zenki (hopefully the pinout is the same as a Kouki) the straight wires are supposedly the only wires needed for the M63 Plug

Heres the BS i gotta work with THANKS JDMONLINE.COM You Lying Bastards

Ugggghhhh I hate wiring, soo fucking tedious, Especially when all I have to go off of is wire colors instead of colors and pin location.
My M63 plug is a little short so I had to use some extra wires and make them longer

What i gotta work with.... I need a ESD Table
FYI, I did not use Butt Connectors, Its soldered The red is just the heat shrink

Pretty much done with it,
I got 5 extra wires though, Im not sure what they are, I'll have to do some tracing tomorrow
I think im missing a ground too according to my chart

next will be the MAFS section.....sighhhh Fuck you JDMONLINE.COM.......

went ahead and did the lower harness


once again JDMONLINE.COM are a bunch of lying bastards
De-Loomed

So apparently I can use the Lower KA harness
And the Knock Sensor section is the only section that I need from the RB lower harness minus the Oil Pressure plug, and possibly the Tranny plugs and a swap of the Starter Solenoid plug

If anyone wants to know here are my References that im using


So I had to work a few weekends ago so I figured I'd make the best of it.
I didnt like the solder job (shitty solder iorn) and the heat shrink (too big)
So i redid it. I guess one perk of my job.


Finished again.

Hit up the Junk yard for some plugs and wires.
Got the Z32 Shielded Wire, A Kouki Wiper plug from a (EDIT) Infinity I30 and a MAFS for the RB Series I plug from the I30 as well

Im quite surprised I found a plug that will fit on the RB Series I MAFS but the problem is the pin out id differnet from the RB MAFS pin out so you gotta repin it. (Not hard at all)


Has this weird/cool connector on it

Man this wiring is gonna drive me crazy. I gotta make little notes to remind me what wires are what what where they go.

Well the Schematics are showing that the Series 1 is a 4 wire Plug but the MAFS has 5 pins, I guess 1 is not used?
but had to repin the connectors for the RB MAFS and the Kouki wiper motor (very easy took like 2 mins)

deloomed and installed the Z32 MAFS wires, Cant seem to find the MAFS 12V wire, but I think I found it, Its a small Bl/W wire, I guess cuz its small its throwing me off

New MAFS Wire

almost done, Just need the O2 Sensor and RB MAFS plug wired in and should be done..... :/

But there is also some square plug thats suppose to come from the MAFS section not sure what the hell it is, Wiring schematic says" Engine Room/H" Dont know what the hell that means

Alright so I went to the junk yard and picked up a Z32 O2 sensor plug

my awesome soldering station lolz :/

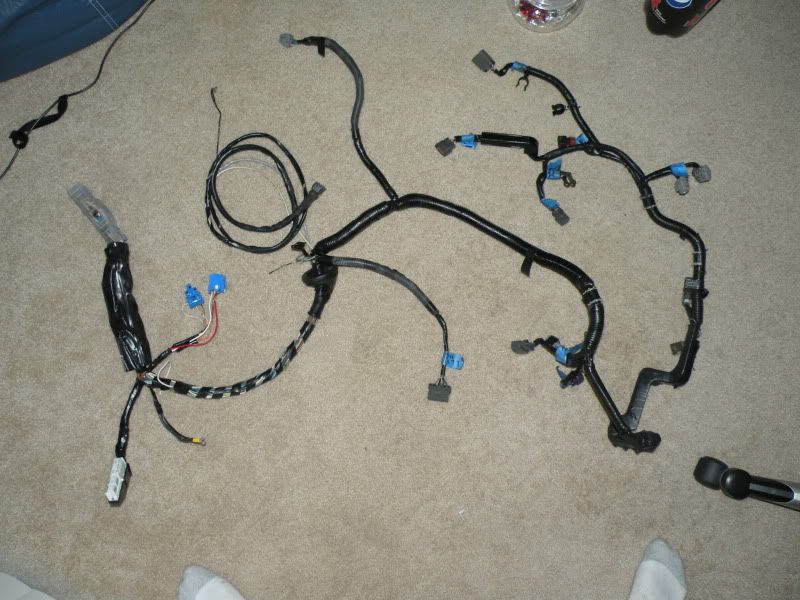
So now I THINK the RB harness is done....

__________________


Last edited by Sileighty_85; 10-24-2010 at 07:32 PM.
Moar updates
Just got in my Steering overhaul package.
(I already got some Moog Outer Tie Rod Ends)
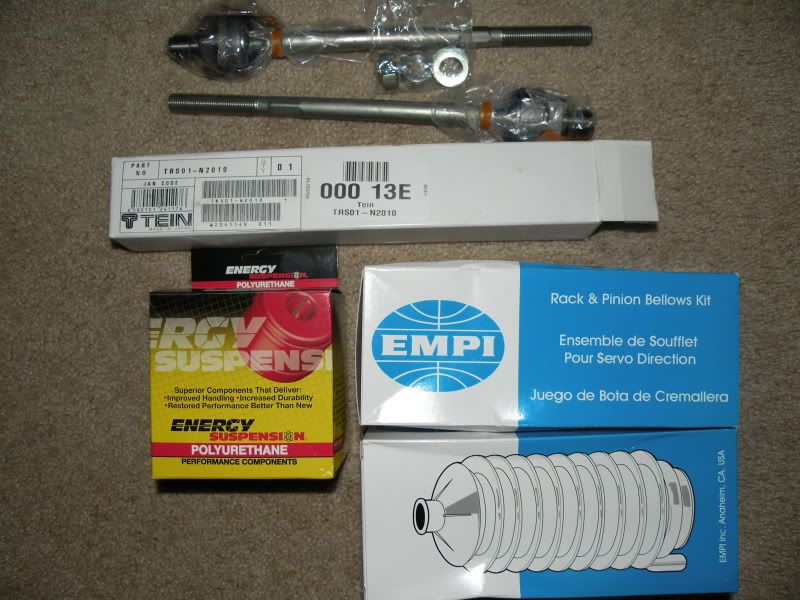
Thanks Guys ^^
I believe in doing it right the first time with quality parts
Got everything installed today, I would have kinda done a step by step but didnt think about it at the time
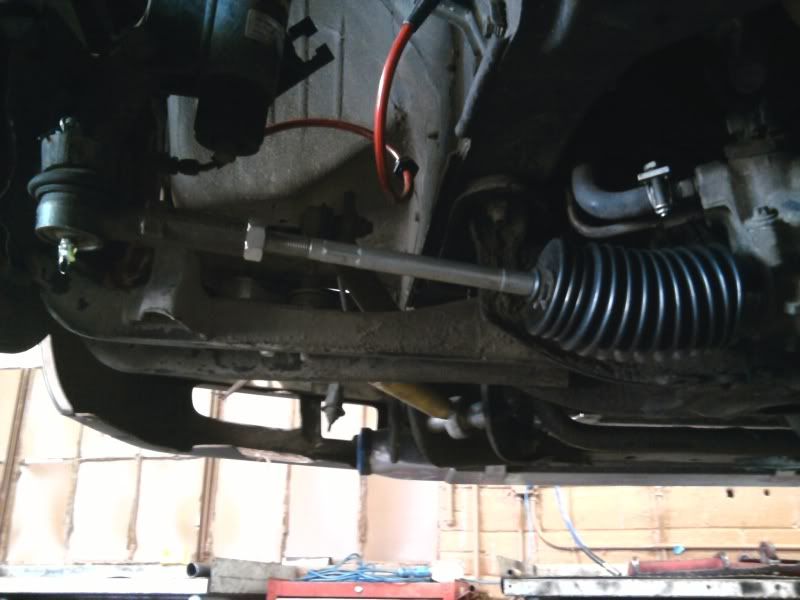
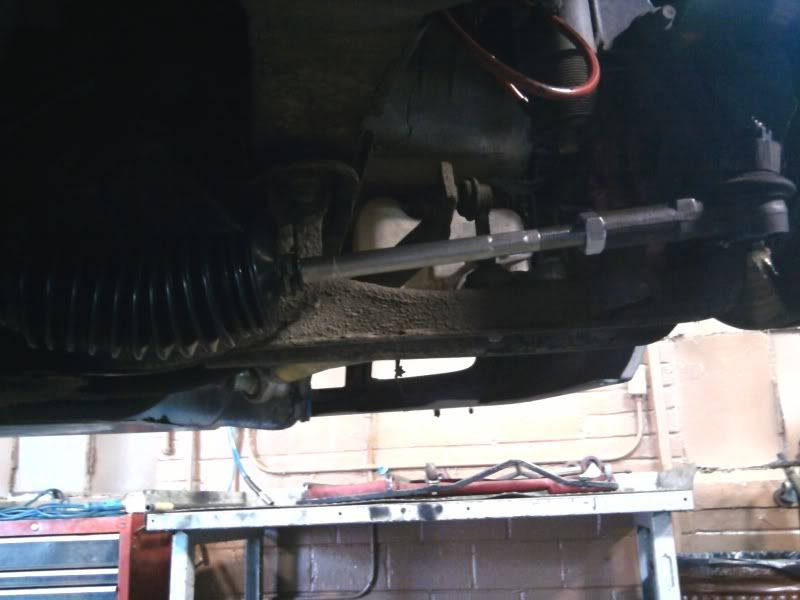
A BIG noticeable difference after everything, Steering is much more responsive and stiff.
The Tein Tie Rods came with steering angle spaces.
I must say i never expected that a 1/4in metal ring would make such a noticeable difference in steering angle
yeah a def need to get some Angle adjuster tie rod ends
So i finally got in my Hyper Gear Turbo
I wanted a turbo that bolted up to the stock exhaust and down pipe since i spent a good bit on the SYKO mount set. Not looking for 500hp just somthing more than stock so this turbo will do just fine
Key benefit: 360 degrees Thrust bearing Heat treated steel wheel and shaft Suitable for High Boost applications Product Goal: High Responds, High Torque. Long life time. OEM Bolton RB25det Upgrade.
sure i sacrifice the stock Ball Bearing system but now i got a rebuild-able turbo
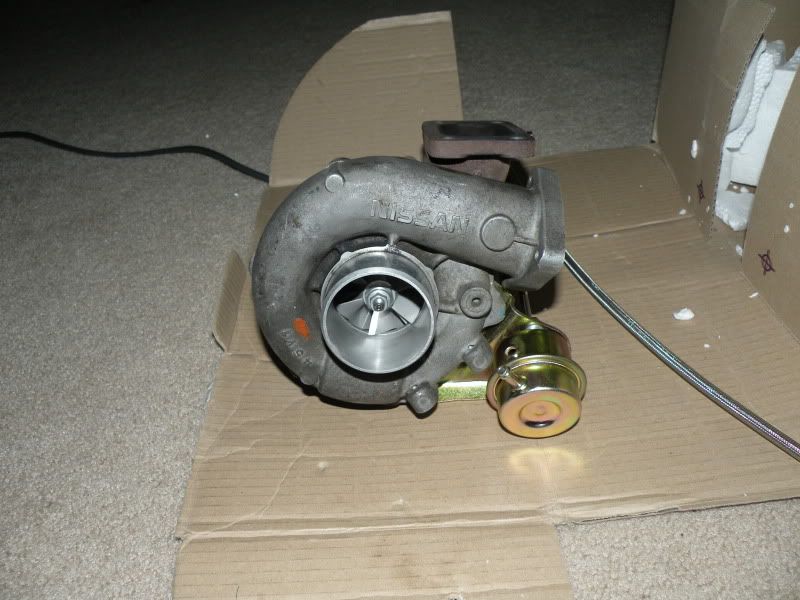
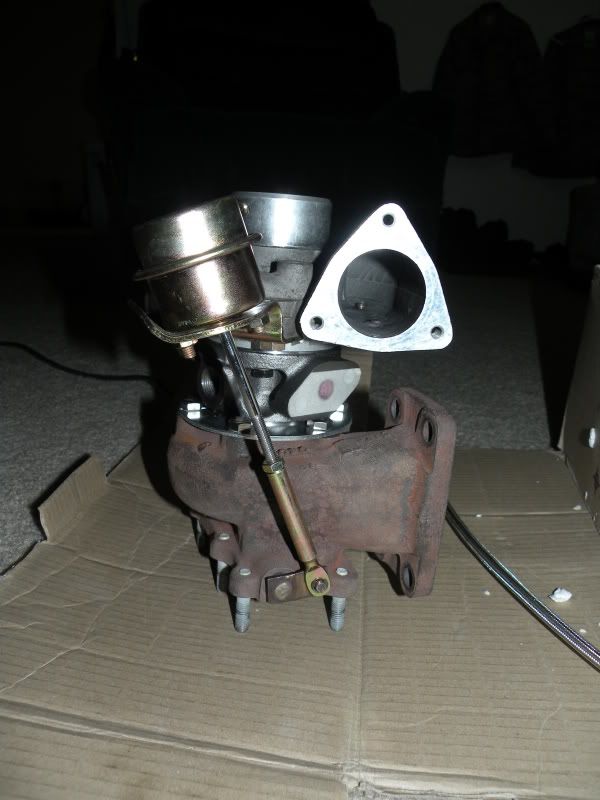
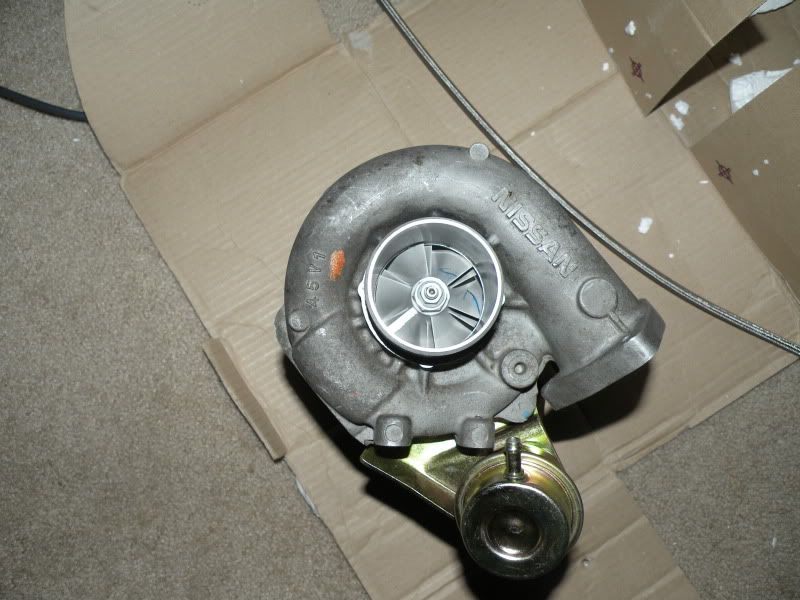
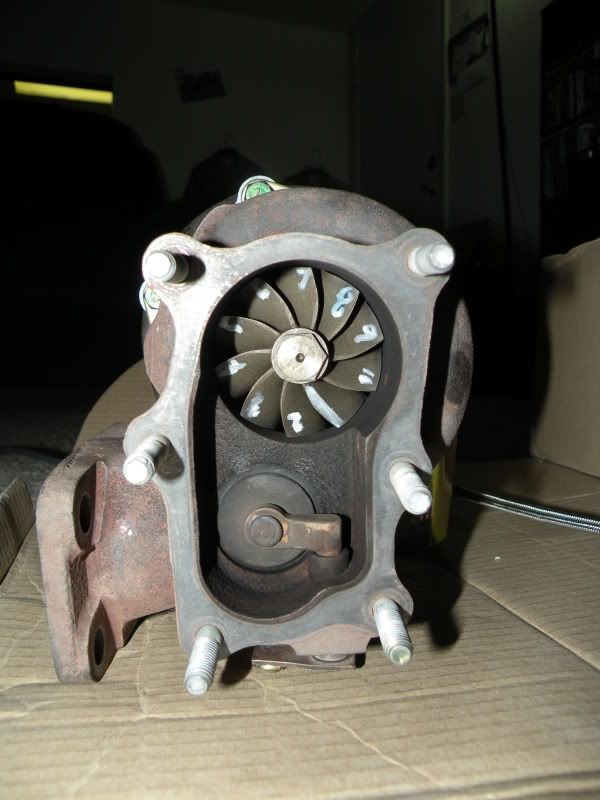
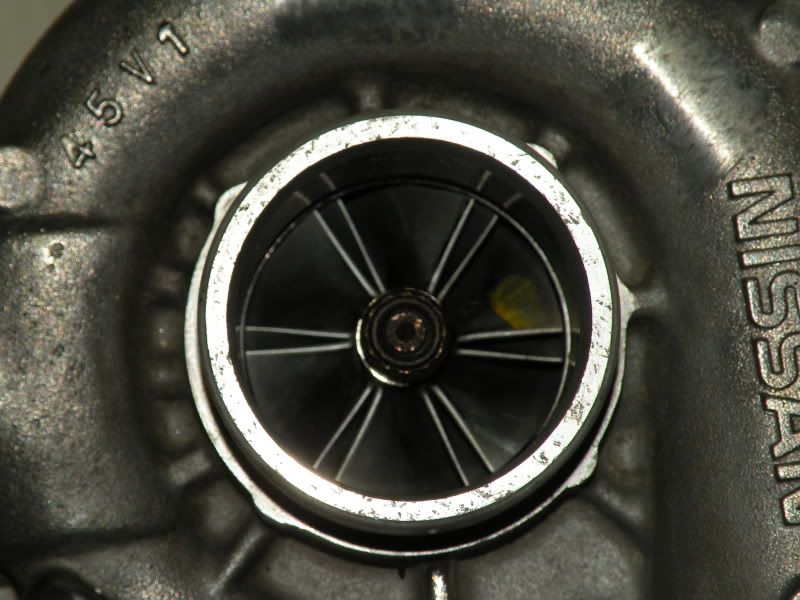
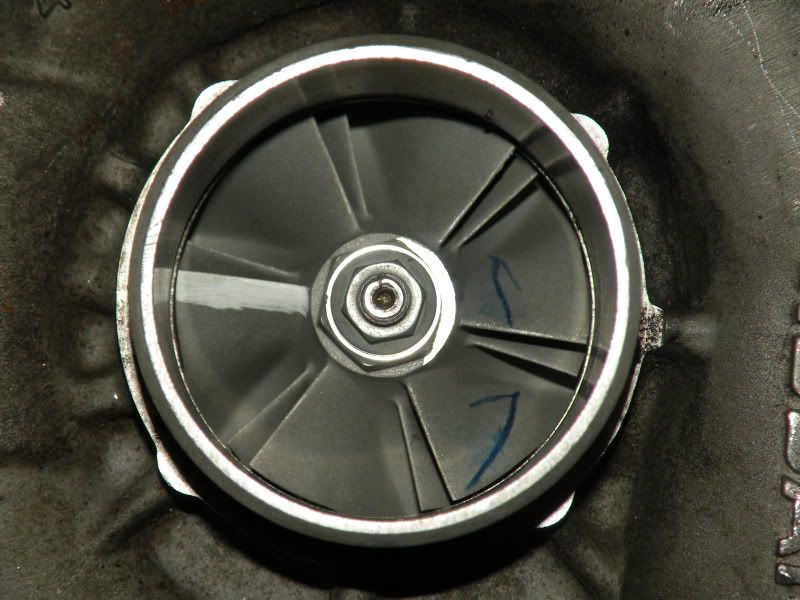
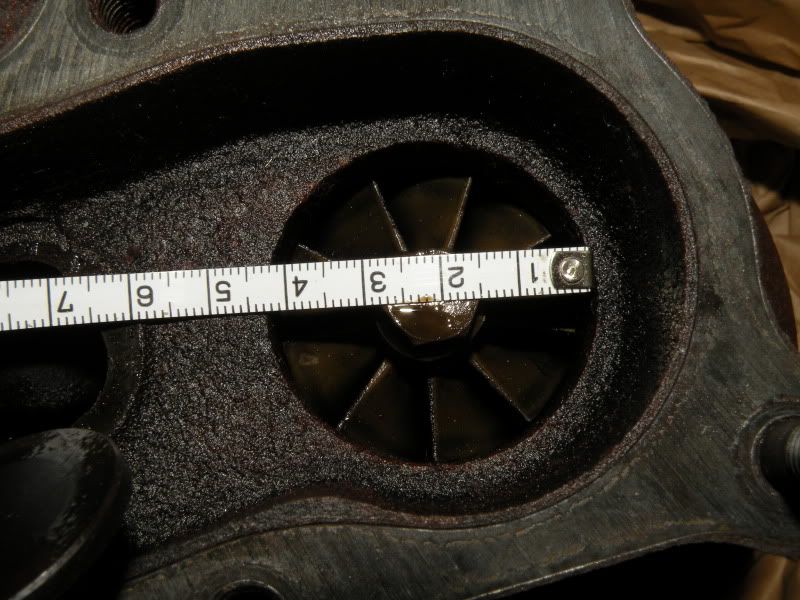
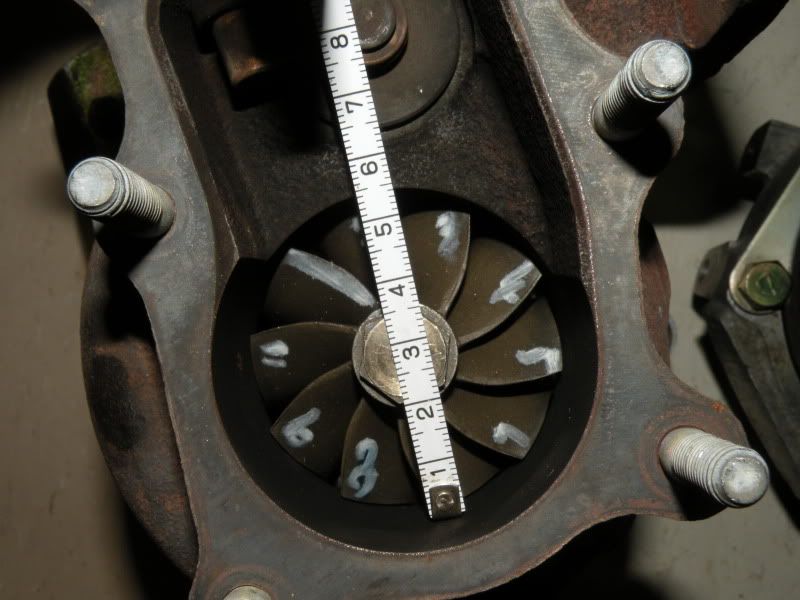
Comparison between the Stock R33 turbo and the Hypergear R33 Turbo
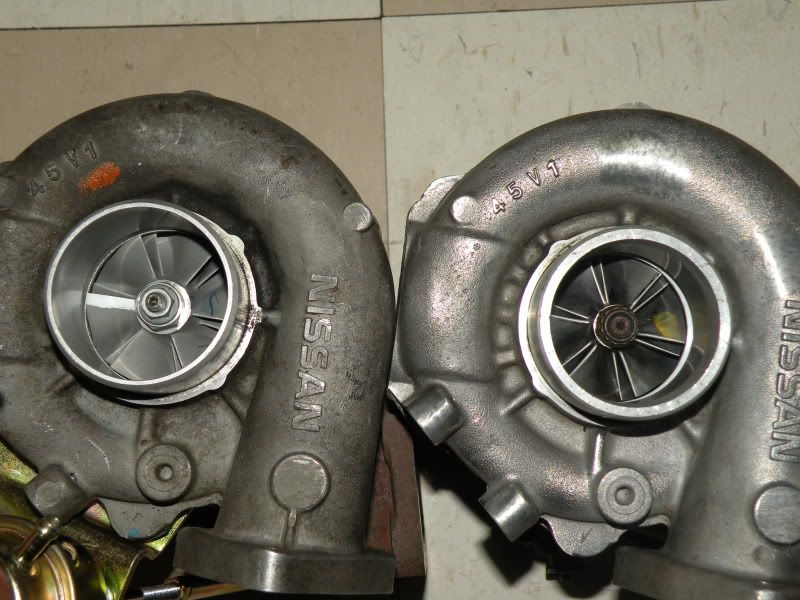
Stock
Hyper Gear
Most noticeable difference is the Exhaust Wheel
The craptasic Ceramic wheel is replaces with a Steel turbine wheel
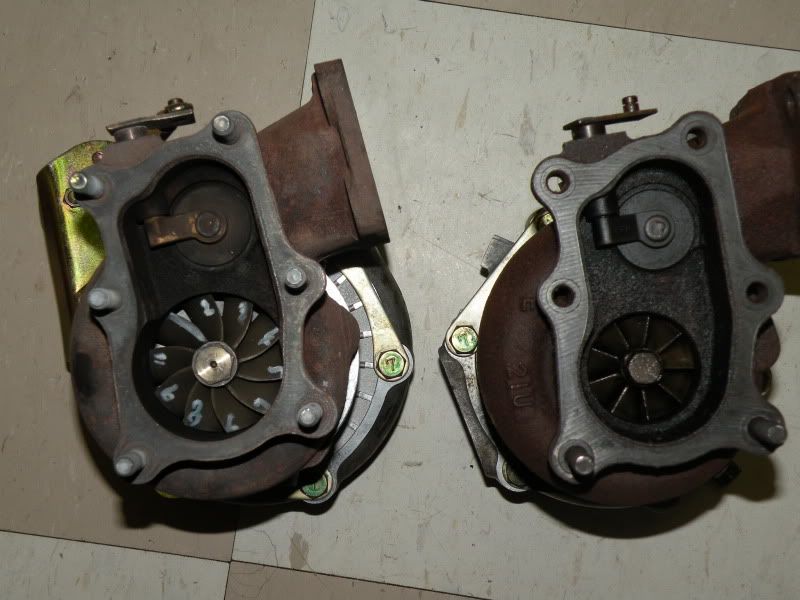
Stock
Hyper Gear
Alright guys Stage 1 is complete!
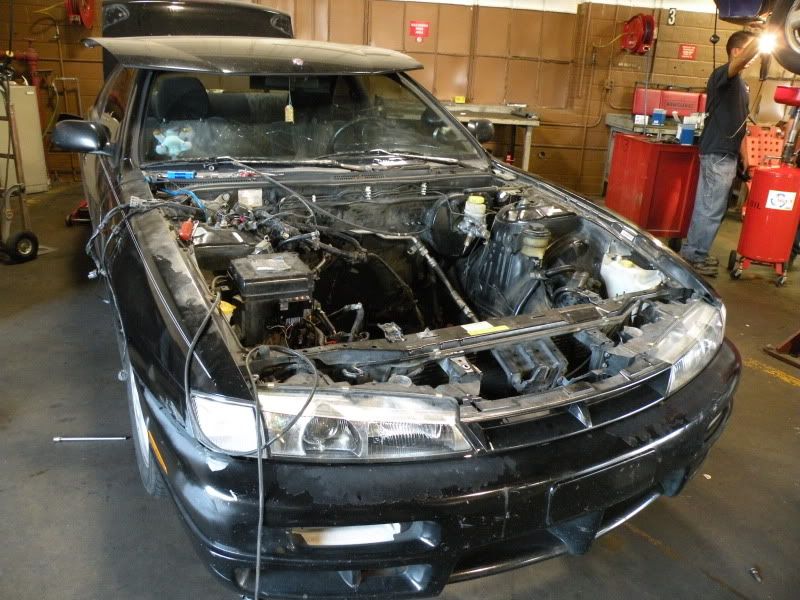
Finally had some free time to pull the engine
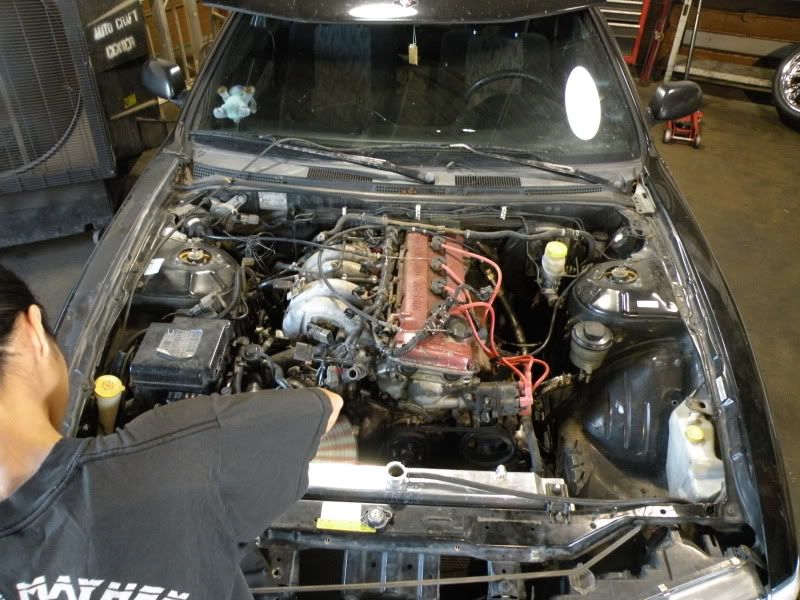
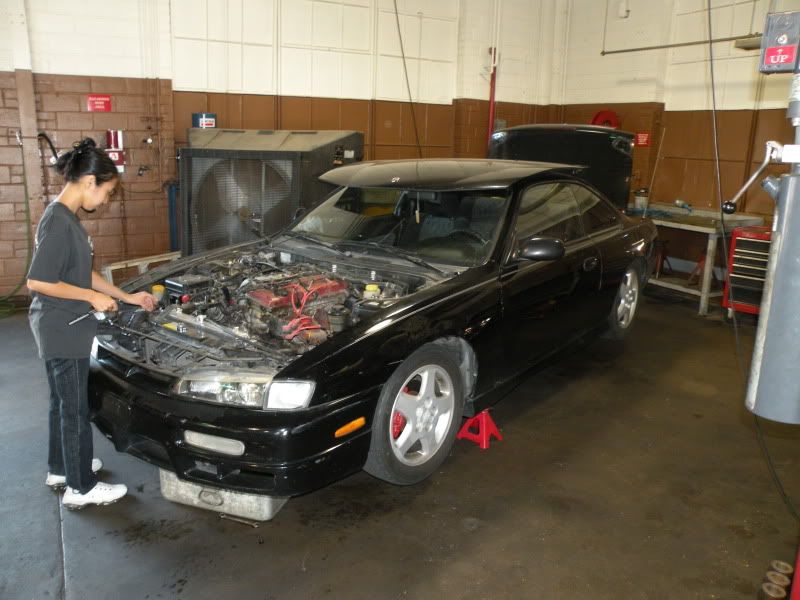
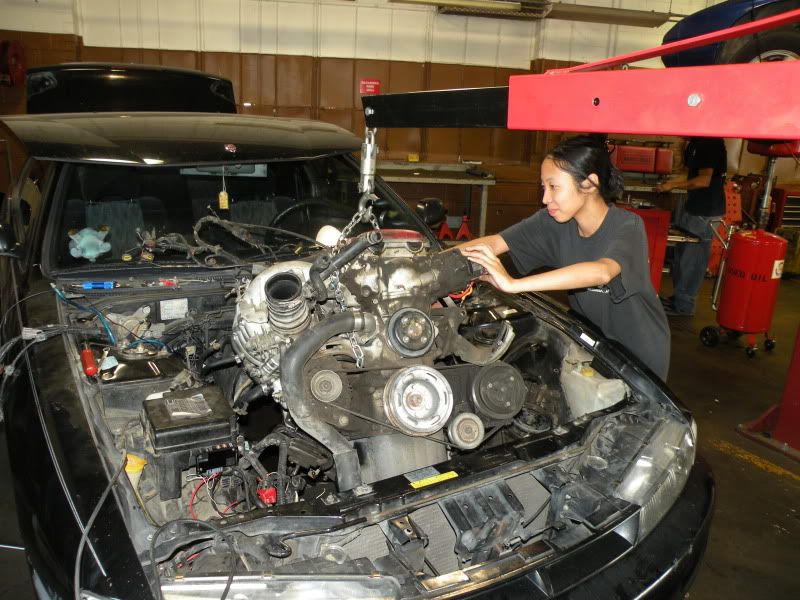
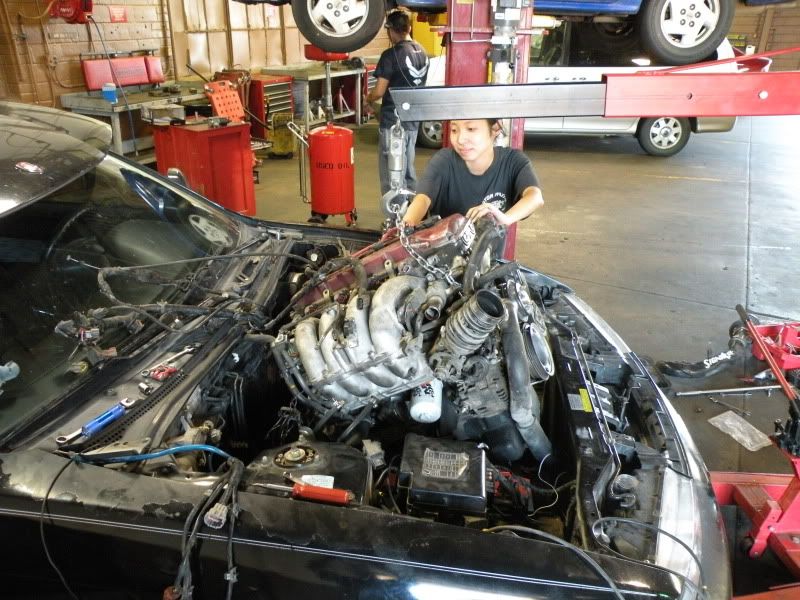
hmmm KA48
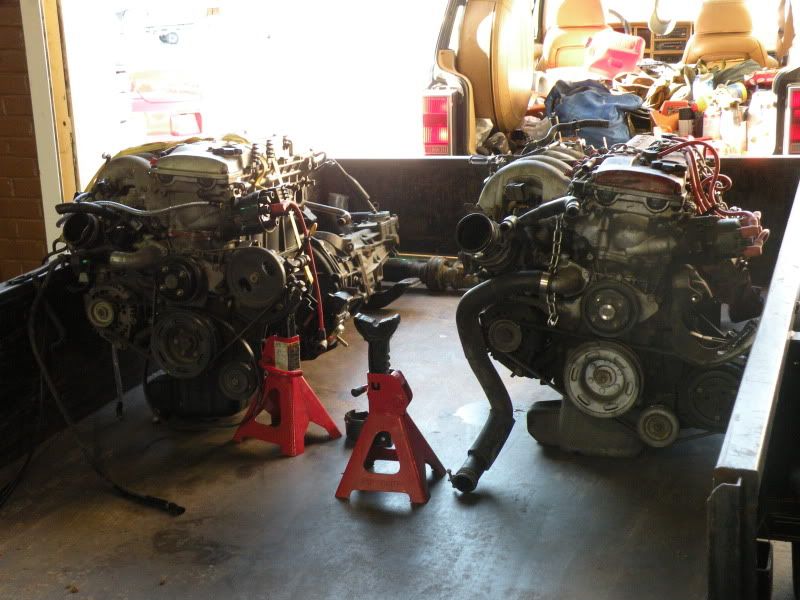
Hmmm what else needs to be taken out
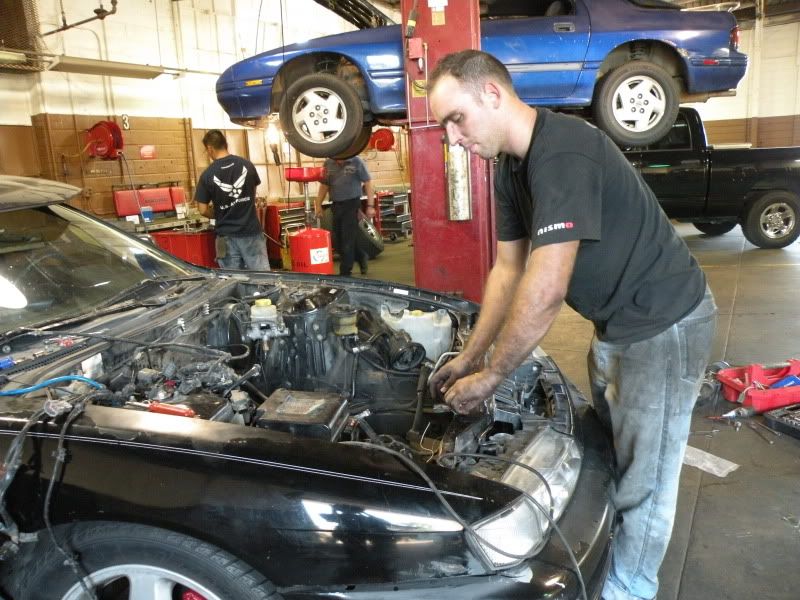
ahhhh finally
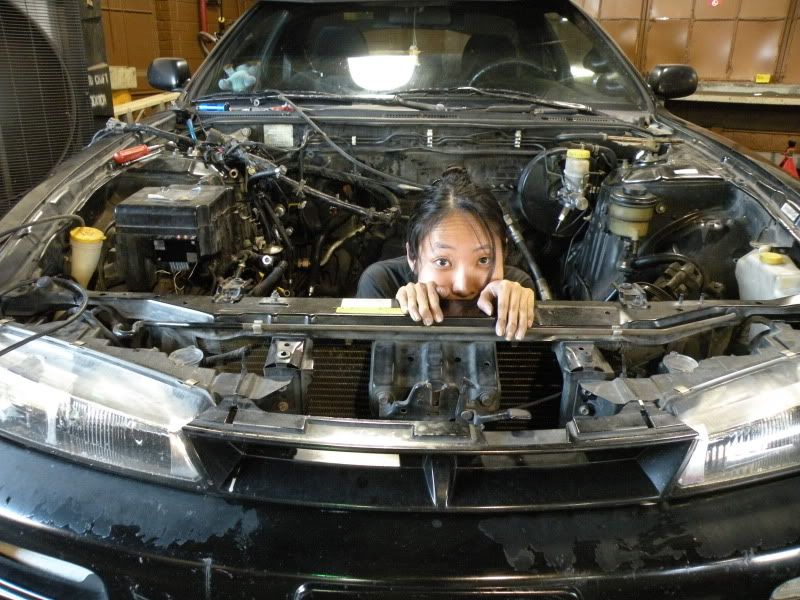
Time to Power Wash
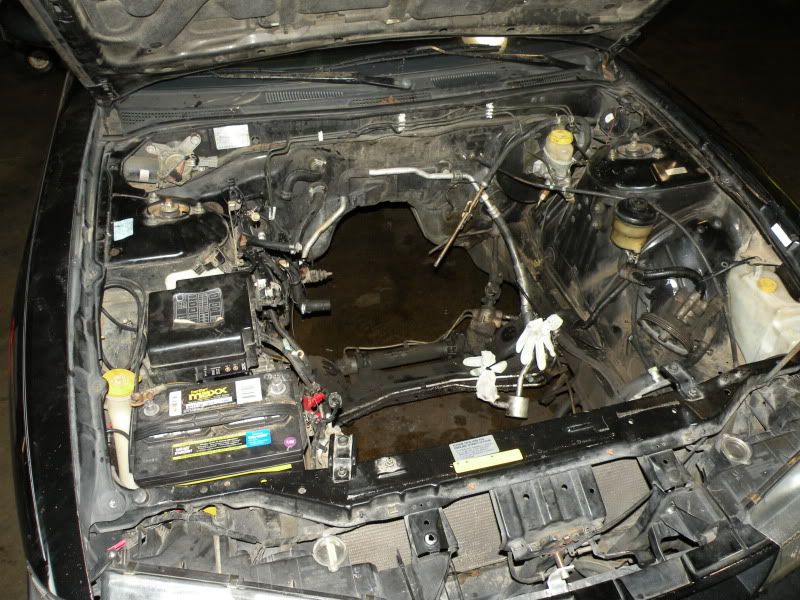
So after the engine bay is cleaned and IC piping Preped then I can drop the RB in.
Hopefully I can do it next weekend depending on how my work week goes
Just got in my Steering overhaul package.
(I already got some Moog Outer Tie Rod Ends)

Thanks Guys ^^
I believe in doing it right the first time with quality parts
Got everything installed today, I would have kinda done a step by step but didnt think about it at the time


A BIG noticeable difference after everything, Steering is much more responsive and stiff.
The Tein Tie Rods came with steering angle spaces.
I must say i never expected that a 1/4in metal ring would make such a noticeable difference in steering angle
yeah a def need to get some Angle adjuster tie rod ends
So i finally got in my Hyper Gear Turbo
I wanted a turbo that bolted up to the stock exhaust and down pipe since i spent a good bit on the SYKO mount set. Not looking for 500hp just somthing more than stock so this turbo will do just fine
Key benefit: 360 degrees Thrust bearing Heat treated steel wheel and shaft Suitable for High Boost applications Product Goal: High Responds, High Torque. Long life time. OEM Bolton RB25det Upgrade.
sure i sacrifice the stock Ball Bearing system but now i got a rebuild-able turbo


Comparison between the Stock R33 turbo and the Hypergear R33 Turbo

Stock

Hyper Gear

Most noticeable difference is the Exhaust Wheel
The craptasic Ceramic wheel is replaces with a Steel turbine wheel

Stock

Hyper Gear

Alright guys Stage 1 is complete!
Finally had some free time to pull the engine


hmmm KA48

Hmmm what else needs to be taken out

ahhhh finally


Time to Power Wash

So after the engine bay is cleaned and IC piping Preped then I can drop the RB in.
Hopefully I can do it next weekend depending on how my work week goes
__________________


Have you used this turbo or know some one that used it?
__________________


