Instant Gentleman RHD car dd build
A good friend from Highschool Mike Kent (McGruber: formerly Slowerthanyou on this forum) after selling me his track car and getting out of S-chassis' approached Tommy and I about putting together a slightly modified SR20, RHD converted, Silvia frontend, widebody s13 coupe..
Nothing too crazy, Very nice looking, but not centered around as a track car. He just had a baby and needed something with a backseat but was intrigued by this, and we talked.
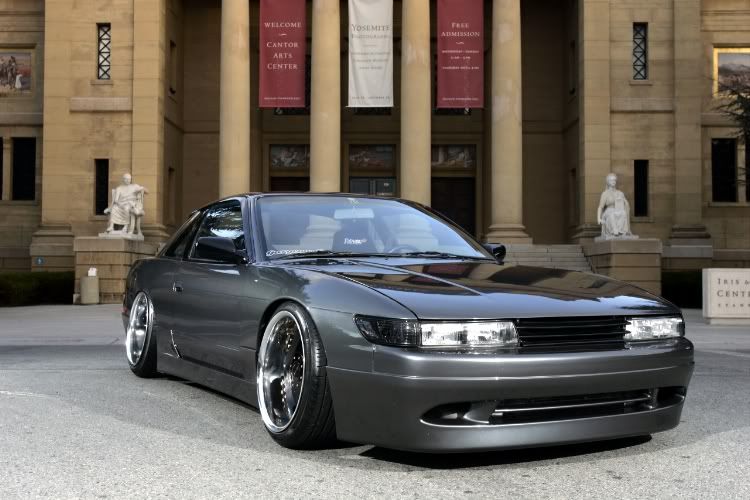
S13 Coupe w/ Silvia KPS13 RHD conversion
Supermade clear covers on Bricks
Supermade Instant gentleman kit
DMax Crystal smoked Corner lights
Carbon Fiber OEM hood
DMAX 50mm Widebody
DMAX 20mm front fenders
JET BLACK w/ Gold Metallic flake
DMAX Roof Wing
Cwest DRFT GTR Grill (super nice)
Crystal taillights (came with the clip)
Black rivets
SR20DET Motorset
T28 Journal 360* thrust race bearing
Powered By Max Cobra Downpipe (VERY nice)
Clutchmasters 6 puck clutch kit
Stock MAFS, Stock Injectors (for now)
Front Mounted Inter-cooler kit
HKS SSQV Type III Blow off Valve
Stance Clocking adapters
ER magnetic oil drain plug
SUPERMADE exhaust
Powered by Max RUCAS
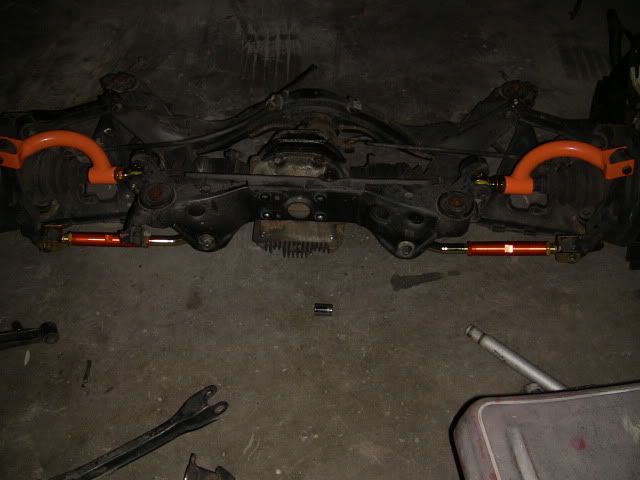
Powered by Max Toe Arms
JDM KPS13 VLSD Subframe
5-Lug Conversion
CCW Classics Gold/Black
Braille Auto Battery/battery tie down
We talked to him and explained that the best way to get what he was pursuing would be to buy an entire clip like Sean (CAforS13) did with his 180sx project.
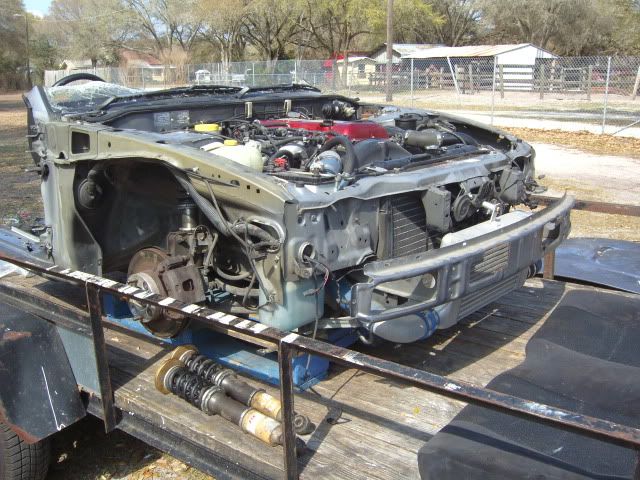
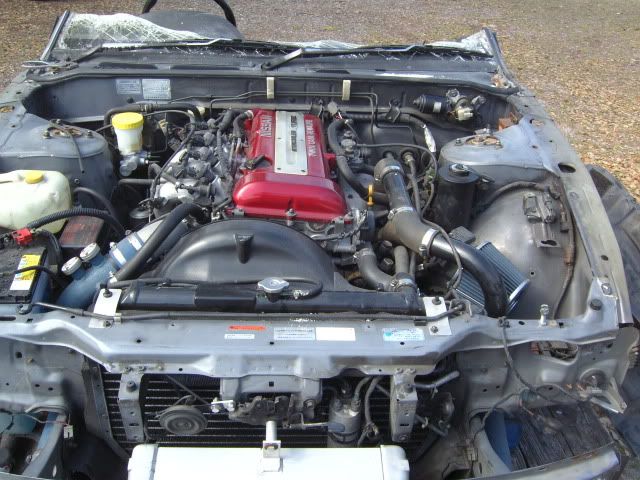
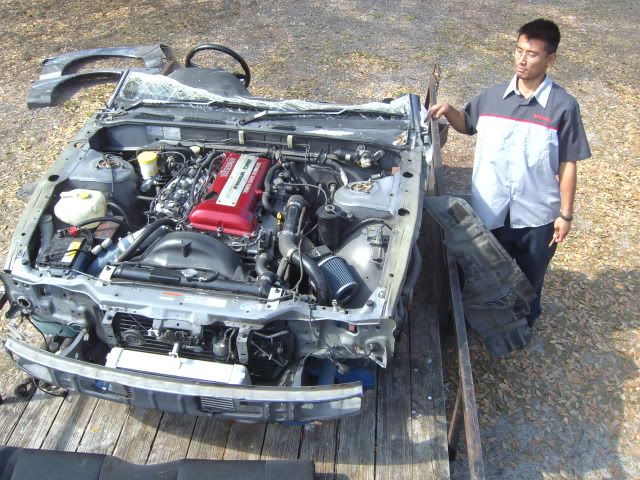
Kei looking at the clip realizing maybe SR would've been a cheaper option
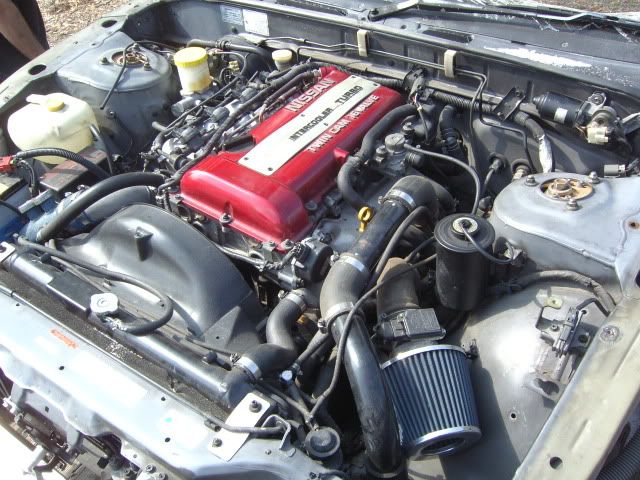
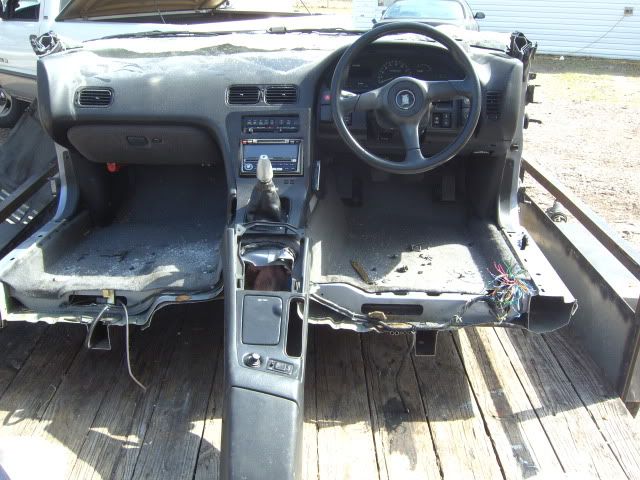
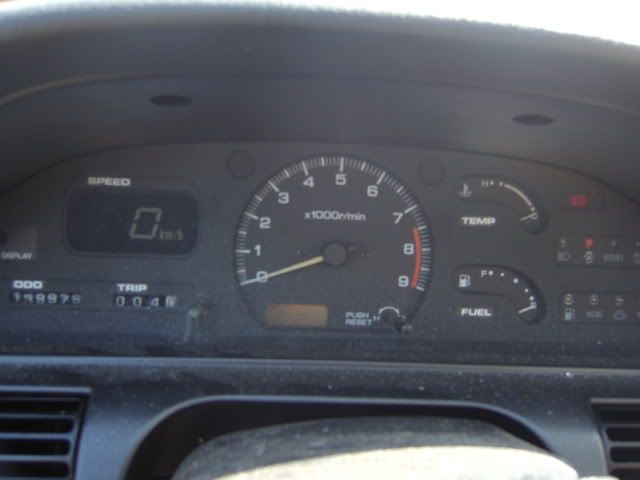
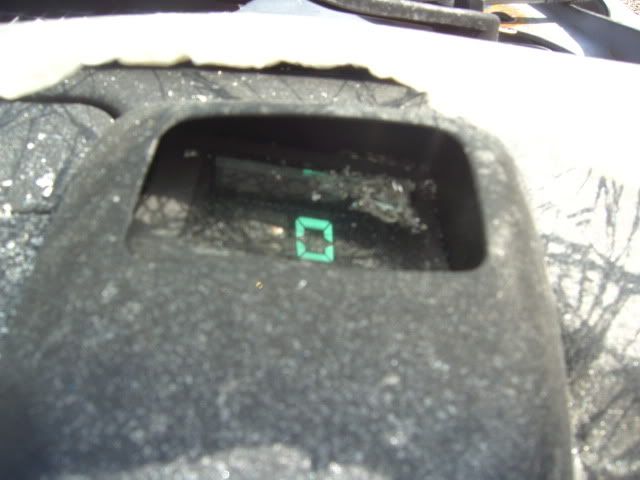
Working HUD and sounds of cranking shell put a smile on our faces. Very stoked.
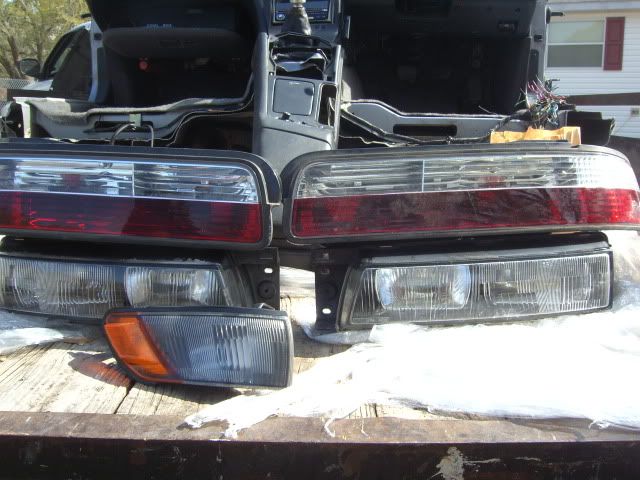
clip goodies, minus a corner light
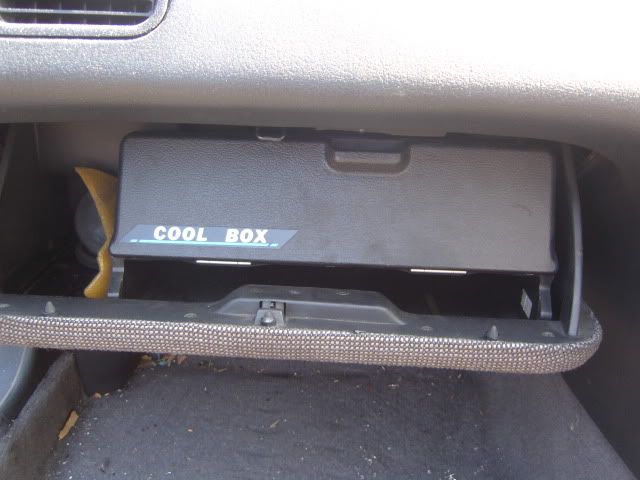
Cool box keeping drinks cold.
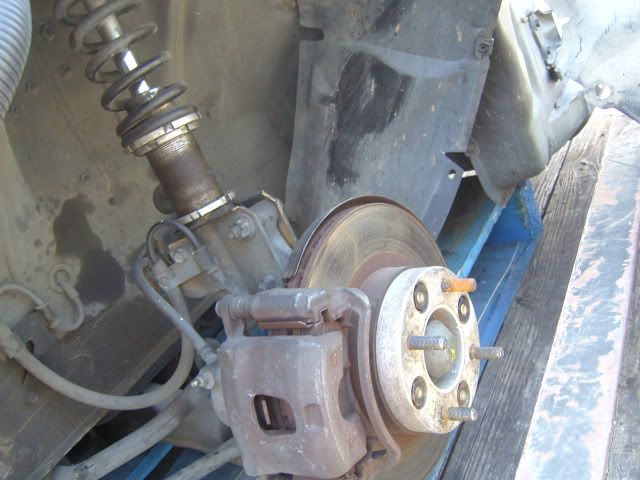
20mm spacers
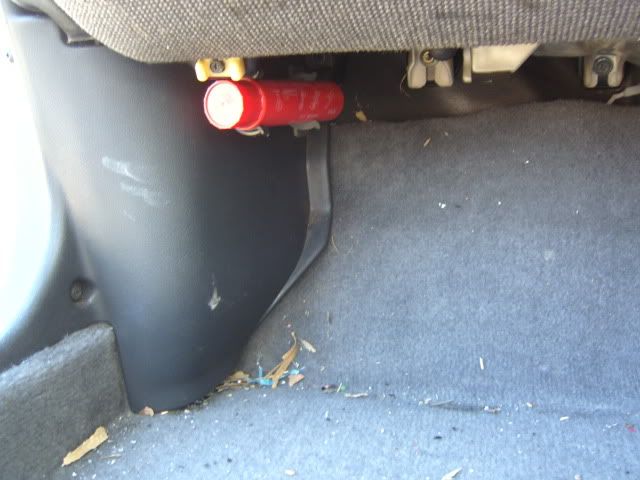
JDM Road Flare
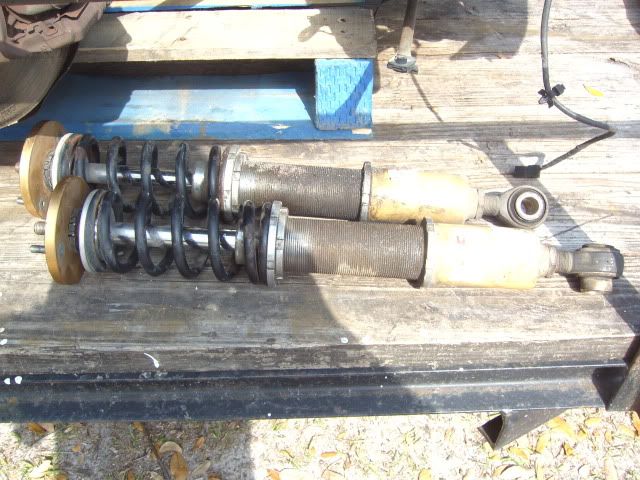
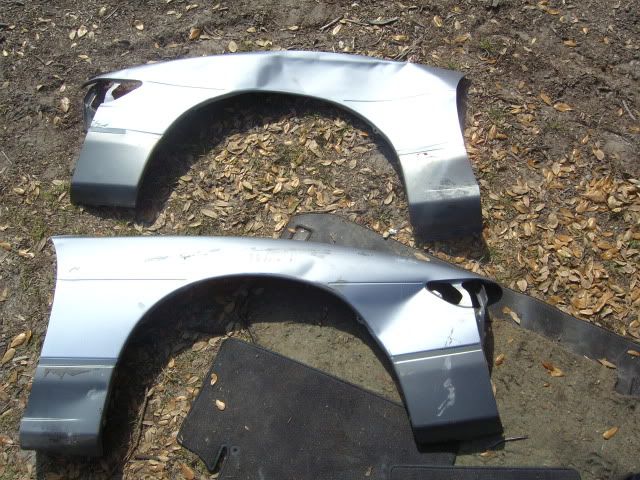
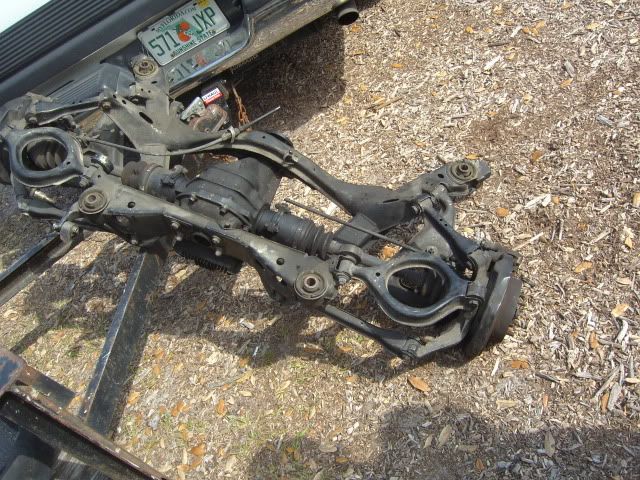
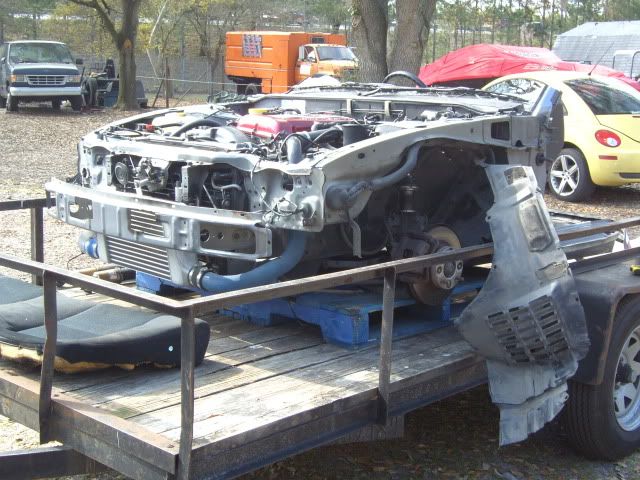
1st day with the clip was mostly taking it off the pallet/trailer.
We searched Craigslist, FL classifieds, EBay, etc for a good shell to do the wrong hand drive conversion to lol. we traveled to Plant City to look at one that looked promising, but it was bondo'd in several spots and tons of rust.
Then We came across Marshall's coupe FS back before he went to the jail, he gave us the car for a pretty good deal w/ Xenon Aero


Keeping it somewhat simple on the engine, he went with a rebuild on the motor that came with the clip. He was originally going to purchase the Kyoto 6666 Rocket Bunny kit to set off the car but decided on going with the Supermade: instant gentleman kit instead, so after the clip came, got to work on stripping the clip, and get ready for engine removal and firewall removal.
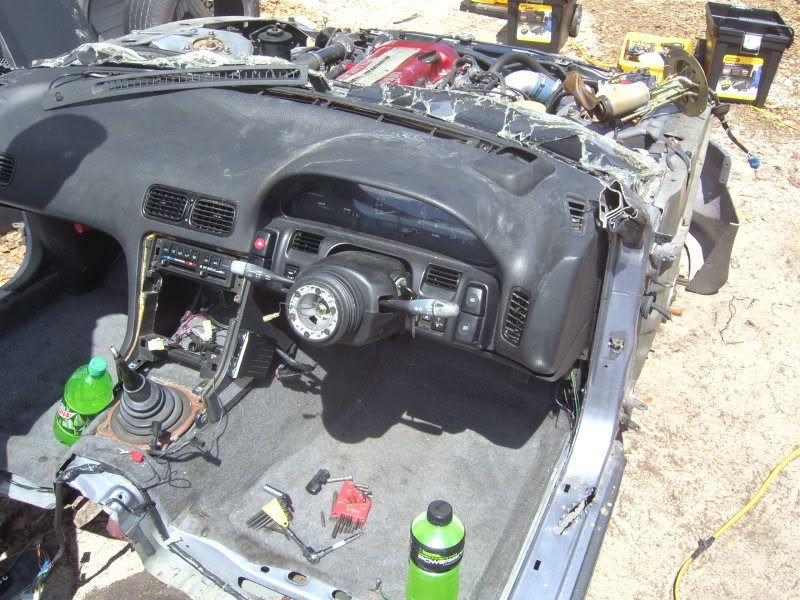
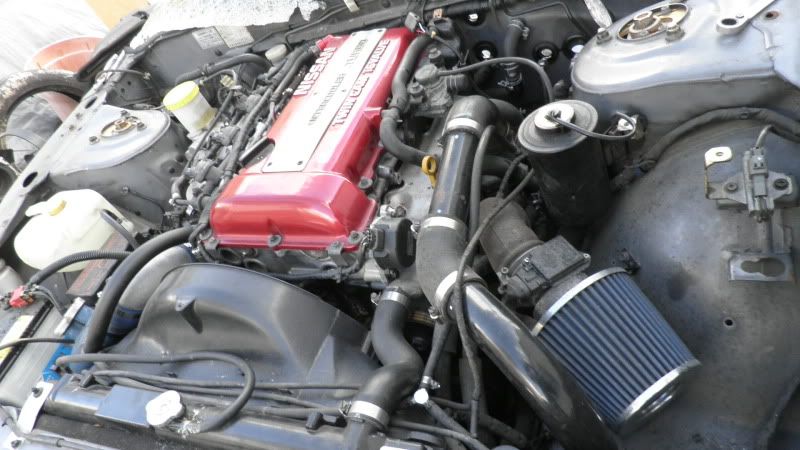
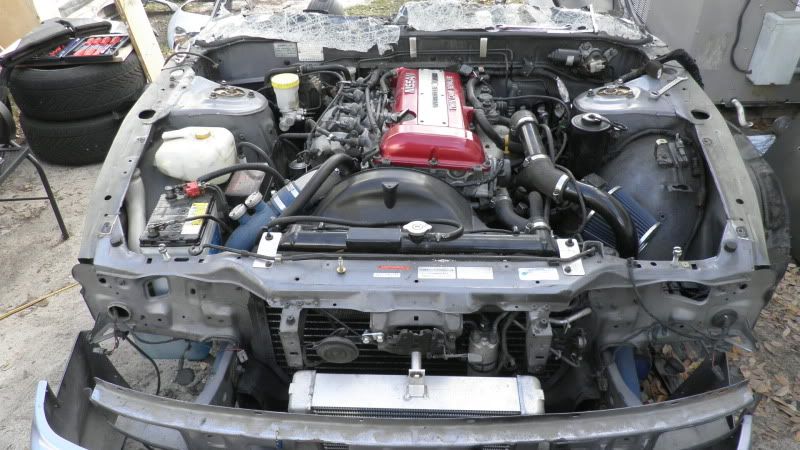
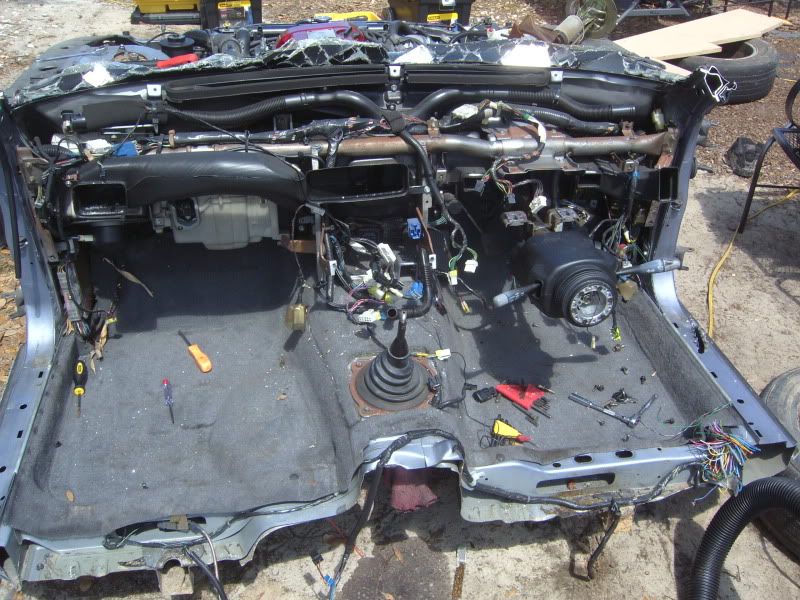
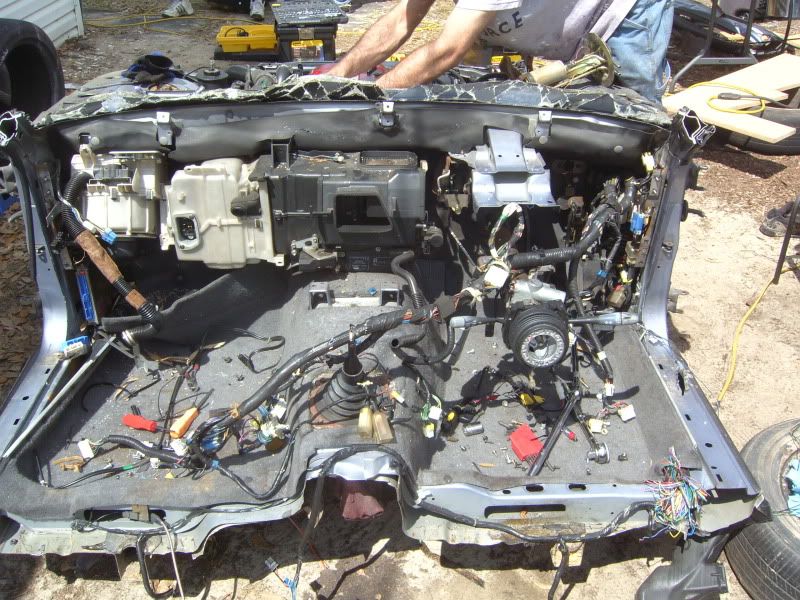
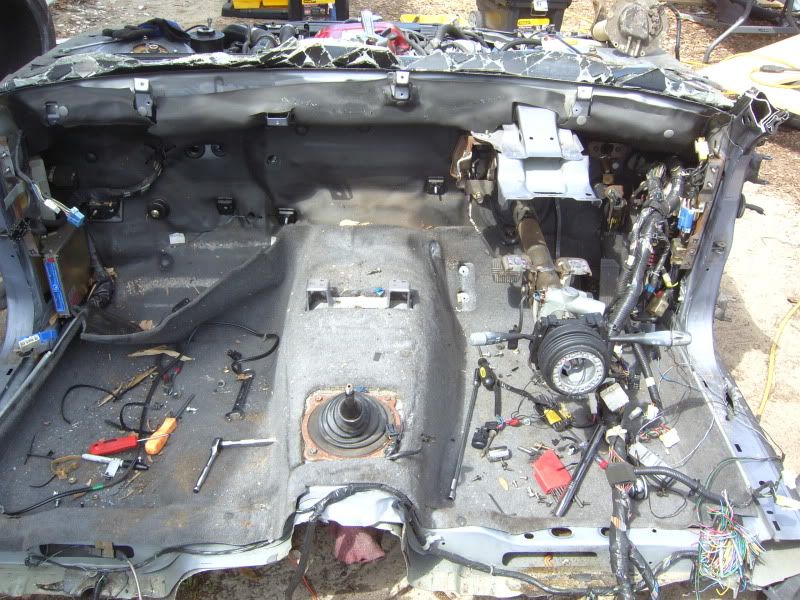

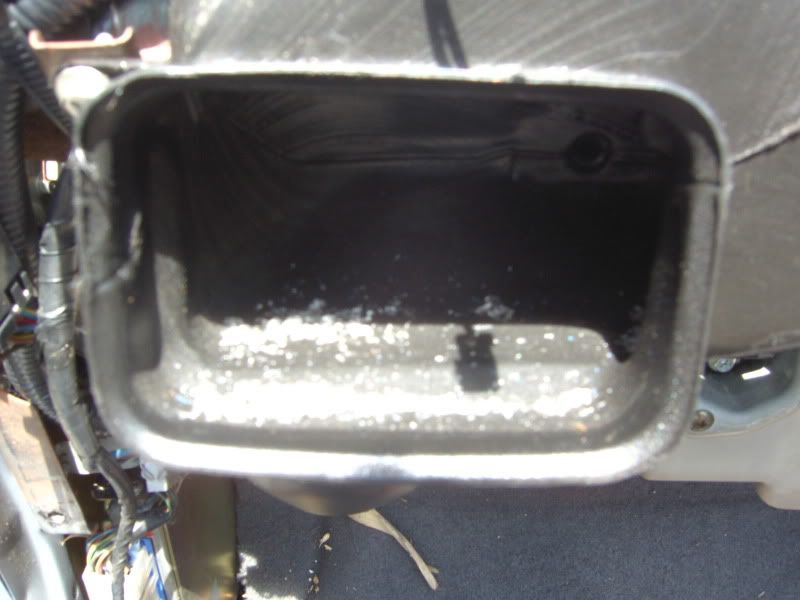
A/C full blast NOW! haha
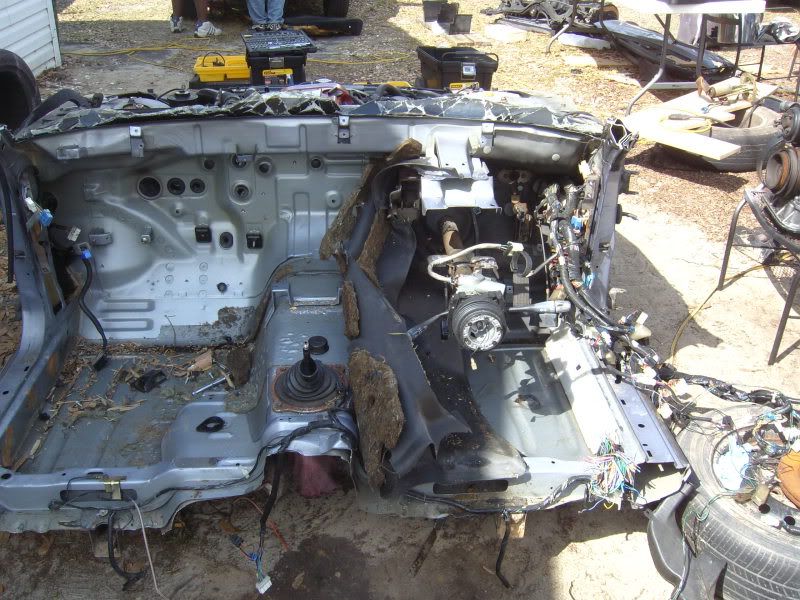
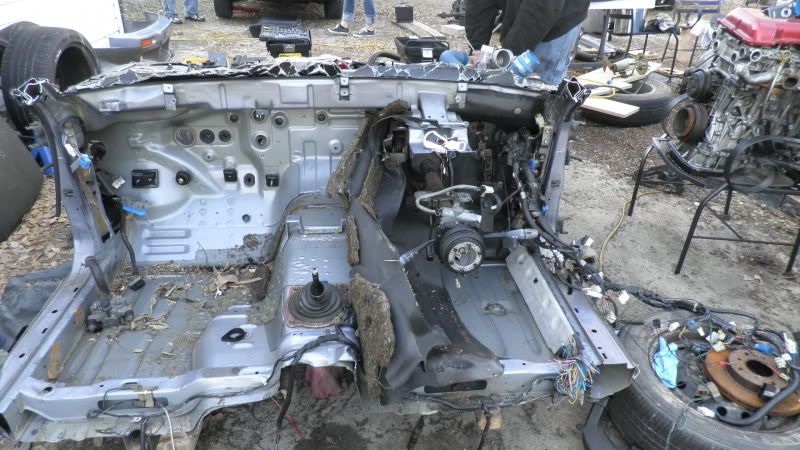
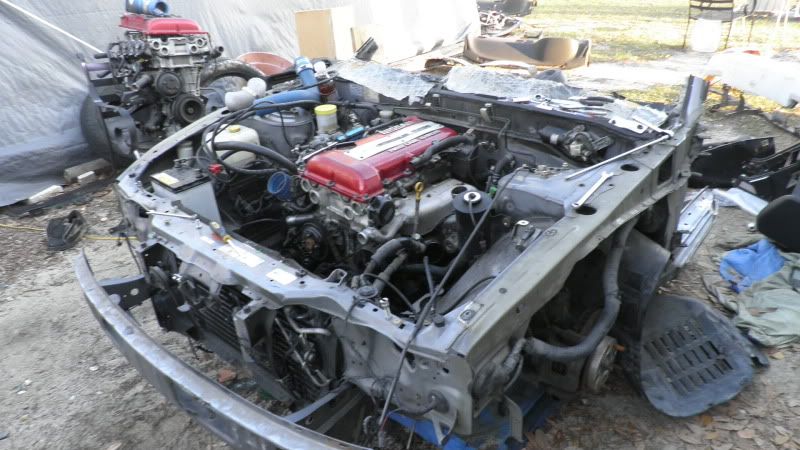
If the motor is too heavy, lift the clip from around the motor


Pulling the chassis harness and sound deadening out.


Motor tear down in the parts room as parts start to arrive.
Stance clocking adapters
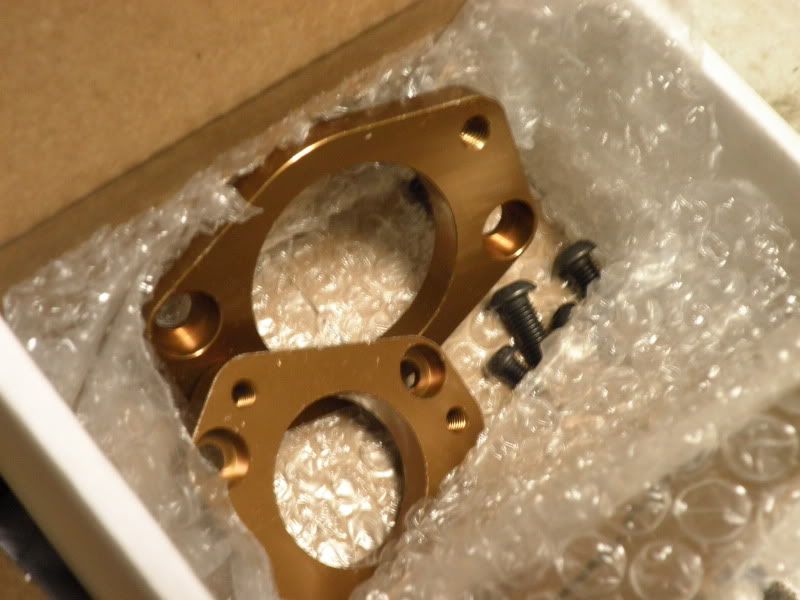
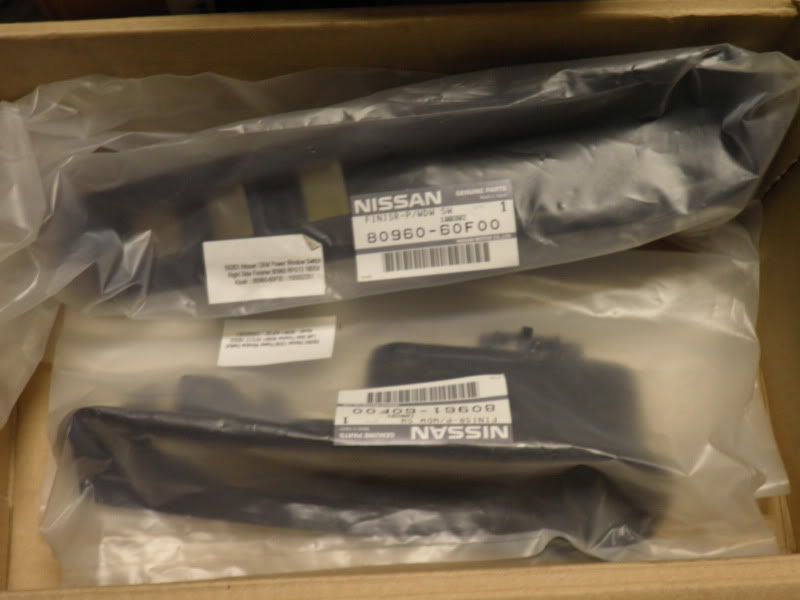
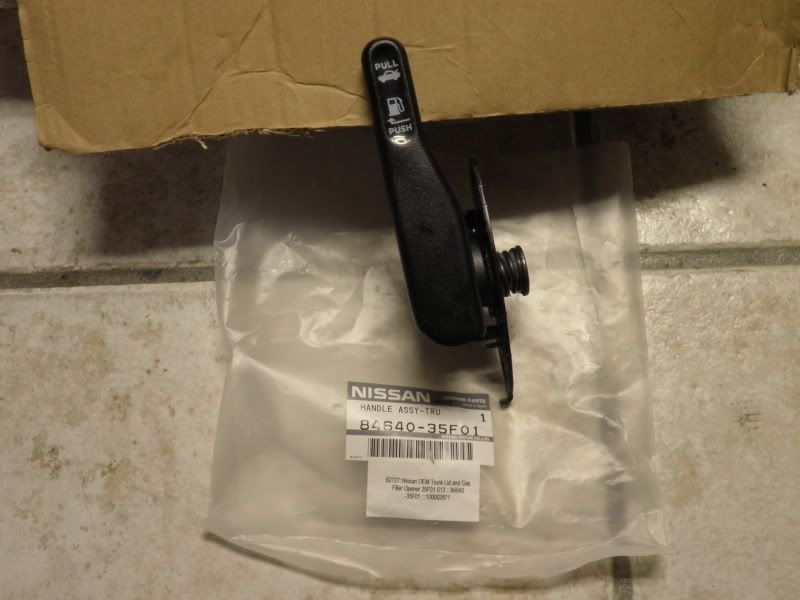
Some sweet RHD perfecting parts.
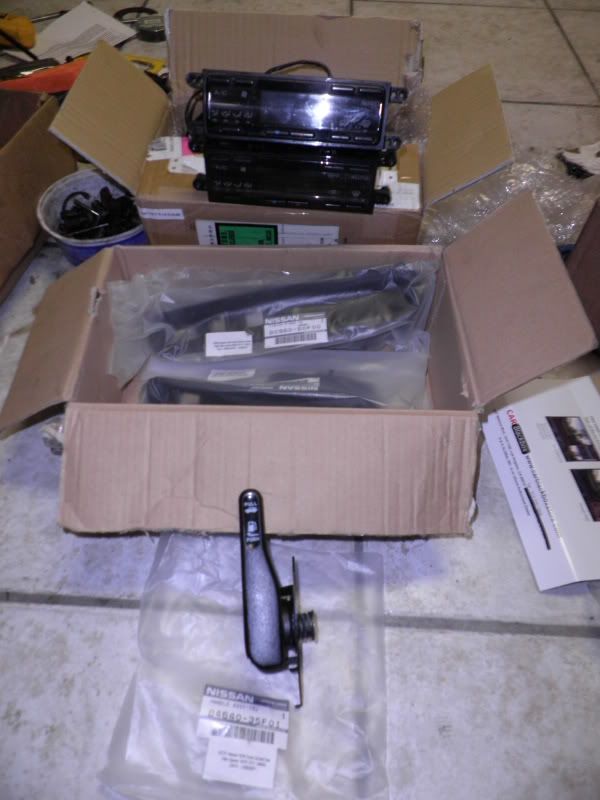
RHD power window finisher pieces for RHD w/ power windows
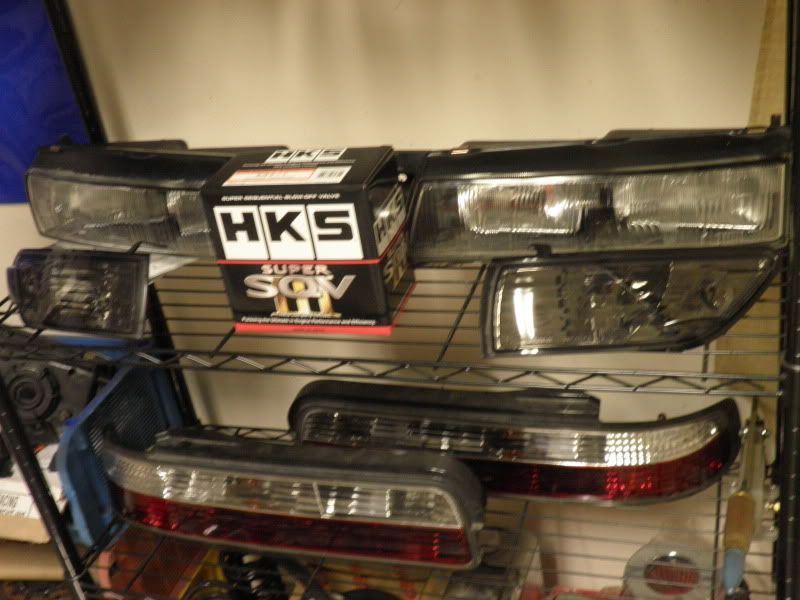
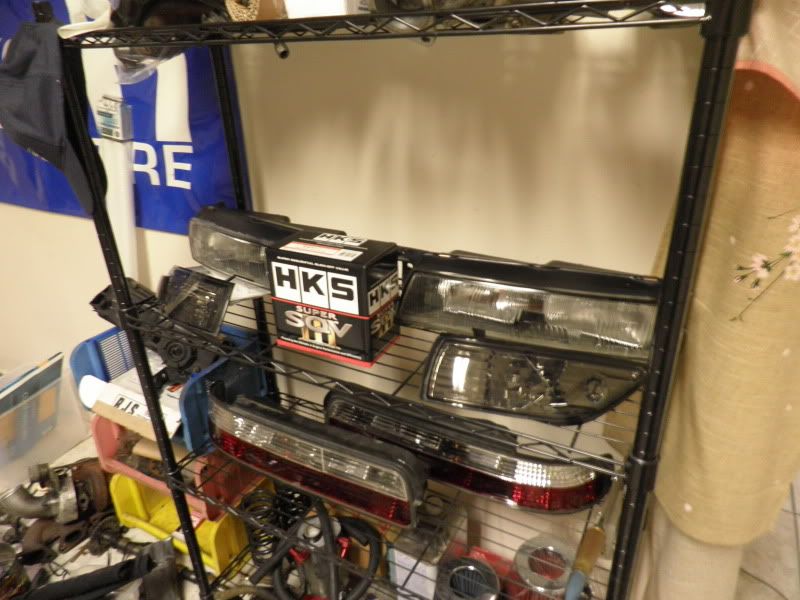
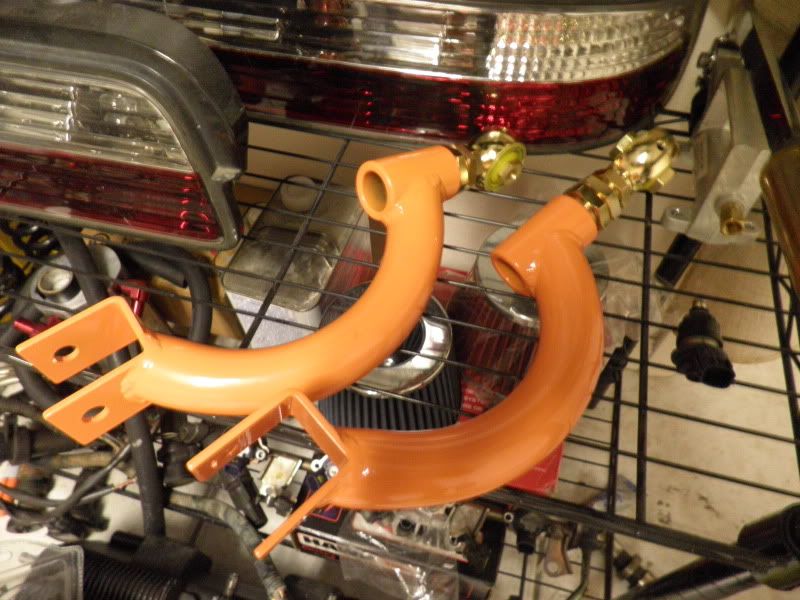
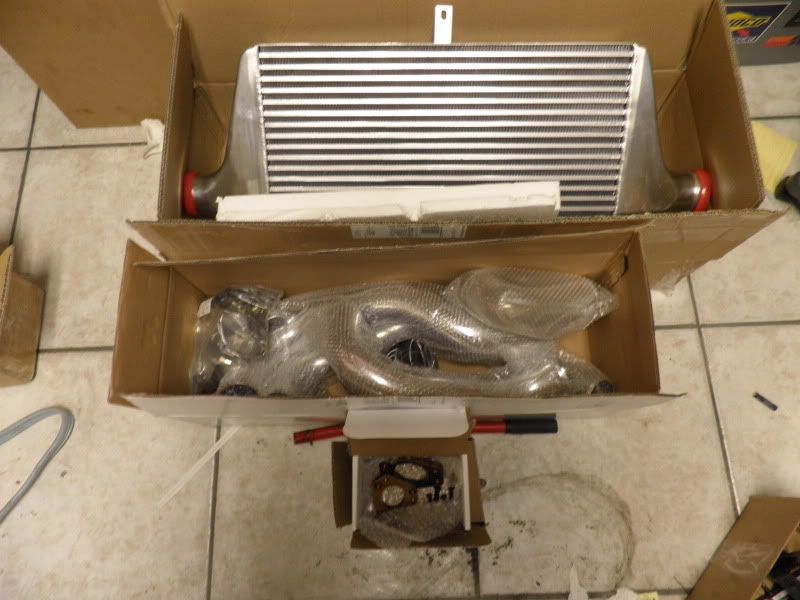
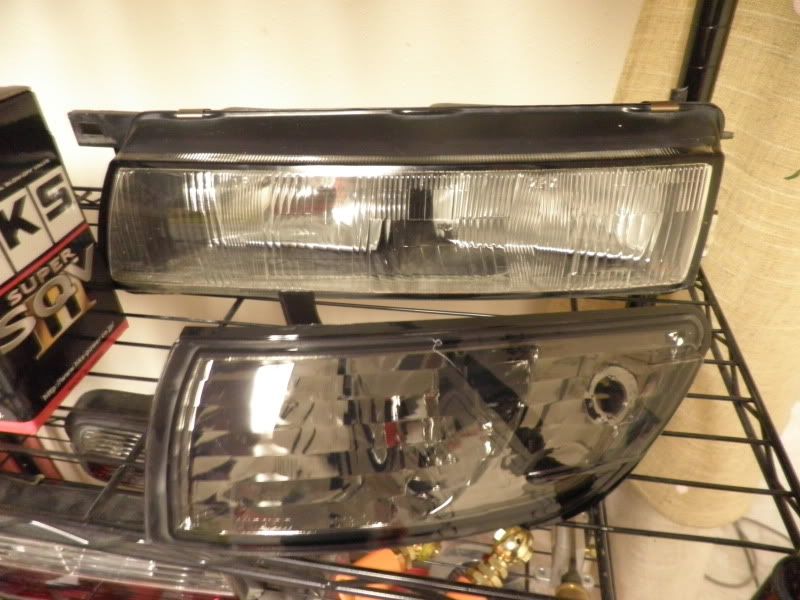
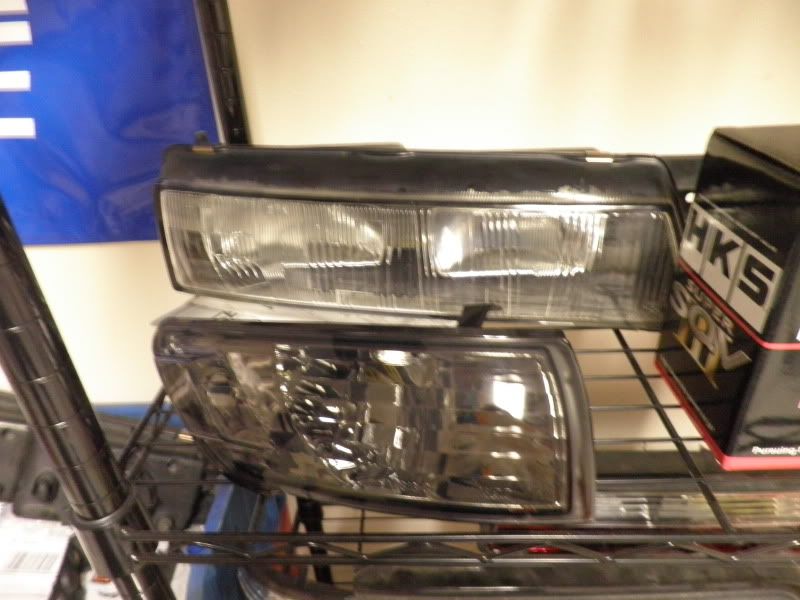
Dmax crystal corners, Brick headlights (supermade covers not arrived yet)


Instant Gentleman kit arrived with DMAX front and rear widebody amazing.
Update: 8/23
My Friend Rob came by and took some pics of progress. car is RHD cowl and everything, put the aero on since this would be the last time this car would be together before paint.


Tommy went tinkering with what we thought was a reclining sunroof, but is a tilting moon roof
I'll leave u with this. I'll update with more pics in next post
Thanks for looking.

Nothing too crazy, Very nice looking, but not centered around as a track car. He just had a baby and needed something with a backseat but was intrigued by this, and we talked.

S13 Coupe w/ Silvia KPS13 RHD conversion
Supermade clear covers on Bricks
Supermade Instant gentleman kit
DMax Crystal smoked Corner lights
Carbon Fiber OEM hood
DMAX 50mm Widebody
DMAX 20mm front fenders
JET BLACK w/ Gold Metallic flake
DMAX Roof Wing
Cwest DRFT GTR Grill (super nice)
Crystal taillights (came with the clip)
Black rivets
SR20DET Motorset
T28 Journal 360* thrust race bearing
Powered By Max Cobra Downpipe (VERY nice)
Clutchmasters 6 puck clutch kit
Stock MAFS, Stock Injectors (for now)
Front Mounted Inter-cooler kit
HKS SSQV Type III Blow off Valve
Stance Clocking adapters
ER magnetic oil drain plug
SUPERMADE exhaust
Powered by Max RUCAS
Powered by Max Toe Arms
JDM KPS13 VLSD Subframe
5-Lug Conversion
CCW Classics Gold/Black
Braille Auto Battery/battery tie down
We talked to him and explained that the best way to get what he was pursuing would be to buy an entire clip like Sean (CAforS13) did with his 180sx project.


Kei looking at the clip realizing maybe SR would've been a cheaper option


Working HUD and sounds of cranking shell put a smile on our faces. Very stoked.

clip goodies, minus a corner light

Cool box keeping drinks cold.


20mm spacers

JDM Road Flare


1st day with the clip was mostly taking it off the pallet/trailer.
We searched Craigslist, FL classifieds, EBay, etc for a good shell to do the wrong hand drive conversion to lol. we traveled to Plant City to look at one that looked promising, but it was bondo'd in several spots and tons of rust.
Then We came across Marshall's coupe FS back before he went to the jail, he gave us the car for a pretty good deal w/ Xenon Aero


Keeping it somewhat simple on the engine, he went with a rebuild on the motor that came with the clip. He was originally going to purchase the Kyoto 6666 Rocket Bunny kit to set off the car but decided on going with the Supermade: instant gentleman kit instead, so after the clip came, got to work on stripping the clip, and get ready for engine removal and firewall removal.


A/C full blast NOW! haha


If the motor is too heavy, lift the clip from around the motor


Pulling the chassis harness and sound deadening out.


Motor tear down in the parts room as parts start to arrive.

Stance clocking adapters

Some sweet RHD perfecting parts.

RHD power window finisher pieces for RHD w/ power windows


Dmax crystal corners, Brick headlights (supermade covers not arrived yet)


Instant Gentleman kit arrived with DMAX front and rear widebody
 amazing.
Update: 8/23
My Friend Rob came by and took some pics of progress. car is RHD cowl and everything, put the aero on since this would be the last time this car would be together before paint.


Tommy went tinkering with what we thought was a reclining sunroof, but is a tilting moon roof
I'll leave u with this. I'll update with more pics in next post
Thanks for looking.

__________________

RIP Tim Aldrich
"..watch this cool documentary on bums racing shopping carts downhill, and making a living off of selling bottles. living the dream."


RIP Tim Aldrich
"..watch this cool documentary on bums racing shopping carts downhill, and making a living off of selling bottles. living the dream."
Last edited by 4wheeldriftS13; 08-22-2010 at 09:08 PM.
is dude made of money? if soo is he single also? lol. this thing should be pretty fricking sick...
__________________
if you havent been in a small plane its worst, cause your eyes and brain say we are moving and your body says oh no we are not. eyes and brain go asshole we are moving, cant you see? body says fuck you we are not moving at all. so they fight and fight and eventualy your body says, you know what fuck you brain, see if you can stop this!! then you throw up.

if you havent been in a small plane its worst, cause your eyes and brain say we are moving and your body says oh no we are not. eyes and brain go asshole we are moving, cant you see? body says fuck you we are not moving at all. so they fight and fight and eventualy your body says, you know what fuck you brain, see if you can stop this!! then you throw up.
haha, can't wait to see this thing going.
__________________

if you havent been in a small plane its worst, cause your eyes and brain say we are moving and your body says oh no we are not. eyes and brain go asshole we are moving, cant you see? body says fuck you we are not moving at all. so they fight and fight and eventualy your body says, you know what fuck you brain, see if you can stop this!! then you throw up.

if you havent been in a small plane its worst, cause your eyes and brain say we are moving and your body says oh no we are not. eyes and brain go asshole we are moving, cant you see? body says fuck you we are not moving at all. so they fight and fight and eventualy your body says, you know what fuck you brain, see if you can stop this!! then you throw up.
About time we have some action inthe nissan build section. shit was getting dead
__________________
Help me, Help you by giving me REP POINTS

Jst4shw store: HID's-LED's-LUGNUT's-STICKER's-JDM GOODIES's
Like us on facebook
Help me, Help you by giving me REP POINTS

Jst4shw store: HID's-LED's-LUGNUT's-STICKER's-JDM GOODIES's
Like us on facebook
On to some more of the work
Start out by flipping the section of the clip we retained over for spot weld cutting to remove the firewall:

Drill, drill some more, break for water, drill a bit more, then remove JDM frame rails from clip (save these for later, you want to install them as JDM frame rails are stronger )
)

Continue on the quest to kill alllll spot welds like so:

If you are determined enough, the end result will look like this, a complete firewall with absolutely no cutting, removed from the clip...

While all of that was under attack by me, sean was busy with this section:

Dont have the pics uploaded yet, should by tomorrow, but the engine is out, paint just came in so we'll be working on removing the stock firewall and get to work installing the new firewall, followed up by engine bay stitch welding and then some paint work.
8/4/10 - Update
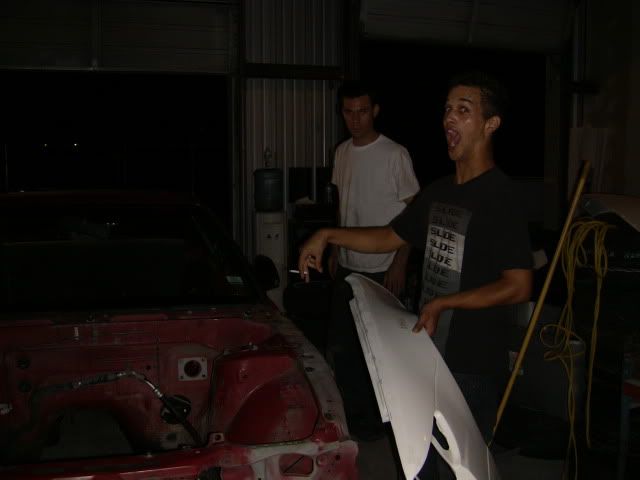
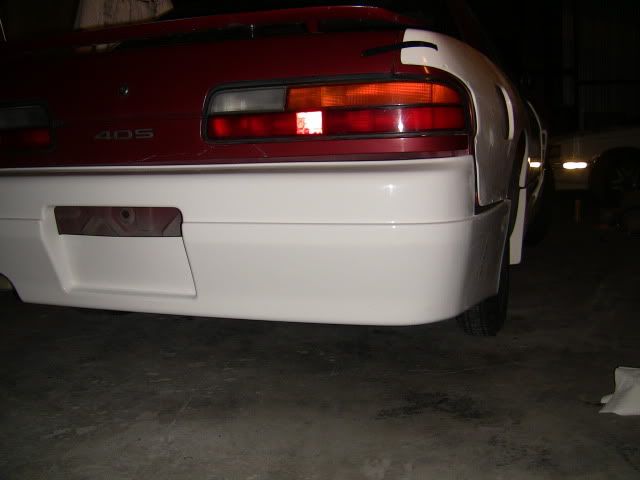
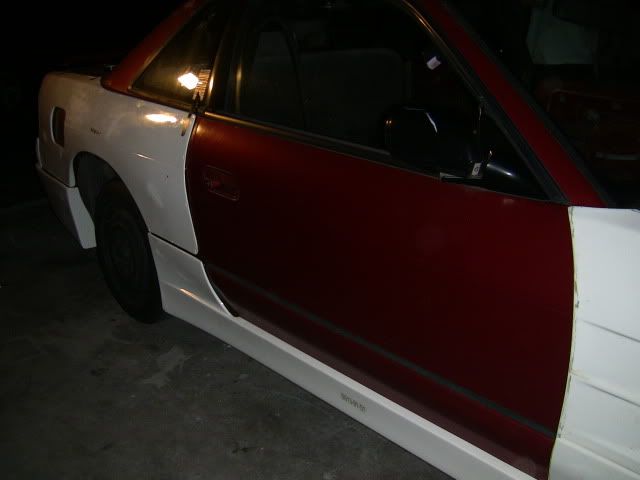
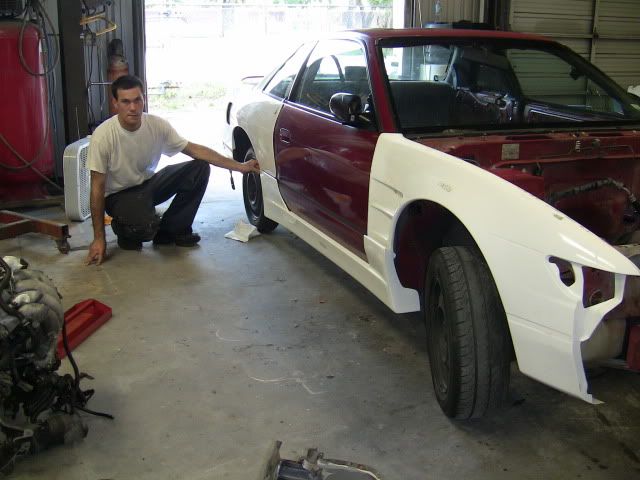
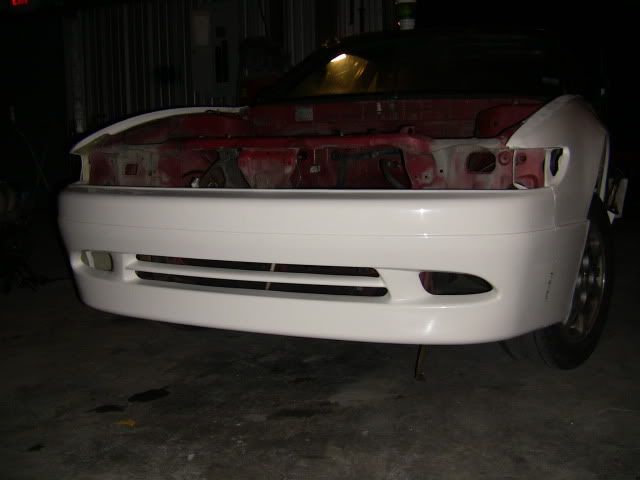
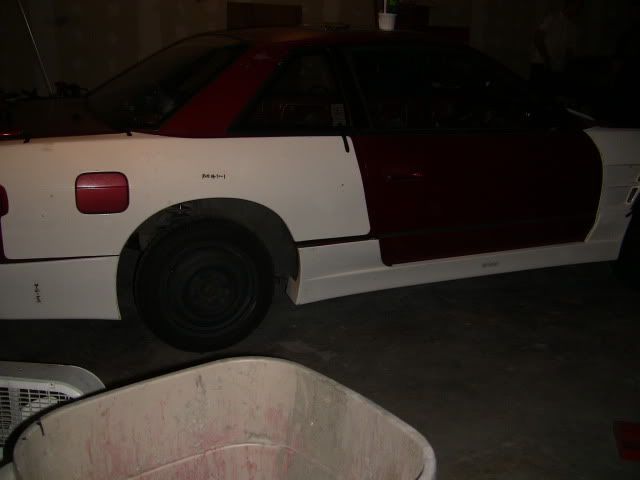
Did some aero test fitting, had the car smile for pictures
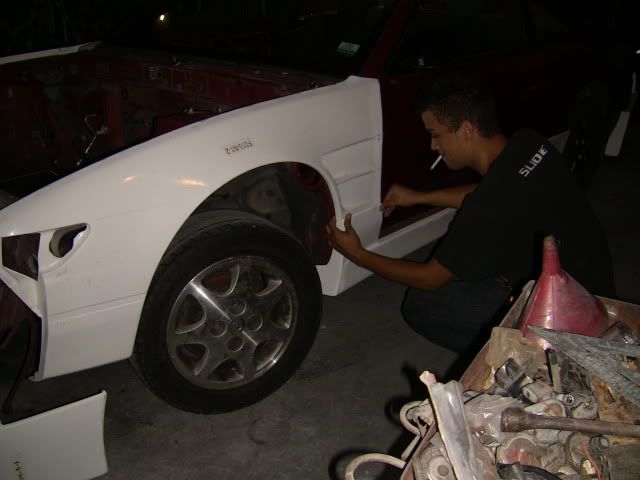
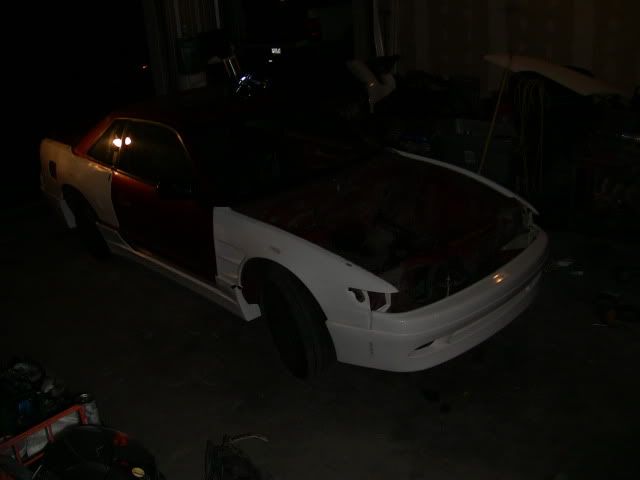
*Update* 8/8/10
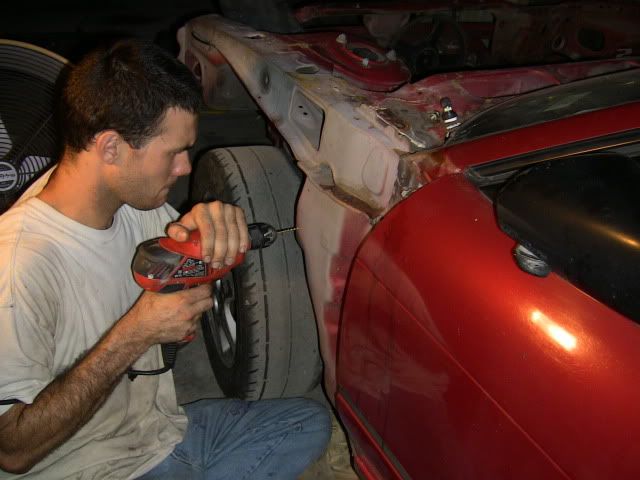
So we got to move along with a little work today, sean got to work on the rear subframe, installing the PBM RUCAS and Toe Arms, and I worked on removing seam sealer and drilling for spot weld removal to continue the RHD conversion.
Sean working on subframe :
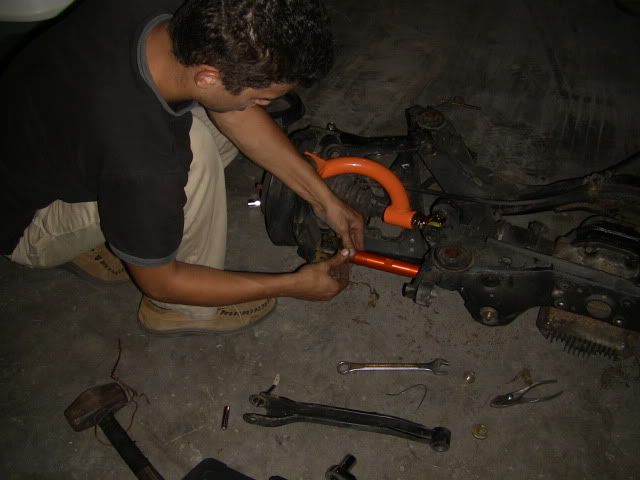
Sean you arent done yet ? This is taking as long as Eric installing a starter...
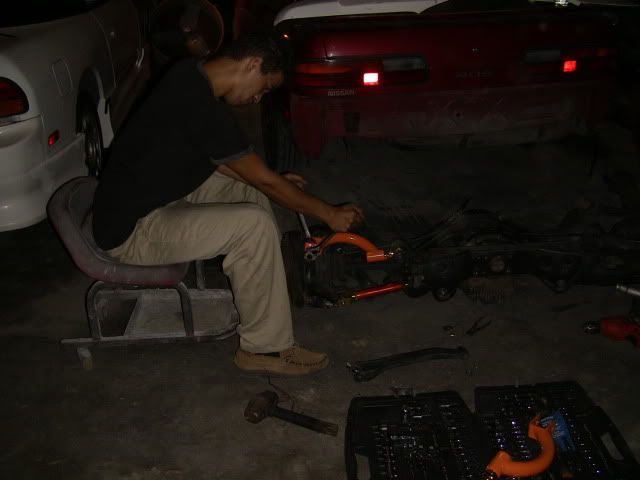
Ok Ok we're good now
While that was going on, it was time to play with power tools and fire...
Starting to drill for removing the firewall:
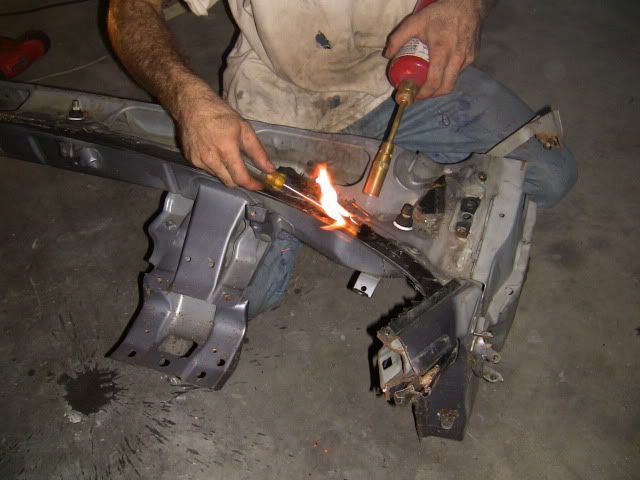
Removing the rest of the windshield sealant and leftover glass with a torch.
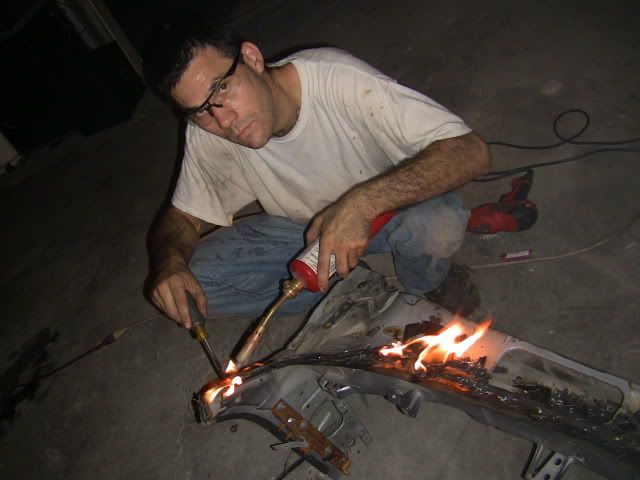
What do you want ? Cant you see im playing with fire ?
UPDATE 8/14/10
So earlier I got to head over, get some pictures of what we've done in the past few days, as well as work on removing the cowl section of the chunk leftover from the RHD clip. I would have continued on and started installing the new firewall, but unfortunately I didnt find weldable primer at homedepot when I went looking.
Onto the pics as usual !
Car as it sits with no firewall or cowl, awaiting the RHD stuffs
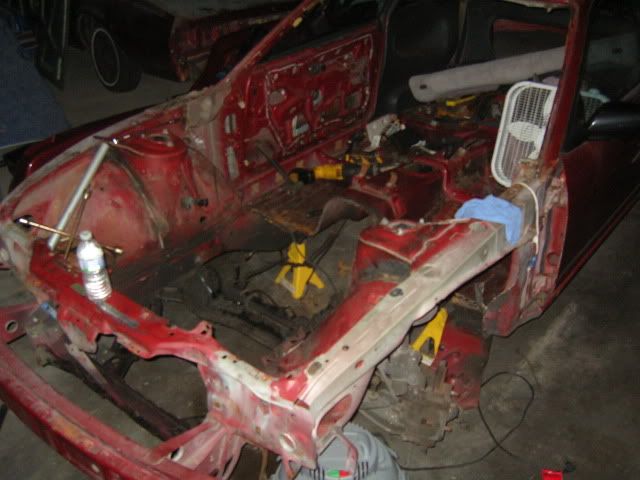
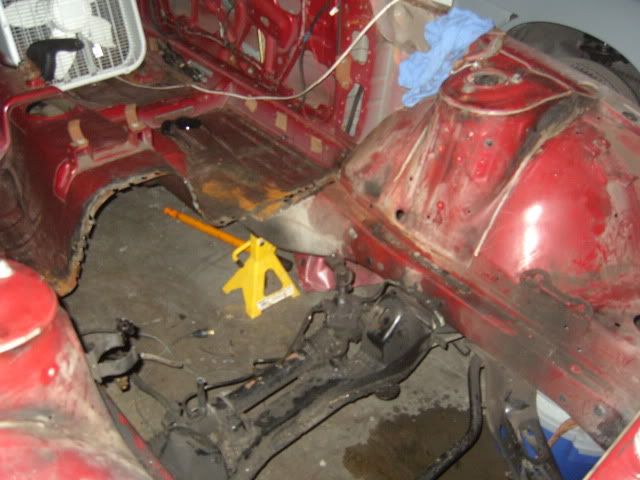
After getting those shots, I got to work on removing the cowl, this took its toll on quite a few drill bits, but after a grueling battle, of course, I won.
The target:
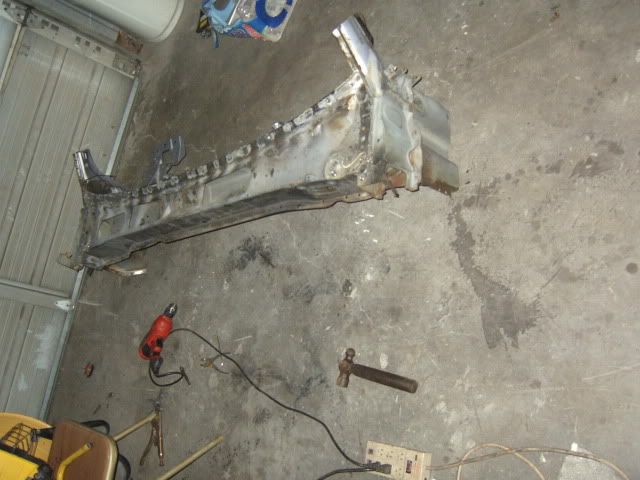
After removing the top half, still more to do:
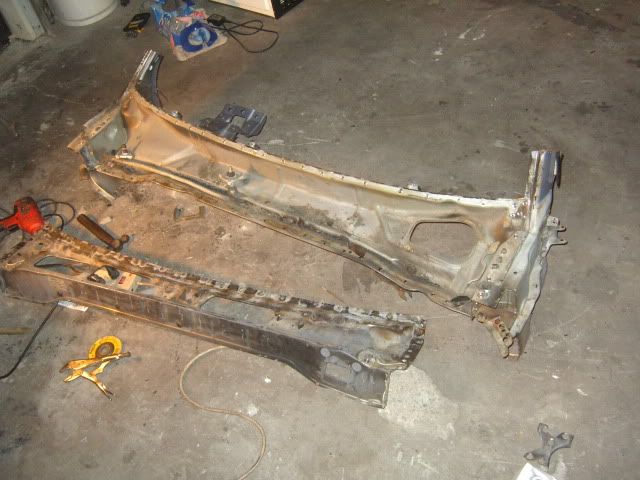
After a lot of cutting, sparks, drilling spot welds, I finally free'd the lower half from the rest of the scrap
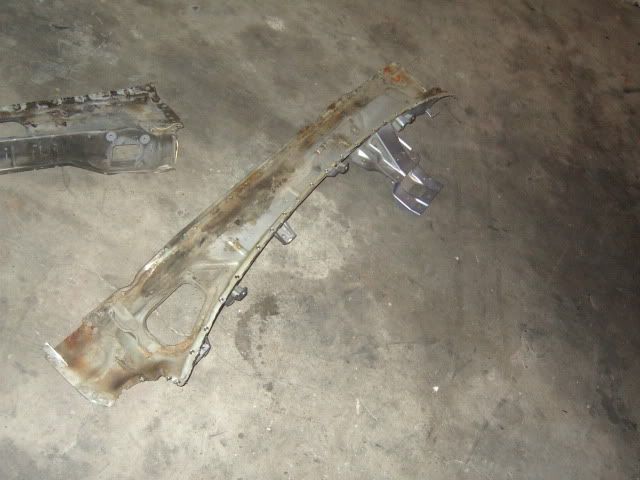
Start out by flipping the section of the clip we retained over for spot weld cutting to remove the firewall:

Drill, drill some more, break for water, drill a bit more, then remove JDM frame rails from clip (save these for later, you want to install them as JDM frame rails are stronger
 )
)
Continue on the quest to kill alllll spot welds like so:

If you are determined enough, the end result will look like this, a complete firewall with absolutely no cutting, removed from the clip...

While all of that was under attack by me, sean was busy with this section:

Dont have the pics uploaded yet, should by tomorrow, but the engine is out, paint just came in so we'll be working on removing the stock firewall and get to work installing the new firewall, followed up by engine bay stitch welding and then some paint work.
8/4/10 - Update
Did some aero test fitting, had the car smile for pictures


*Update* 8/8/10
So we got to move along with a little work today, sean got to work on the rear subframe, installing the PBM RUCAS and Toe Arms, and I worked on removing seam sealer and drilling for spot weld removal to continue the RHD conversion.
Sean working on subframe :

Sean you arent done yet ? This is taking as long as Eric installing a starter...

Ok Ok we're good now

While that was going on, it was time to play with power tools and fire...
Starting to drill for removing the firewall:

Removing the rest of the windshield sealant and leftover glass with a torch.

What do you want ? Cant you see im playing with fire ?

UPDATE 8/14/10
So earlier I got to head over, get some pictures of what we've done in the past few days, as well as work on removing the cowl section of the chunk leftover from the RHD clip. I would have continued on and started installing the new firewall, but unfortunately I didnt find weldable primer at homedepot when I went looking.
Onto the pics as usual !
Car as it sits with no firewall or cowl, awaiting the RHD stuffs


After getting those shots, I got to work on removing the cowl, this took its toll on quite a few drill bits, but after a grueling battle, of course, I won.
The target:

After removing the top half, still more to do:

After a lot of cutting, sparks, drilling spot welds, I finally free'd the lower half from the rest of the scrap

__________________
R.I.P. Tim 
SR, RB, and LS1 into S13/14 harnesses converted.
SR 13/13- $120, 13/14 or 14/13 $180
RB $200
LS1 $250
full on track cars can take a lot more liberties with shit than a street car. bell bottom kits and crazy wheel fitment look cool sliding on a track, but when i want to drive to taco bus, im going to ruin all of that shit. so it just doesnt work for me. function over fashion.
Originally Posted by osama tim laden
also, im about to blow my moderator status by deleteing all of davids posts
SR, RB, and LS1 into S13/14 harnesses converted.
SR 13/13- $120, 13/14 or 14/13 $180
RB $200
LS1 $250
Last edited by Z28ricer; 08-14-2010 at 09:21 PM.
UPDATE 8/15/10
Got to do some more work on the firewall, grabbed some weldthru primer from brian, so we were able to prep the edges where everything meets, then work on fitting it in, I had a feeling I wasnt going to be able to maneuver it in whole, had to cut it in half down the middle, it was either that or disassemble part of the top of the frame rail, and without something to reinforce the car enough to guarantee things wouldnt get tweaked, didnt want to do that.
The firewall sitting in the car :
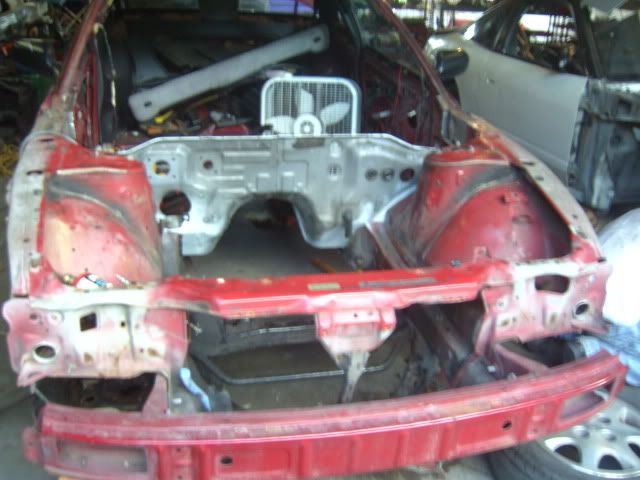
Inside view :
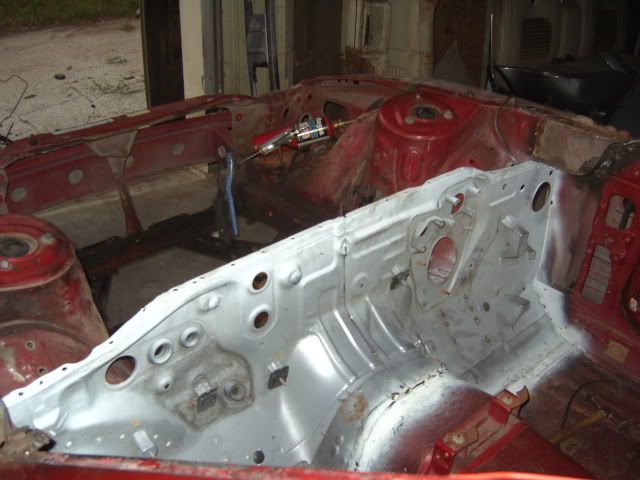
Inside the wheel well where the harness goes through:
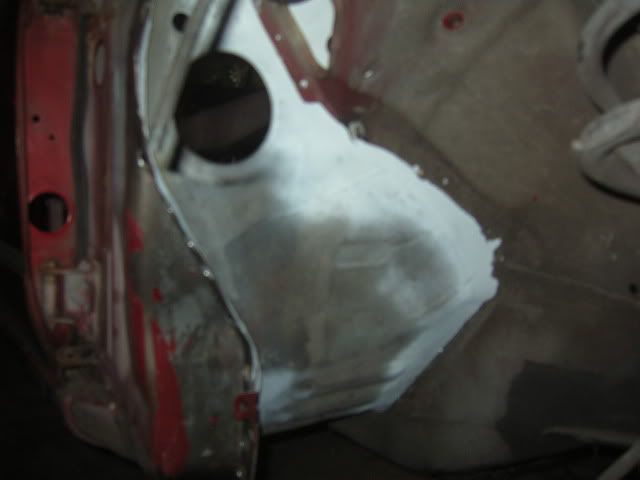
Then got the lower half of the cowl pretty well fit up and called it quits, tomorrow should be actually welding it all in place, then engine bay prep.
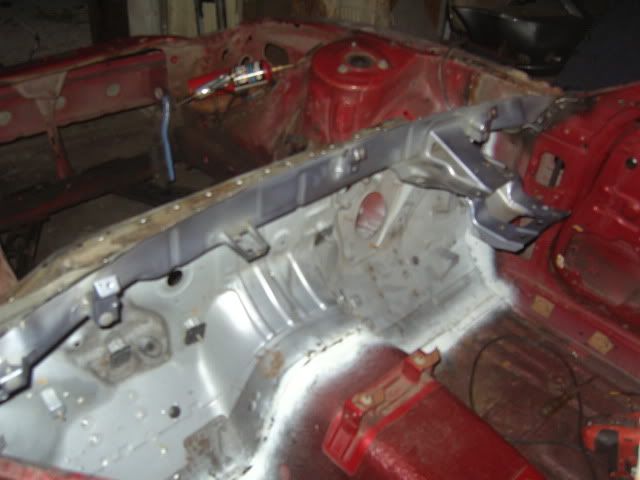
UPDATE 8/17/10
Headed down and got to work on the car some more today, got the firewall tack welded in various places, then the lower half of the cowl, and finally the upper half with the windshield wiper mounts.
Picsss
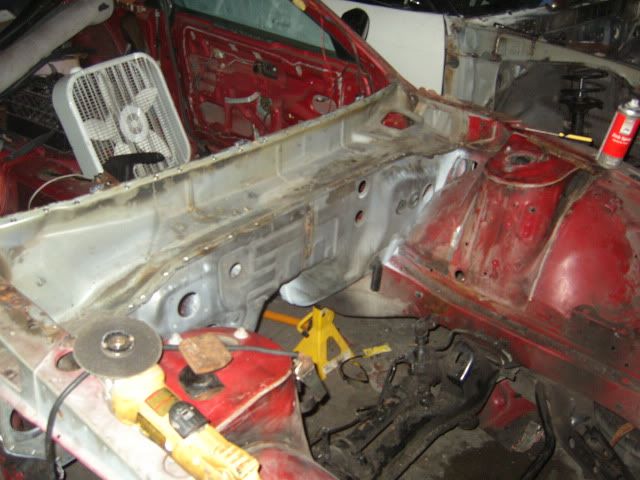
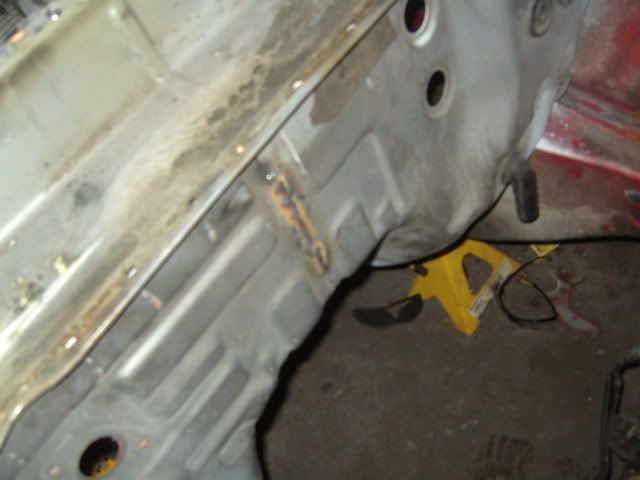
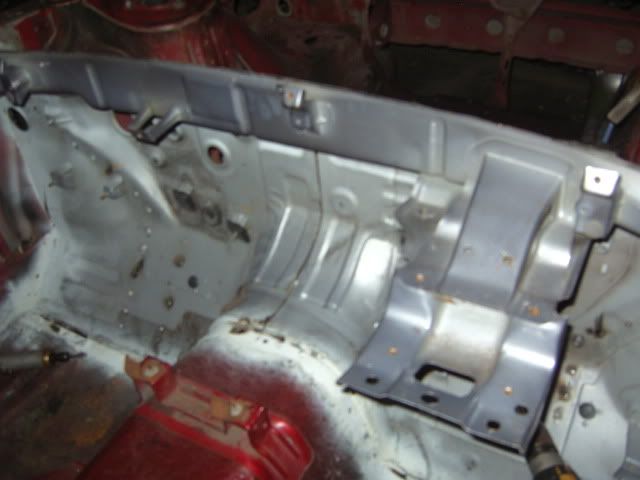
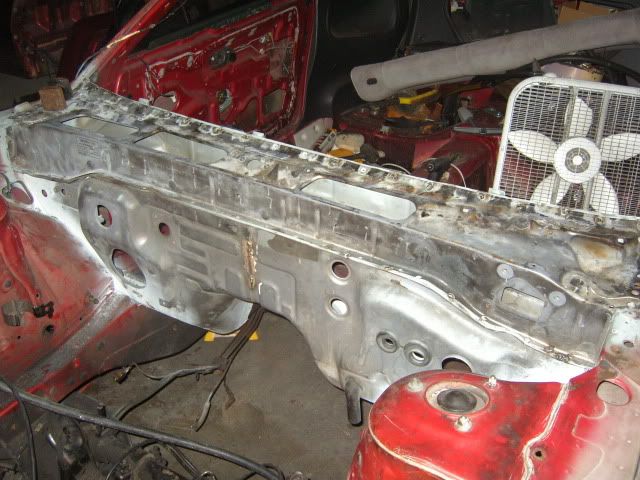
Still have to do a bunch more welding before its complete then hit it with some seam sealer, and it'll be all done, but yup its pretty much there. Tomorrow I should be able to get the welding for the firewall done and then continue on to the stitch welding of the engine bay.
Got to do some more work on the firewall, grabbed some weldthru primer from brian, so we were able to prep the edges where everything meets, then work on fitting it in, I had a feeling I wasnt going to be able to maneuver it in whole, had to cut it in half down the middle, it was either that or disassemble part of the top of the frame rail, and without something to reinforce the car enough to guarantee things wouldnt get tweaked, didnt want to do that.
The firewall sitting in the car :

Inside view :

Inside the wheel well where the harness goes through:

Then got the lower half of the cowl pretty well fit up and called it quits, tomorrow should be actually welding it all in place, then engine bay prep.

UPDATE 8/17/10
Headed down and got to work on the car some more today, got the firewall tack welded in various places, then the lower half of the cowl, and finally the upper half with the windshield wiper mounts.
Picsss


Still have to do a bunch more welding before its complete then hit it with some seam sealer, and it'll be all done, but yup its pretty much there. Tomorrow I should be able to get the welding for the firewall done and then continue on to the stitch welding of the engine bay.
Last edited by Z28ricer; 08-17-2010 at 09:28 PM.
UPDATE 8/30/10
Got to finish up the stitch welding and finally get some updated pictures
Today before I got started, engine bay semi-stitch welded
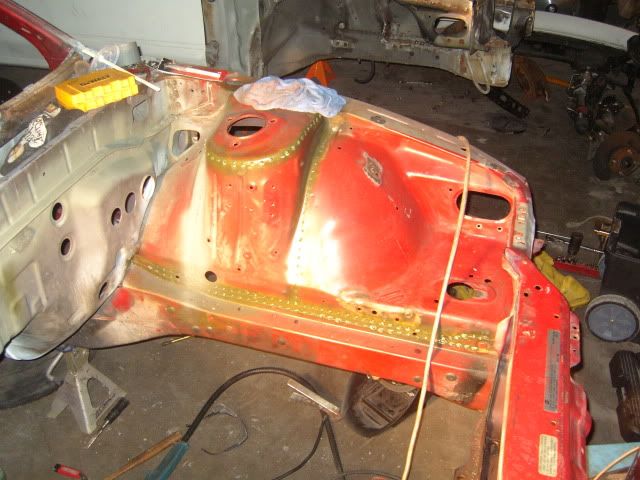
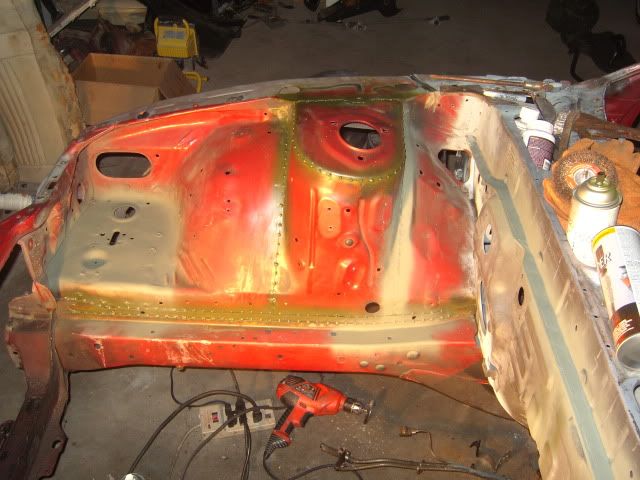
Got to work measuring, marking, and welding
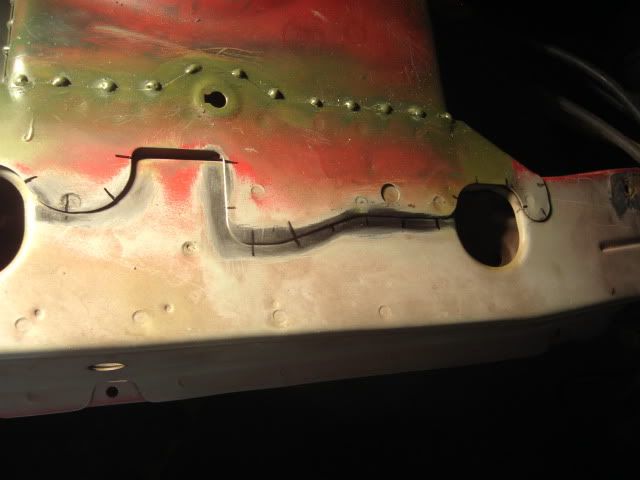
Zap Zap Zap
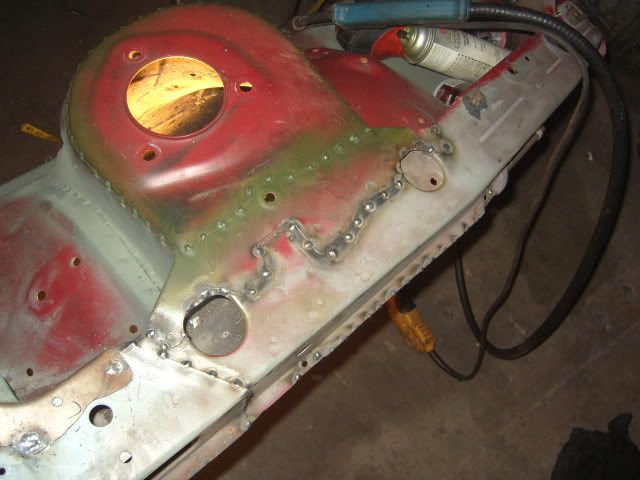
...... all the little dots !
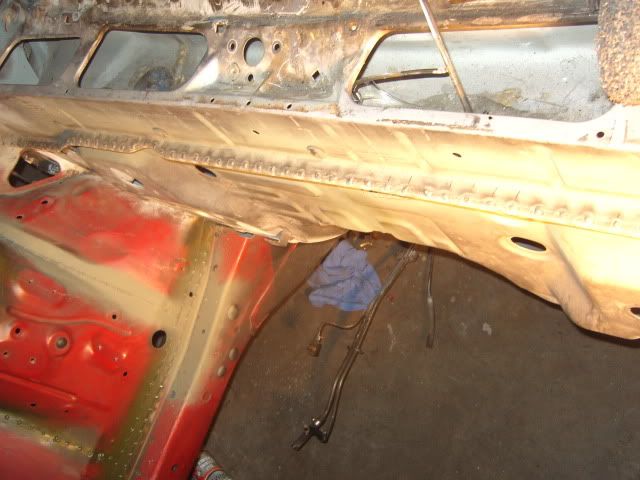
UPDATE 9/4/10
Got to continue my quest for an awesome engine bay today..
First pics of the day:
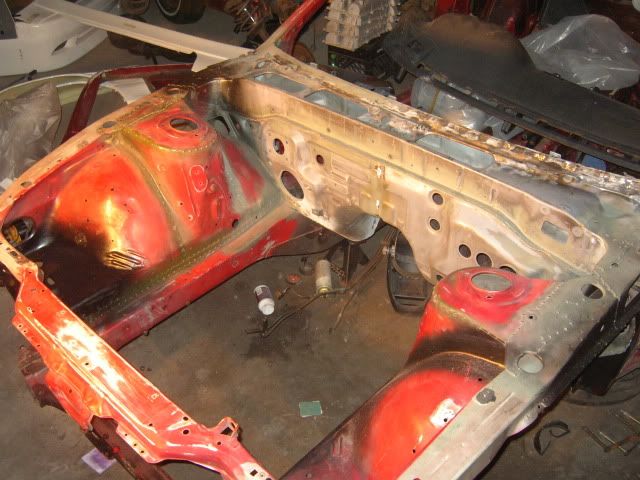
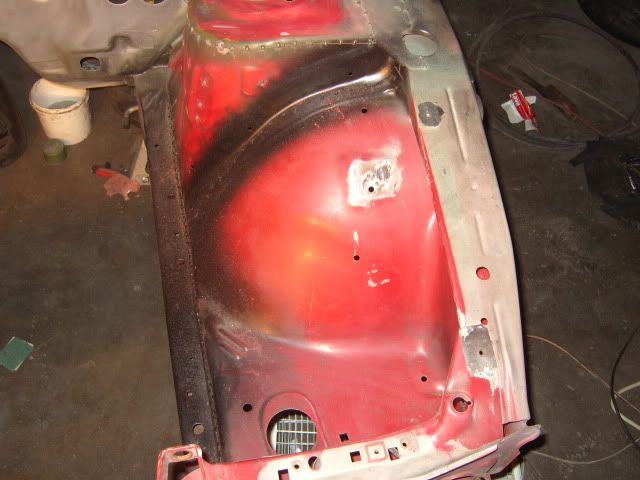
The seam where the firewall meets the wheel well, after seam sealer:
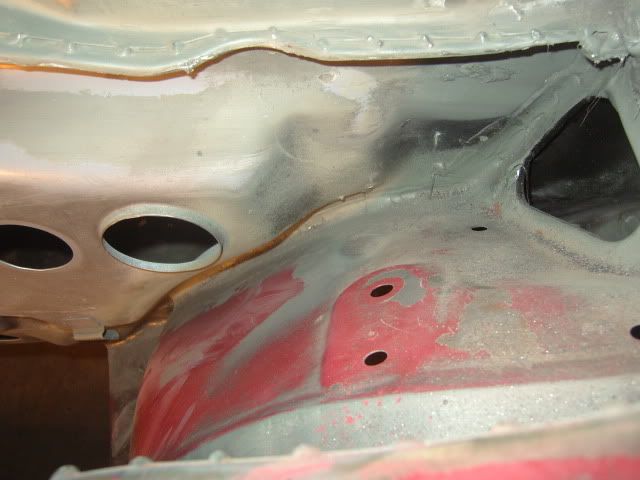
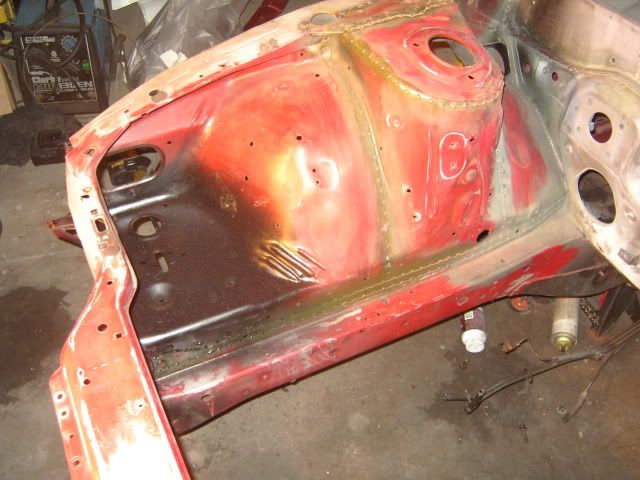
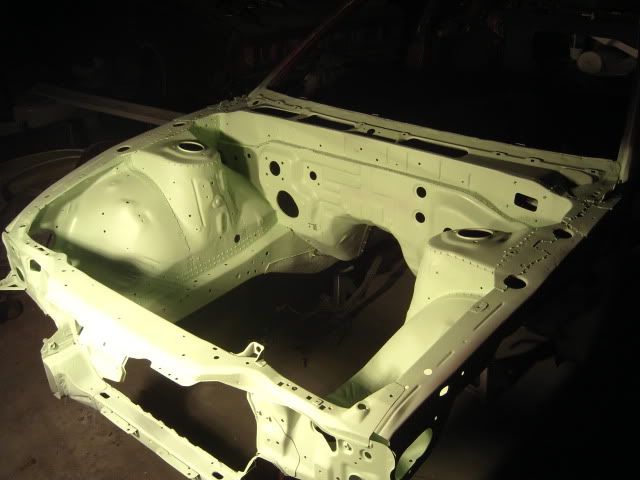
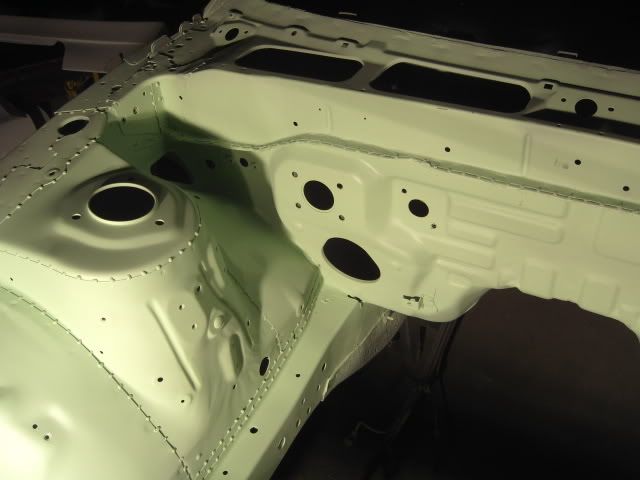
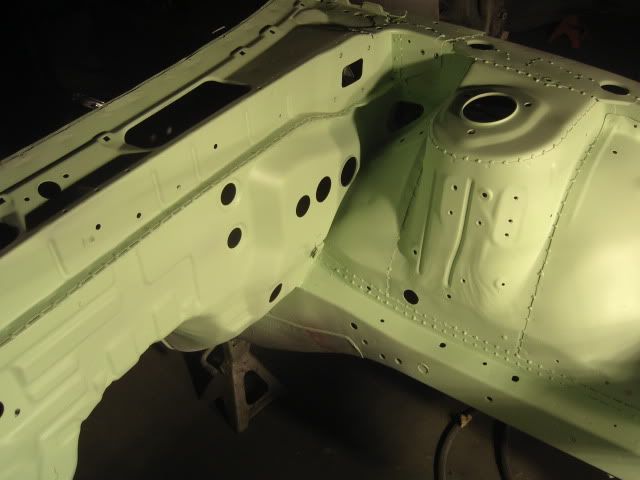
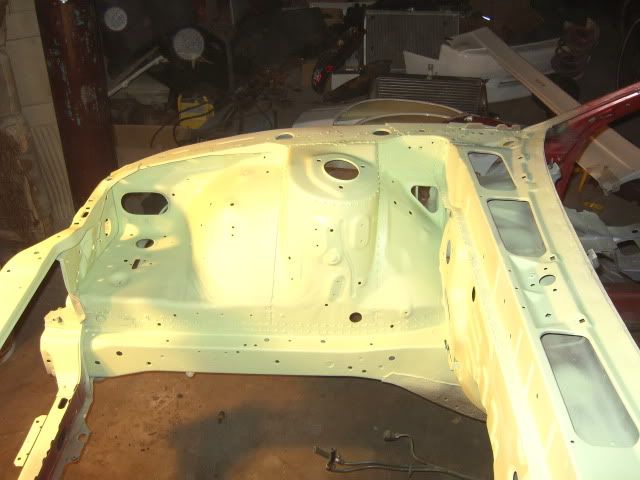
Then after a lot of grinding stuff, scuffing, sanding, cleaning etc, I put down an initial coat of primer, to give me an idea of the few areas I still need to prep, and begin the paint prep, we still need to locate and cut the intercooler holes, and i'm going to cleanup a few areas to make them nicer, then another coat of primer, then black sealer before the basecoat and the different clearcoats.
Updated 9/19/10
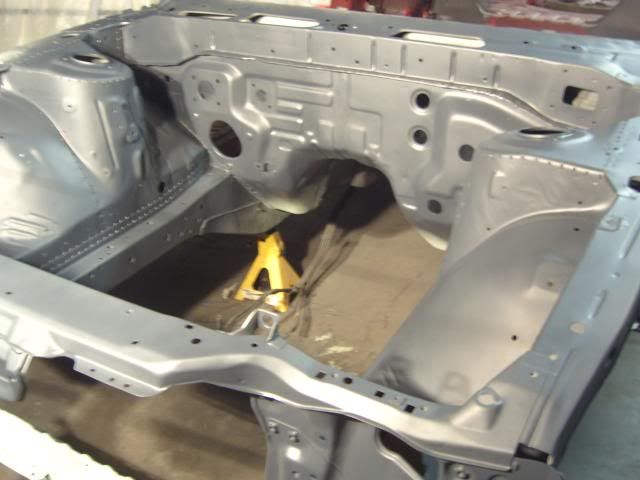
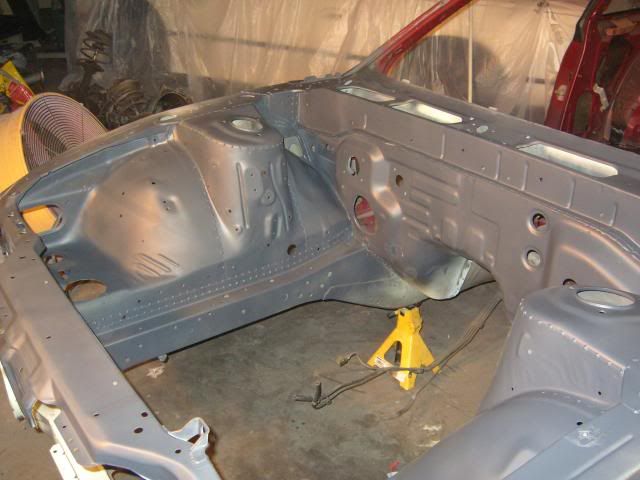
Ok got to get back at it, after making the intercooler holes nice with a 4" hole saw, shot down some PPG Global Black sealer, yes it doesnt appear very black, hmph
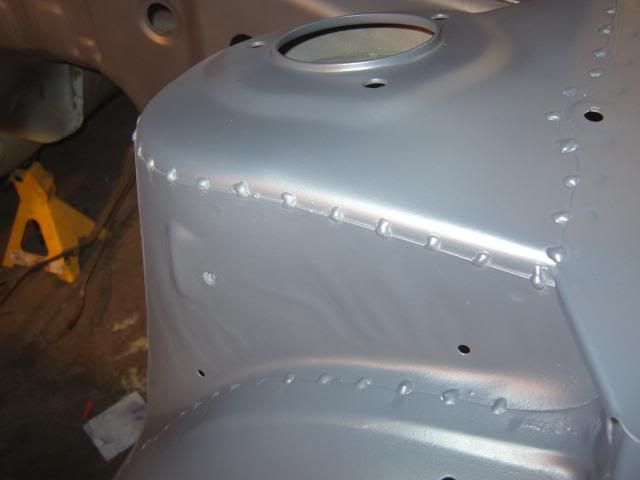
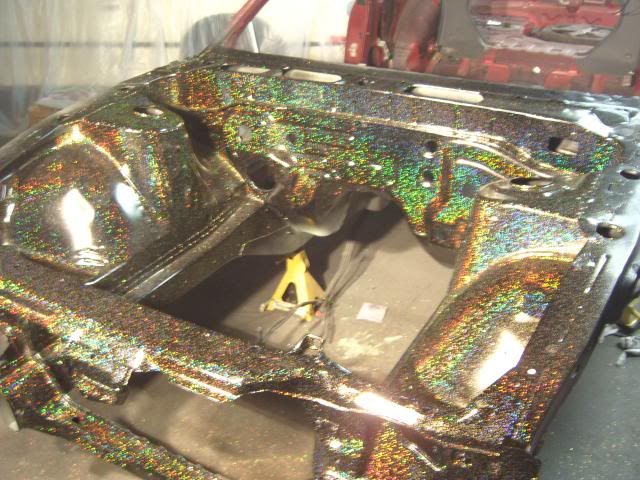
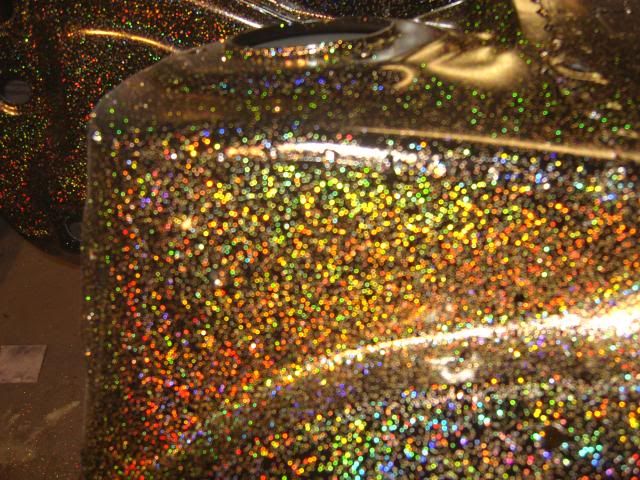
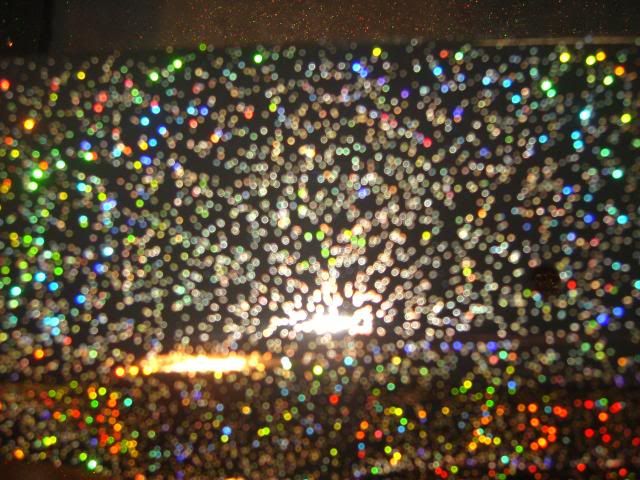
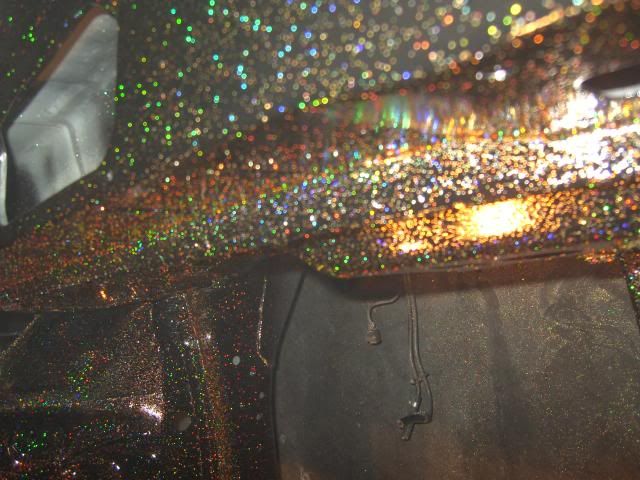
Didnt get any shots of just the basecoat down, but then sprayed it with Jet black basecoat, then midcoat clear with the HOK gold flake, then regular clearcoat
Got to finish up the stitch welding and finally get some updated pictures
Today before I got started, engine bay semi-stitch welded


Got to work measuring, marking, and welding

Zap Zap Zap

...... all the little dots !

UPDATE 9/4/10
Got to continue my quest for an awesome engine bay today..
First pics of the day:


The seam where the firewall meets the wheel well, after seam sealer:


Then after a lot of grinding stuff, scuffing, sanding, cleaning etc, I put down an initial coat of primer, to give me an idea of the few areas I still need to prep, and begin the paint prep, we still need to locate and cut the intercooler holes, and i'm going to cleanup a few areas to make them nicer, then another coat of primer, then black sealer before the basecoat and the different clearcoats.


Updated 9/19/10
Ok got to get back at it, after making the intercooler holes nice with a 4" hole saw, shot down some PPG Global Black sealer, yes it doesnt appear very black, hmph


Didnt get any shots of just the basecoat down, but then sprayed it with Jet black basecoat, then midcoat clear with the HOK gold flake, then regular clearcoat


Last edited by Z28ricer; 09-18-2010 at 10:19 PM.


