SR20VET build up...
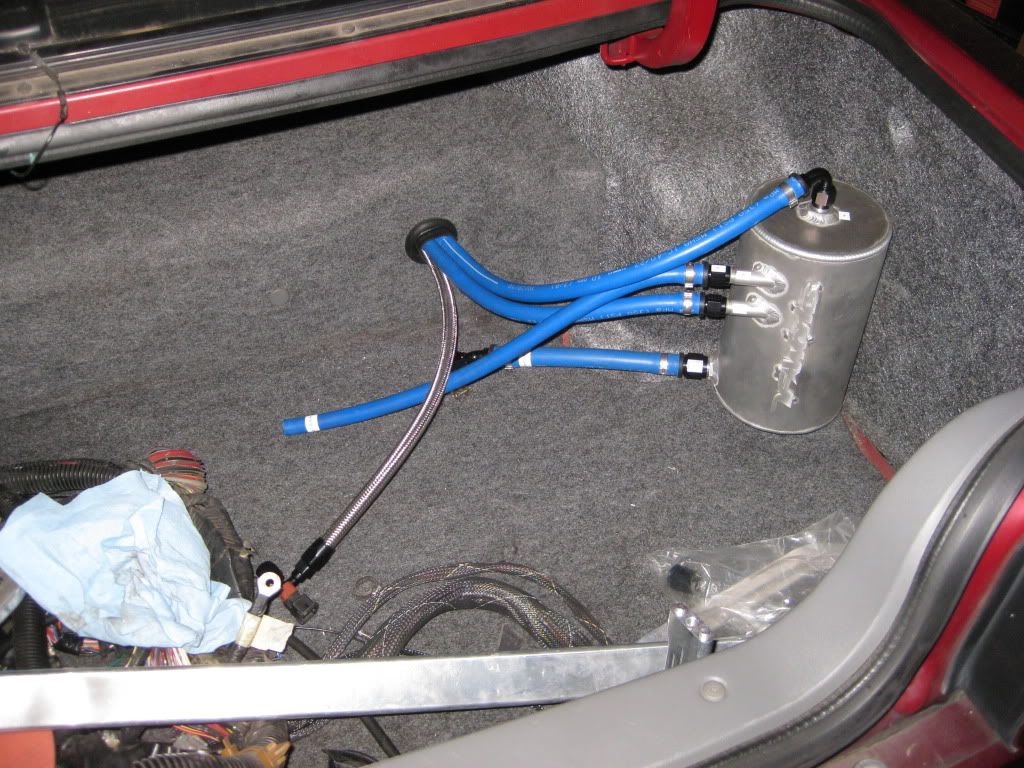
So, like usual, I did work... I pretty much finished up the TF surge tank area. I am currently waiting on my 044 mount and another section of hose to go from my return hardline, to the surge tank. They only sent me a piece long enough to splice into the factory rubber line coming back to the top of the tank and I wasn't cool with that.
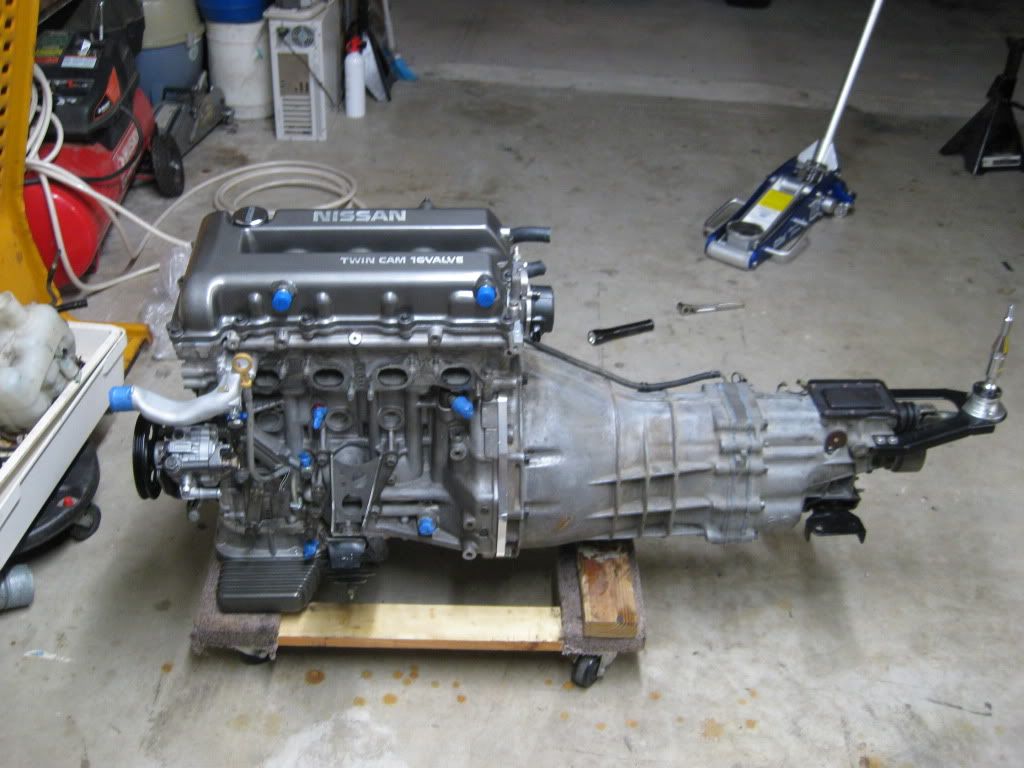
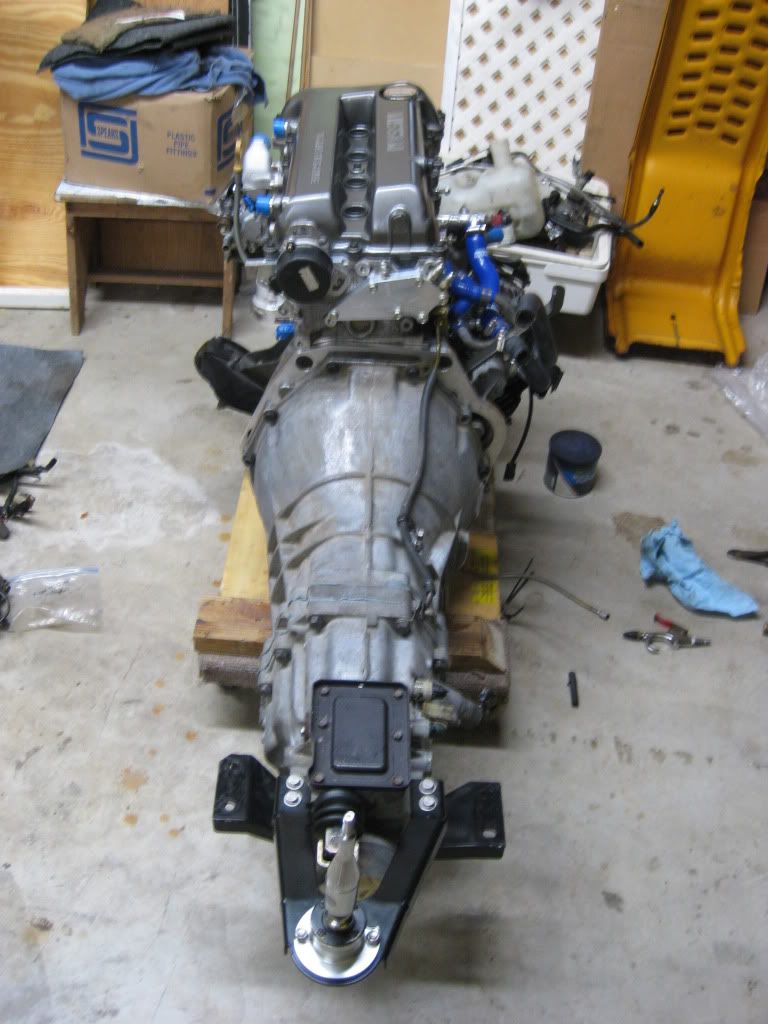
Monday I recieved my TOB and sleeve from RHDjapan. So, I took it upon myself, while I had the car out of the garage, to bolt them together. I have yet to torque the bolts down, but they are tighten via rachet. I also put my CAS in. I'm contemplating setting the motor into the bay just once to see if I have to cut the firewall for some clearance between the CAS and wall. Hopefully I don't have to clearance anything, but we shall see.
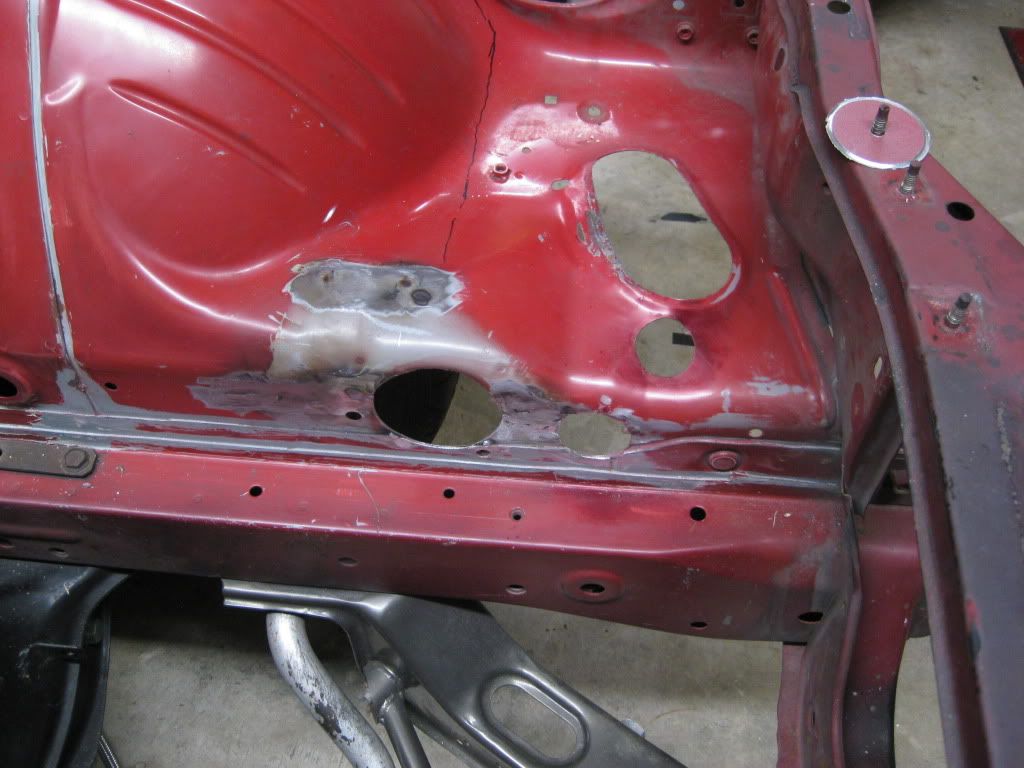
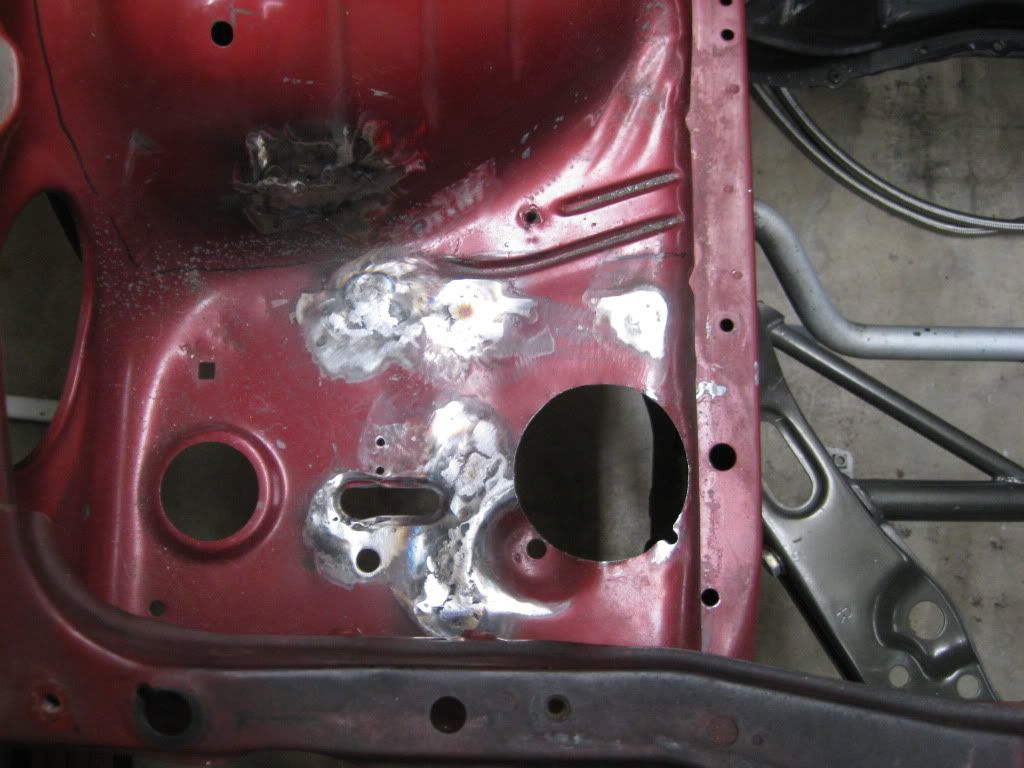
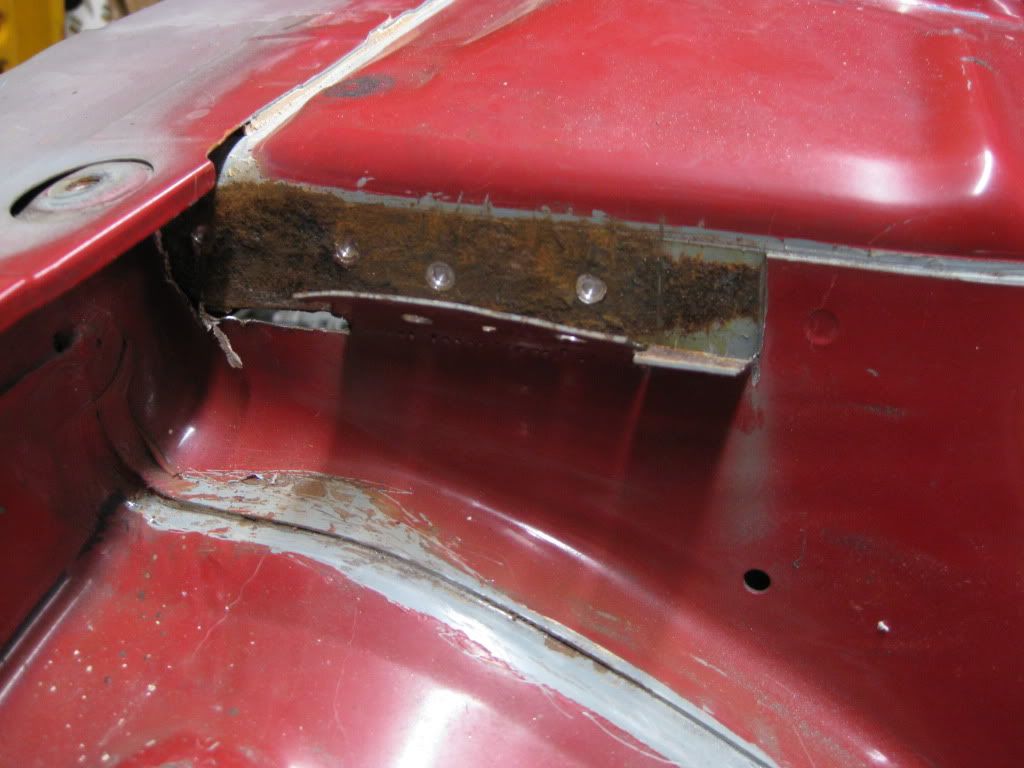
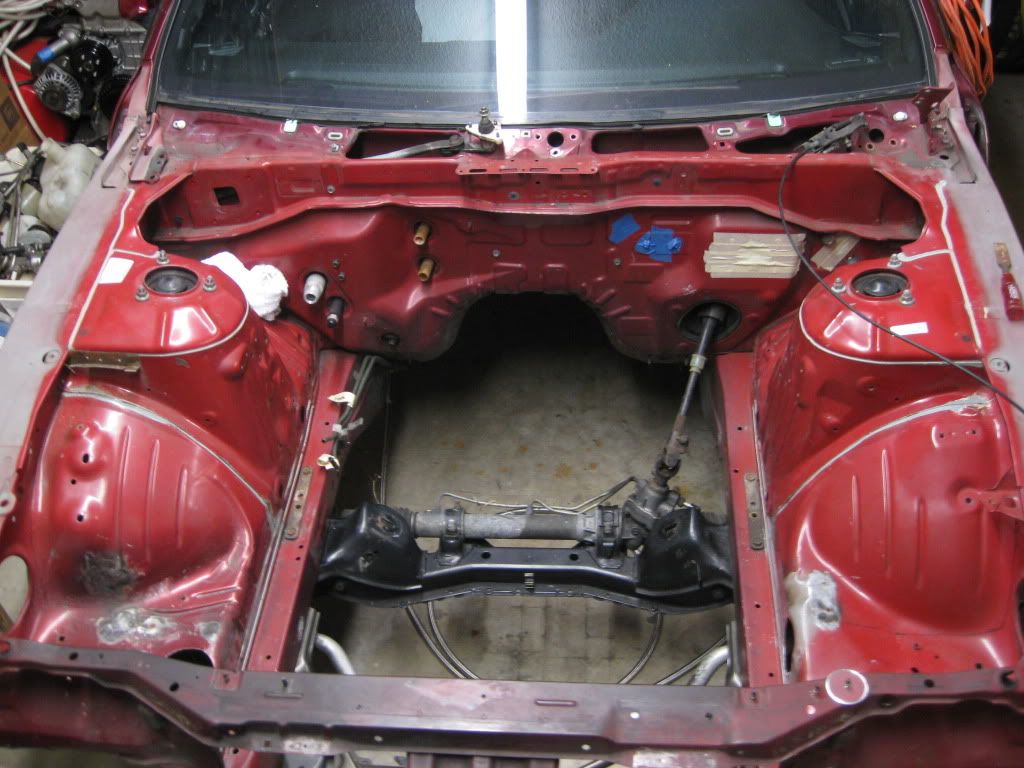
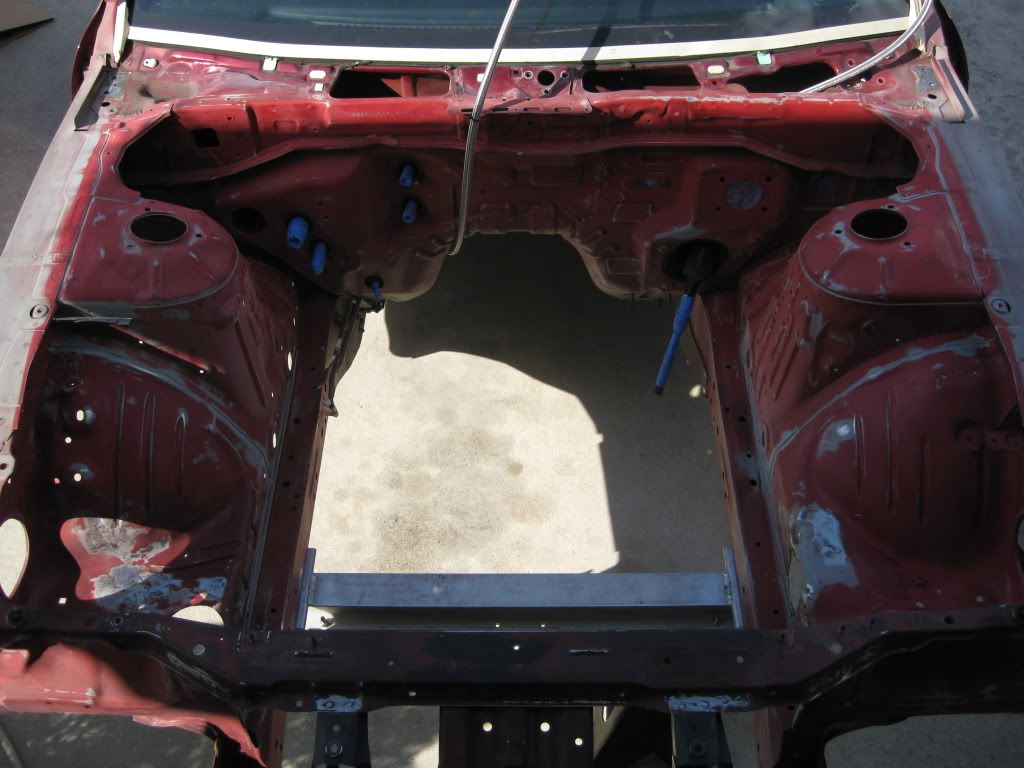
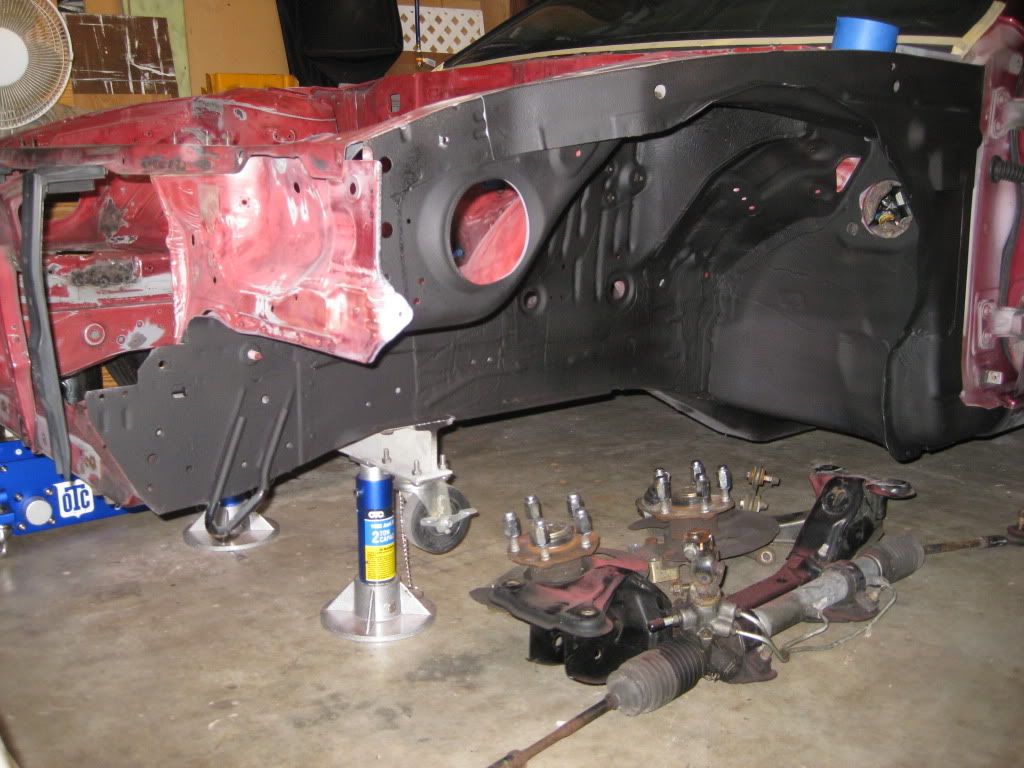
Yesterday, I pulled the welder out and started patching some holes, I've decided that I'm going to keep the majority of the factory holes. They can get plugged up with the little black pieces of plastic. I'm not going for a completely shaven/smooth engine bay and they don't bug me too much, besides it's not a show car. I'm also removing a majority of the seam sealer and will be redoing it once I get everything sanded and a coat of primer down. I dug into that rust spot on my strut tower and glad I tore into it. Apparently, the factory seam sealer/undercoating had crack in the wheel well and started this slow progression. I'll be bead blasting some spots in the bay hopefully next weekend and this will get hit too. Once done, weld through primer and a new piece of metal and I'll have it all patched up. On to pictures...


It may be a very good idea to drop it in and check the clearance like you mentioned, saw a thread on a build mazworx was doing with the same setup, they ended up welding in a recessed cup behind the CAS, apparently on initial test fit it looked fine, but after all mounts were bolted up and in place they said the cas was too close for comfort, so the recess was added.
looking good man keep it up
__________________
 My shit still slow
618 whp 492 ft/lbs at 22 psi (Low Boost)on pump gas ,
stock block ,more power coming soon ,stay tuned
Tuned by Alpha @ Induction Performance
 My shit still slow
618 whp 492 ft/lbs at 22 psi (Low Boost)on pump gas ,
stock block ,more power coming soon ,stay tuned

Tuned by Alpha @ Induction Performance
Well, I clearance checked everything tonight... I'm def going to need that cup for the install. I'll be calling Mazworx to get one on the way. I have it marked already, just need to drill it out. Lets just say it's closer than what the S13's clearance was. Actually, I couldn't even put the motor in with the CAS installed. I think that's due to the S14's bulkhead being pushed out slightly further and less flat. I have some pictures on my phone, the digi was dead, that I'll get uploaded tommorrow some time.
Once the motor was set in place and measurements taken, I pulled it along with my subframe and steering rack. My bay is completely stripped now minus the heater hose and A/C connections and my steering shaft. Tomorrow I'll be pulling it back outside so I can hit the few spots of rust with the sand blaster so I can get them primed and blocked back down and ready for paint. I'm aiming to have it to the painters before Christmas weekend, but we'll see as I leave again the 11th for a business/snowboarding trip for a week.
As always, thanks for looking!
Ask mazworx about their hall sensor kit. It replaces the oem CAS with a wheel on the exhaust cam and a sensor that is mounted on the front of the motor. This solves the firewall CAS fitment issue.
Today I got the sand blaster out and took care of the suspect spots in the engine bay. I also hit some surface rust by the pinch welds for the fenders to make sure it was just that. I had sand everywhere when I was finished. In my ears, nose, ass crack, you name a spot it was more than likely there. However I do feel more comfortable now that the "rust" has been taken care of. I'll be priming the bare metal tomorrow hopefully and undercoating the wheel wells, top frame rails and everything outside of the engine bay forward of the doors. I need to do some bondo work as well and I'm hoping I can get to that possibly Tuesday. That's all for now.
Well, before I left to come out to Utah for a short work week and some snowboarding I got the bay to the point of needing to be shot with primer. Instead of cutting a hole in my fire wall I took juiced's advice and called Mazworx. I'll be running their hall effect sensor for cam timing. It's a pretty nice piece, I'll get some pictures when I return home. Once I return home, I'll wipe the bay down and lay a coat of primer on it. I would like/plan to use an epoxy primer first to cover my bare metal. Once that's dried I'll spray primer over it, block it down for smoothness, clean, fill seams with sealer and get it trailered out for paint. I'm hoping the paint will be laid before the first of the year. I'll get some pictures up when I return home of my progress. Until then be easy and thanks for looking as always.
Last edited by Jr_SS; 12-13-2011 at 12:03 PM.
Unfortunately, my goal of having it painted by the 1st wasn't met, but that's ok because I have no set date of actually getting the car back on the road, however, the sooner the better. I really didn't get anything done over the holiday breaks either. Family, shopping, and partying have consumed the entire time for me. My girl has also been in town the past week and I've been spending as much time with her as possible. I did however pick up all the needed items to get the bay primed, which will be happening this week, hopefully it'll be seam sealed by Friday so I can get it to the painters...
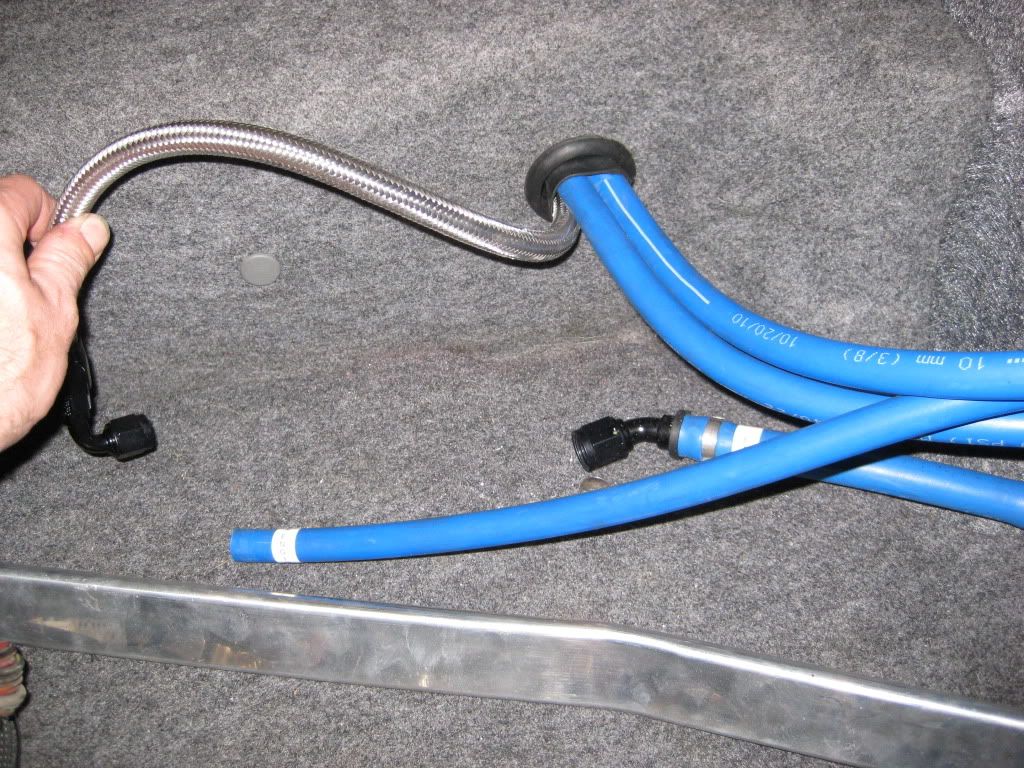
With the little time I have spent on it, I finished the passenger side strut tower. It's all bondo'd and you can't even tell I had to reweld/patch that area. I finished running the fuel feed line up to the engine bay area, mounted my 044 and installed the return line I recieved from Touge as a replacement for that short piece included in their kit. The line now runs from the surge tank all the way to the factory hardline.
Pictures!!!
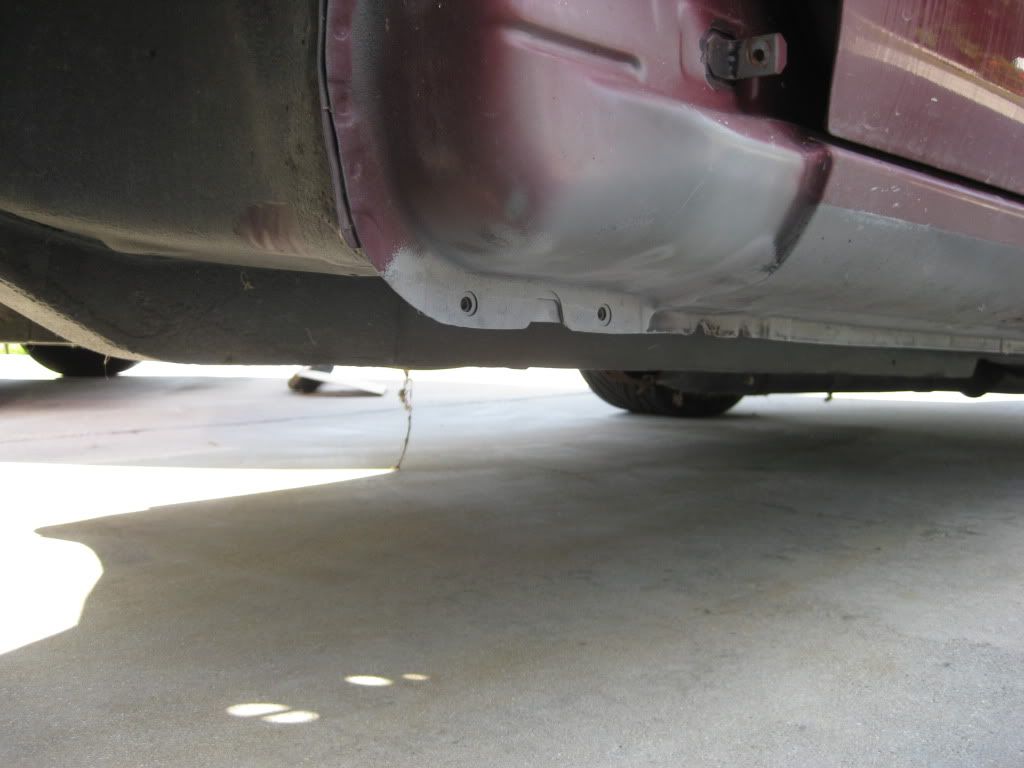
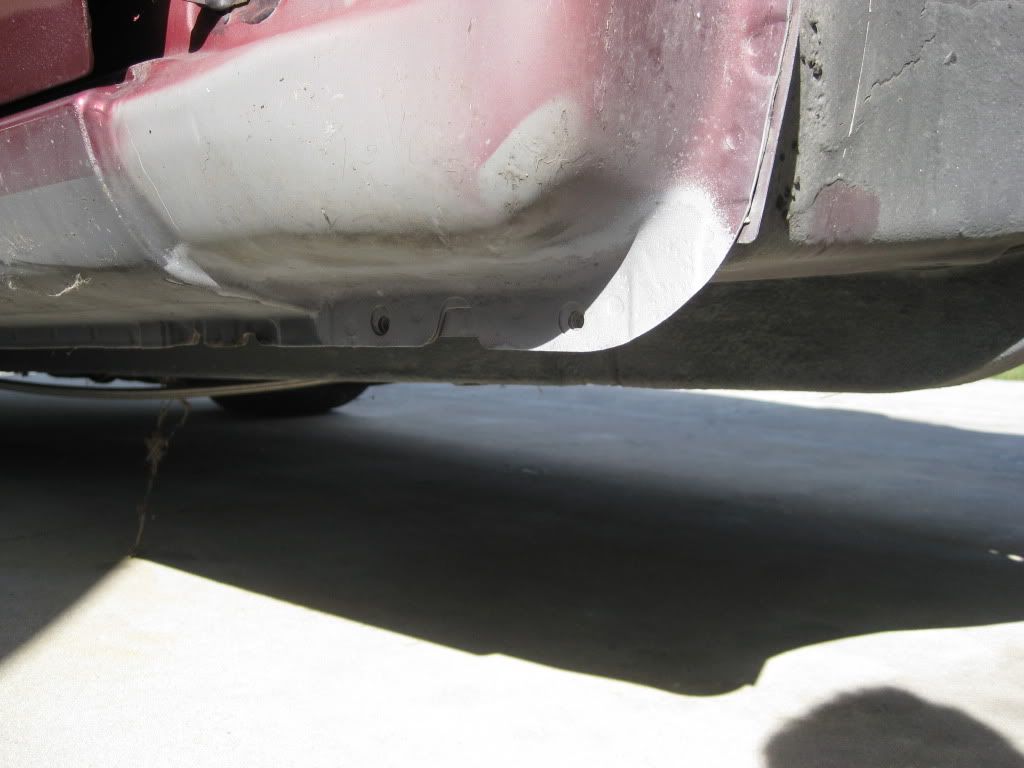
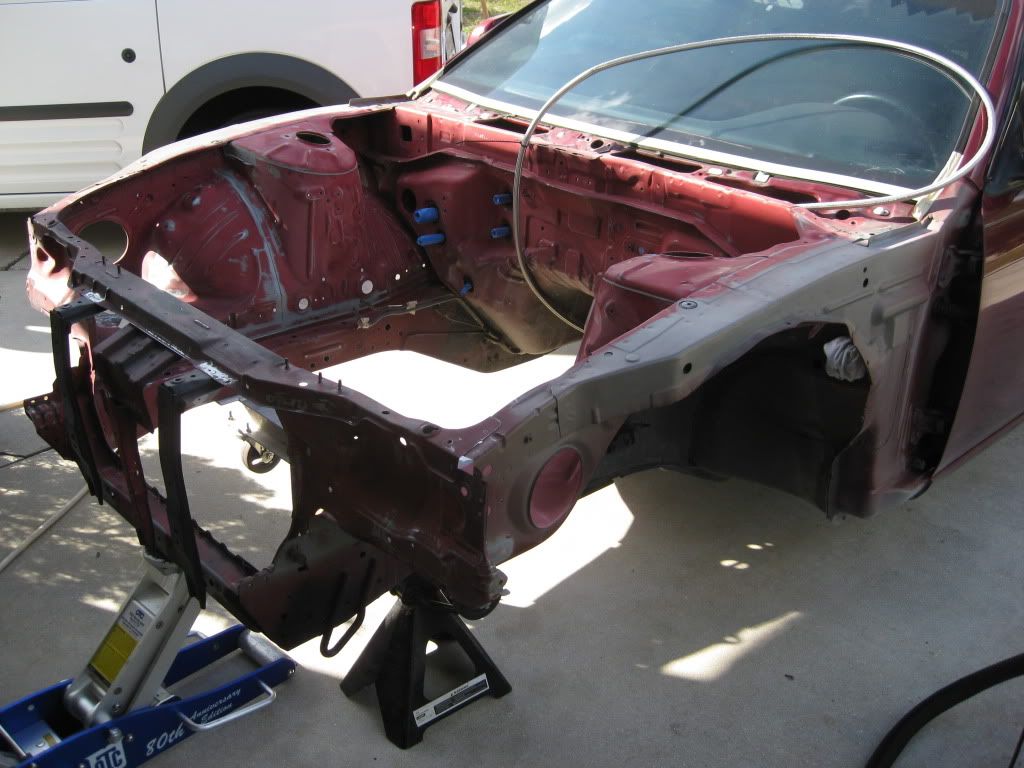

Here's the fuel feed line and the rest of the fuel system all buttoned up...
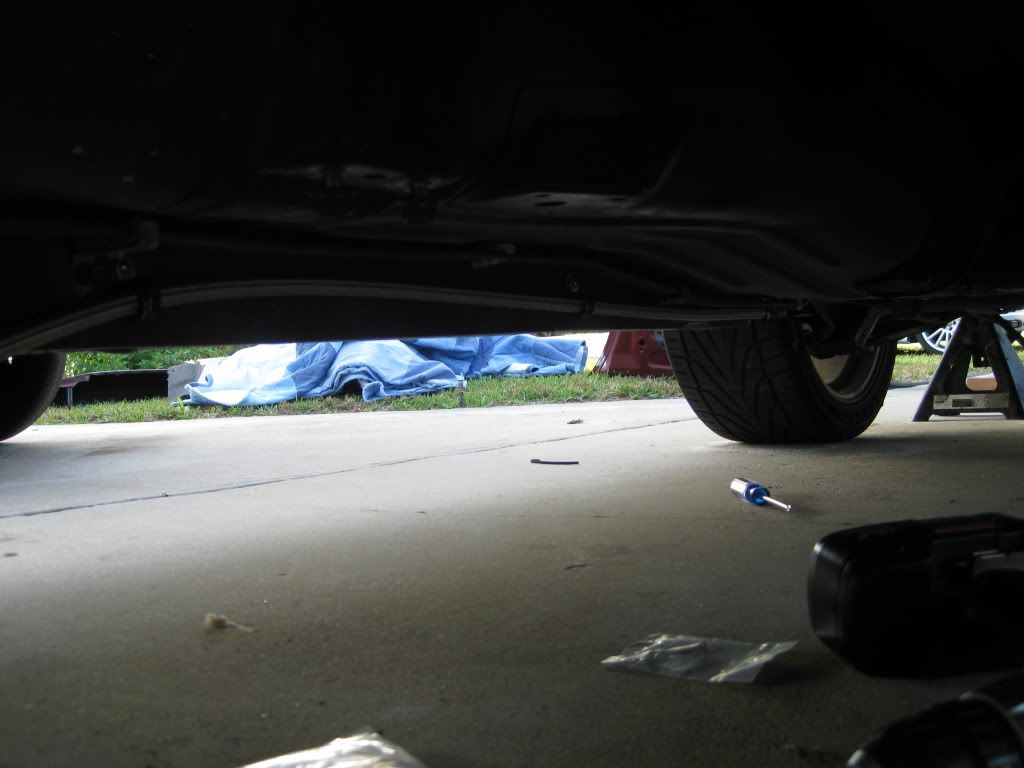
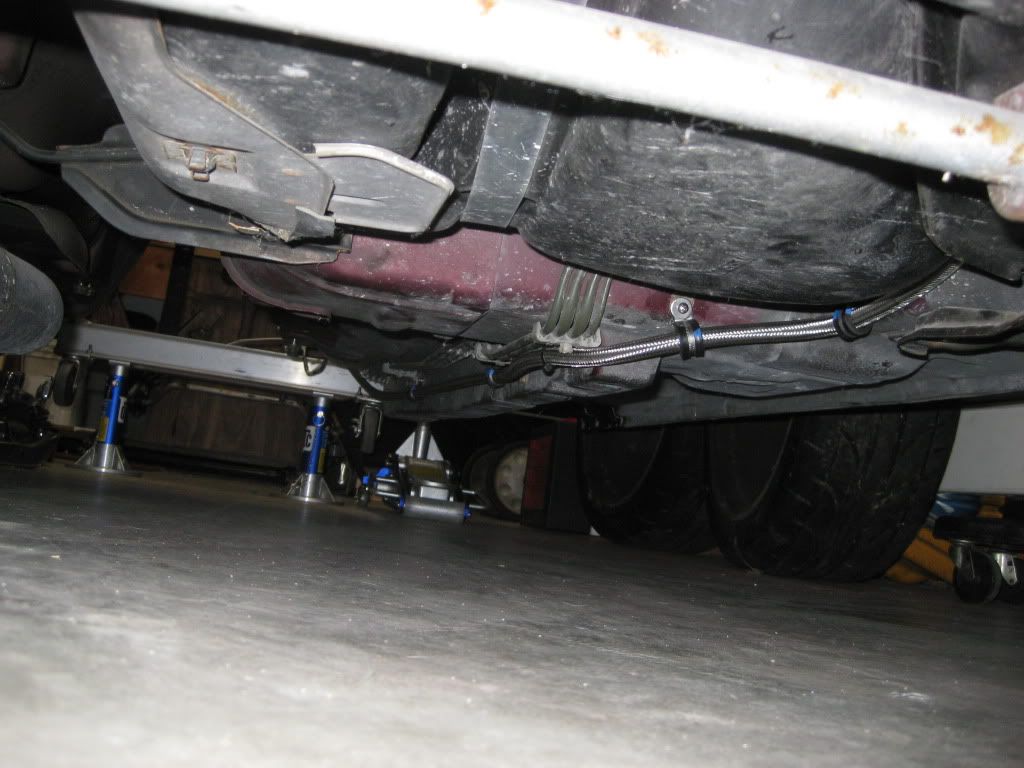
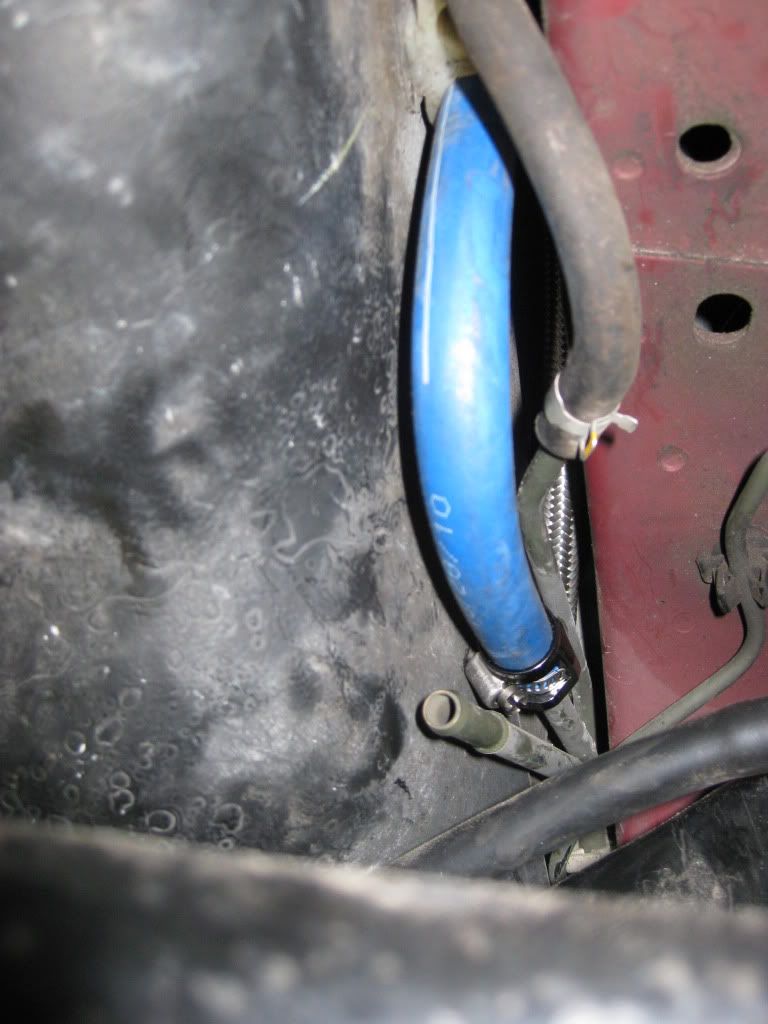
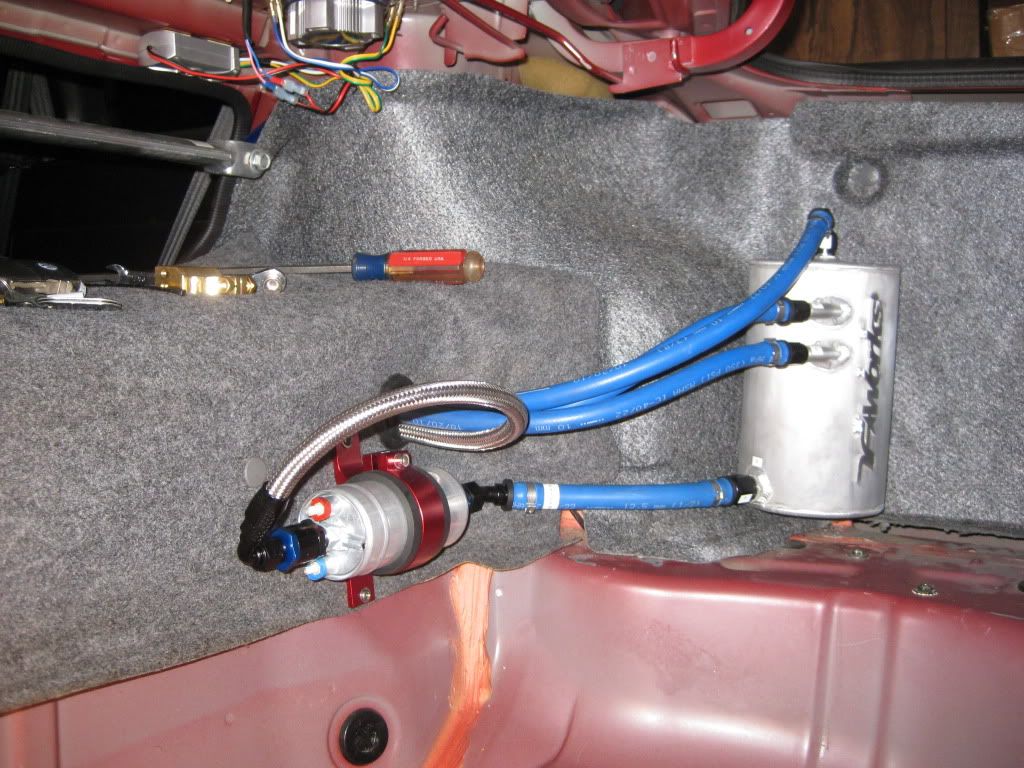
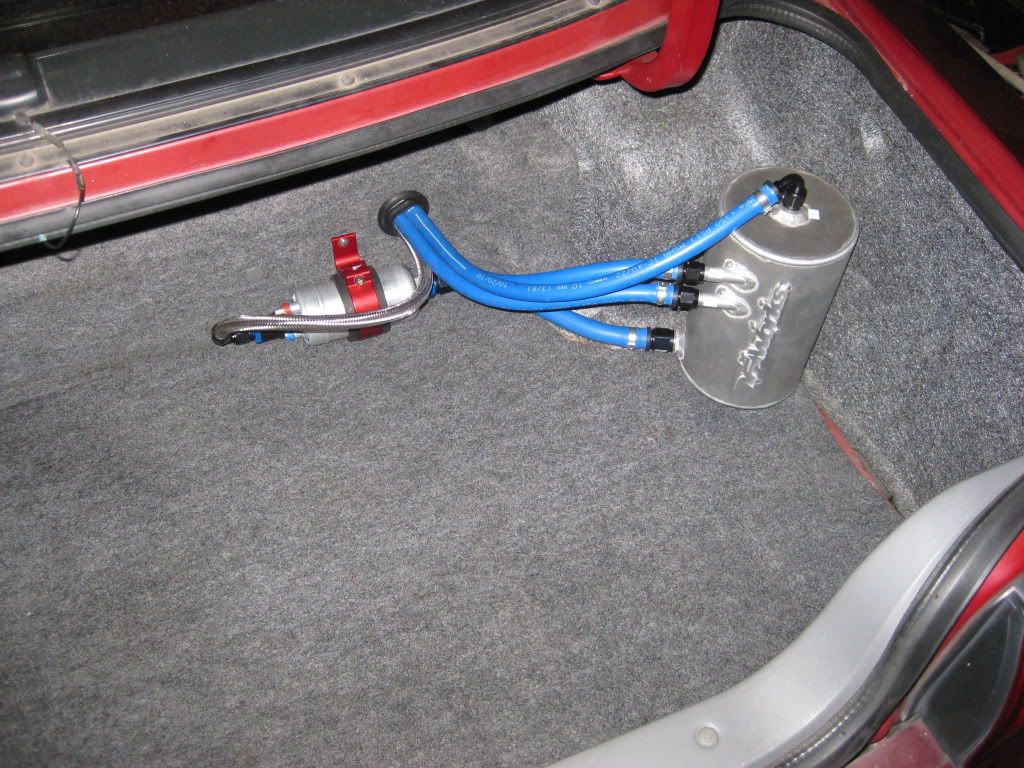
I need to take new pictures, which I'll post once they are taken. Currently everything I wanted bondo'd and sanded down in the bay. I need to wipe it down with wax/degreaser and spray it with primer, which should happen one evening this week, then it's back to sanding/seam sealer then out for final sealer primer/paint. As always, thanks for looking
With the little time I have spent on it, I finished the passenger side strut tower. It's all bondo'd and you can't even tell I had to reweld/patch that area. I finished running the fuel feed line up to the engine bay area, mounted my 044 and installed the return line I recieved from Touge as a replacement for that short piece included in their kit. The line now runs from the surge tank all the way to the factory hardline.
Pictures!!!


Here's the fuel feed line and the rest of the fuel system all buttoned up...


I need to take new pictures, which I'll post once they are taken. Currently everything I wanted bondo'd and sanded down in the bay. I need to wipe it down with wax/degreaser and spray it with primer, which should happen one evening this week, then it's back to sanding/seam sealer then out for final sealer primer/paint. As always, thanks for looking
Last edited by Jr_SS; 01-15-2012 at 08:48 AM.
shit looks absolutely sick man!!!! just to let you know though, the push-loc hose will still permeate vapor through it. It sucks i found out the hard way... lol. I'm switching all my surge tanks lines to the teflon hose lined hose. According to the eaton sales rep i spoke with, this is the only hose that will not permeate vapor.
__________________
if you havent been in a small plane its worst, cause your eyes and brain say we are moving and your body says oh no we are not. eyes and brain go asshole we are moving, cant you see? body says fuck you we are not moving at all. so they fight and fight and eventualy your body says, you know what fuck you brain, see if you can stop this!! then you throw up.

if you havent been in a small plane its worst, cause your eyes and brain say we are moving and your body says oh no we are not. eyes and brain go asshole we are moving, cant you see? body says fuck you we are not moving at all. so they fight and fight and eventualy your body says, you know what fuck you brain, see if you can stop this!! then you throw up.


